
As I pulled the golden, caramelized head of garlic from the oven, a wave of warmth and comfort swept over me. This simple act of roasting transforms the familiar into something spectacular, and that’s exactly what you’ll discover with my creamy Roasted Garlic Aioli. Ideal for both a weeknight dinner and an elegant gathering, this gourmet dip is gluten-free and can easily be lightened up with Greek yogurt instead of mayonnaise. Not only is it a breeze to prepare, but it elevates everything from simple sandwiches to exquisite steaks with its rich, savory flavor. Are you ready to make your taste buds dance with this delightful aioli? Let’s dive into the recipe that will gently coax your meals into gourmet territory!
Why is Roasted Garlic Aioli a Must-Try?
Flavor Explosion: The moment you open your fridge and see that jar of Roasted Garlic Aioli, you’ll be greeted by an enticing aroma that will awaken your senses.
Effortless Gourmet: This sauce is incredibly easy to whip up, making it perfect for busy home cooks who want to impress without the fuss. Just roast garlic, mix, and enjoy!
Versatile Dip: Whether you pair it with grilled vegetables or use it as a sandwich spread, this aioli will enhance any dish. For something unexpected, try it alongside a Juicy Steak with Creamy Garlic Sauce for a delicious twist.
Health-Conscious Adaptable: With the option to replace mayonnaise with Greek yogurt, you can enjoy this indulgence while keeping it light and gluten-free.
Crowd-Pleaser: Serve this aioli at your next gathering, and watch it disappear in seconds—perfect for elevating casual get-togethers or holiday feasts!
Roasted Garlic Aioli Ingredients
For the Aioli Base
- Garlic – Use fresh whole bulbs for the best flavor and sweetness.
- Olive Oil – Adds richness; avocado oil is a great substitute for a lighter option.
- Mayonnaise – Provides creaminess, but swap in Greek yogurt for a healthier alternative.
- Lemon Juice – Freshly squeezed lemon juice brightens the flavor; avoid bottled juice for best results.
- Dijon Mustard – Adds a subtle kick; yellow mustard can be used in a pinch.
For Seasoning
- Salt and Pepper – Essential for taste; adjust according to your preference.
For Garnish
- Parsley or Chives – Optional for garnish, bringing a pop of color and freshness to the dish.
Whip up this creamy Roasted Garlic Aioli and elevate your meals with its delicious blend of flavors!
Step‑by‑Step Instructions for Roasted Garlic Aioli
Step 1: Preheat the Oven
Begin by preheating your oven to 400°F (200°C). This temperature is perfect for roasting the garlic, allowing it to caramelize beautifully while developing a sweet, rich flavor. Preheating ensures even cooking, so you can enjoy your creamy Roasted Garlic Aioli in no time!
Step 2: Prepare the Garlic
Take a whole head of garlic and peel away the outer layers until you can see the individual cloves. With a sharp knife, slice off the top of the garlic bulb to expose the cloves. This will allow the garlic to become tender and sweet as it roasts, perfect for the aioli.
Step 3: Roast the Garlic
Drizzle the exposed garlic generously with olive oil, ensuring it’s well-coated. Wrap the bulb in aluminum foil tightly, trapping the heat and moisture. Place it in the preheated oven and roast for 30-40 minutes, or until the garlic is soft and golden brown. The aroma will fill your kitchen, signaling that wonderful flavor is on the way!
Step 4: Mash the Roasted Garlic
Once the garlic is roasted, take it out of the oven and let it cool slightly. Carefully unwrap the foil and squeeze the softened cloves out of their skins into a medium bowl. Using a fork or a small masher, mash the roasted garlic into a smooth paste. This fragrant garlic paste is the secret to your delicious Roasted Garlic Aioli.
Step 5: Mix the Aioli Ingredients
In a separate bowl, combine the mashed garlic with mayonnaise, freshly squeezed lemon juice, and Dijon mustard. Stir these ingredients together until you achieve a smooth, creamy mixture. This step creates the luxurious base for your aioli, where the roasted garlic’s flavor will shine through.
Step 6: Season to Taste
Add salt and pepper to the aioli mixture, seasoning it according to your personal taste preferences. Mix well to ensure the seasonings are evenly distributed throughout the creamy Roasted Garlic Aioli. Taste the sauce and adjust the seasoning as needed for a perfect balance of flavors.
Step 7: Garnish and Chill
If desired, chop fresh parsley or chives and mix them into your aioli for a vibrant touch. Transfer the aioli to an airtight container and refrigerate for at least 30 minutes to allow the flavors to meld beautifully. This step not only thickens the aioli but enhances its taste, making it even more irresistible!
Step 8: Serve and Enjoy
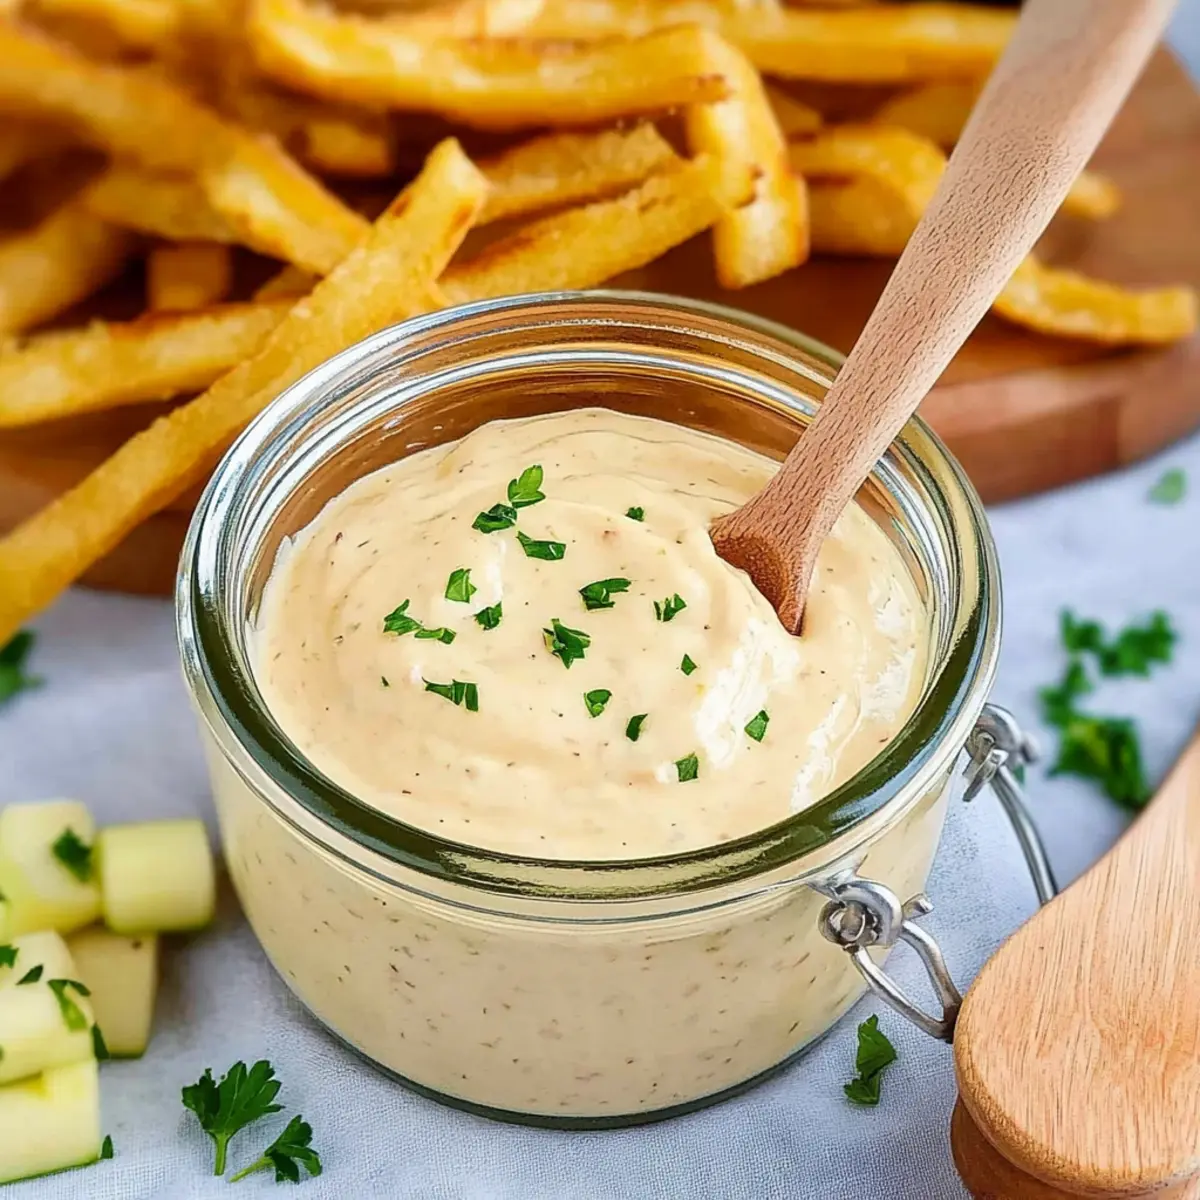
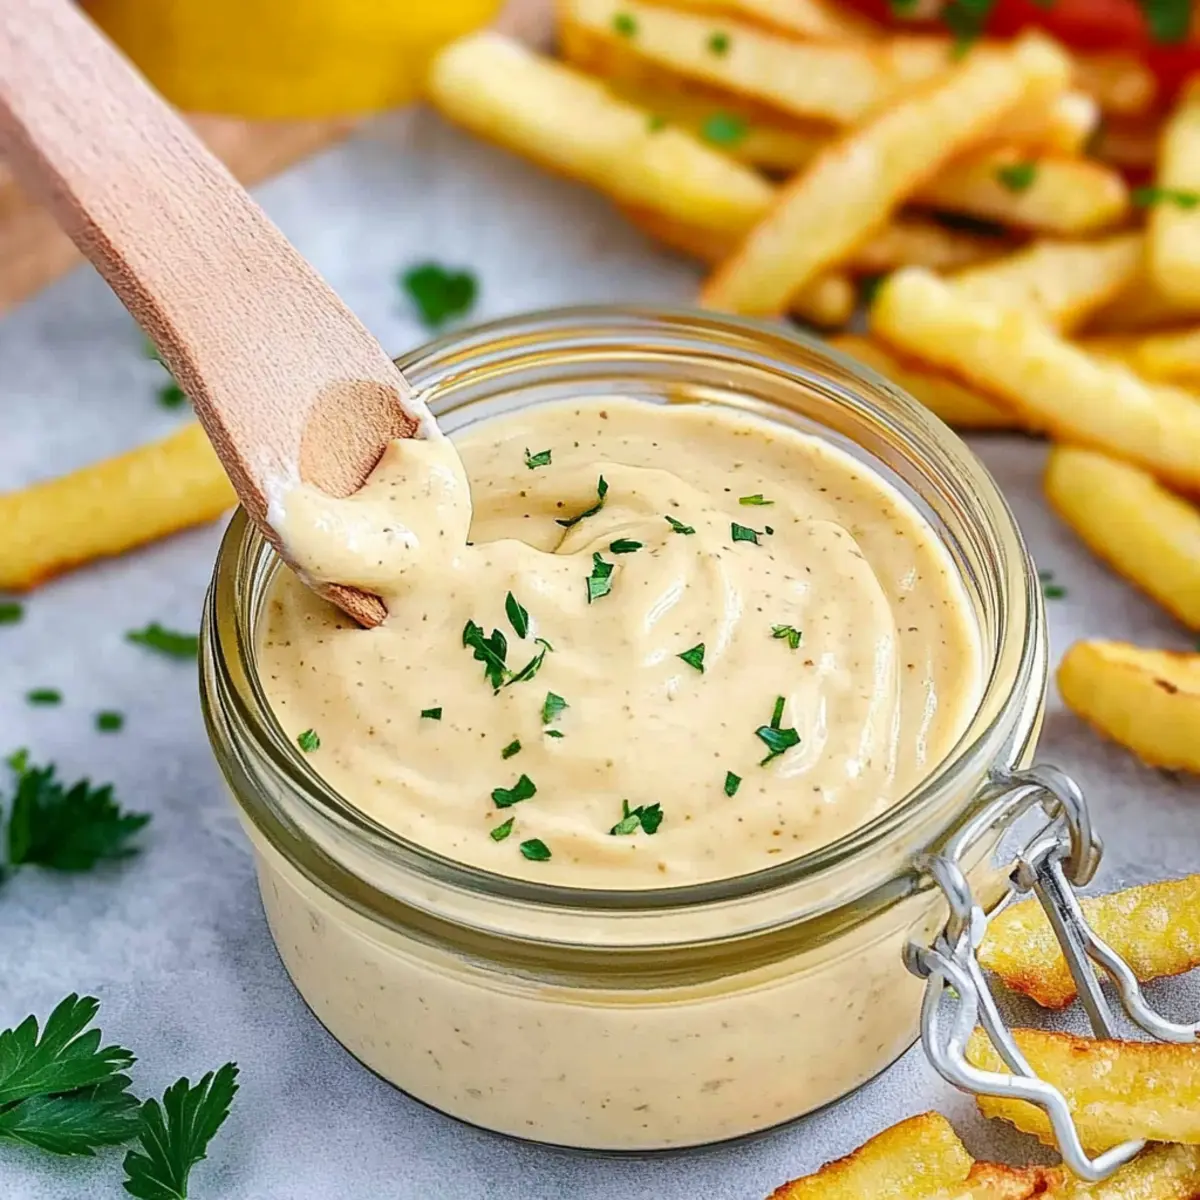
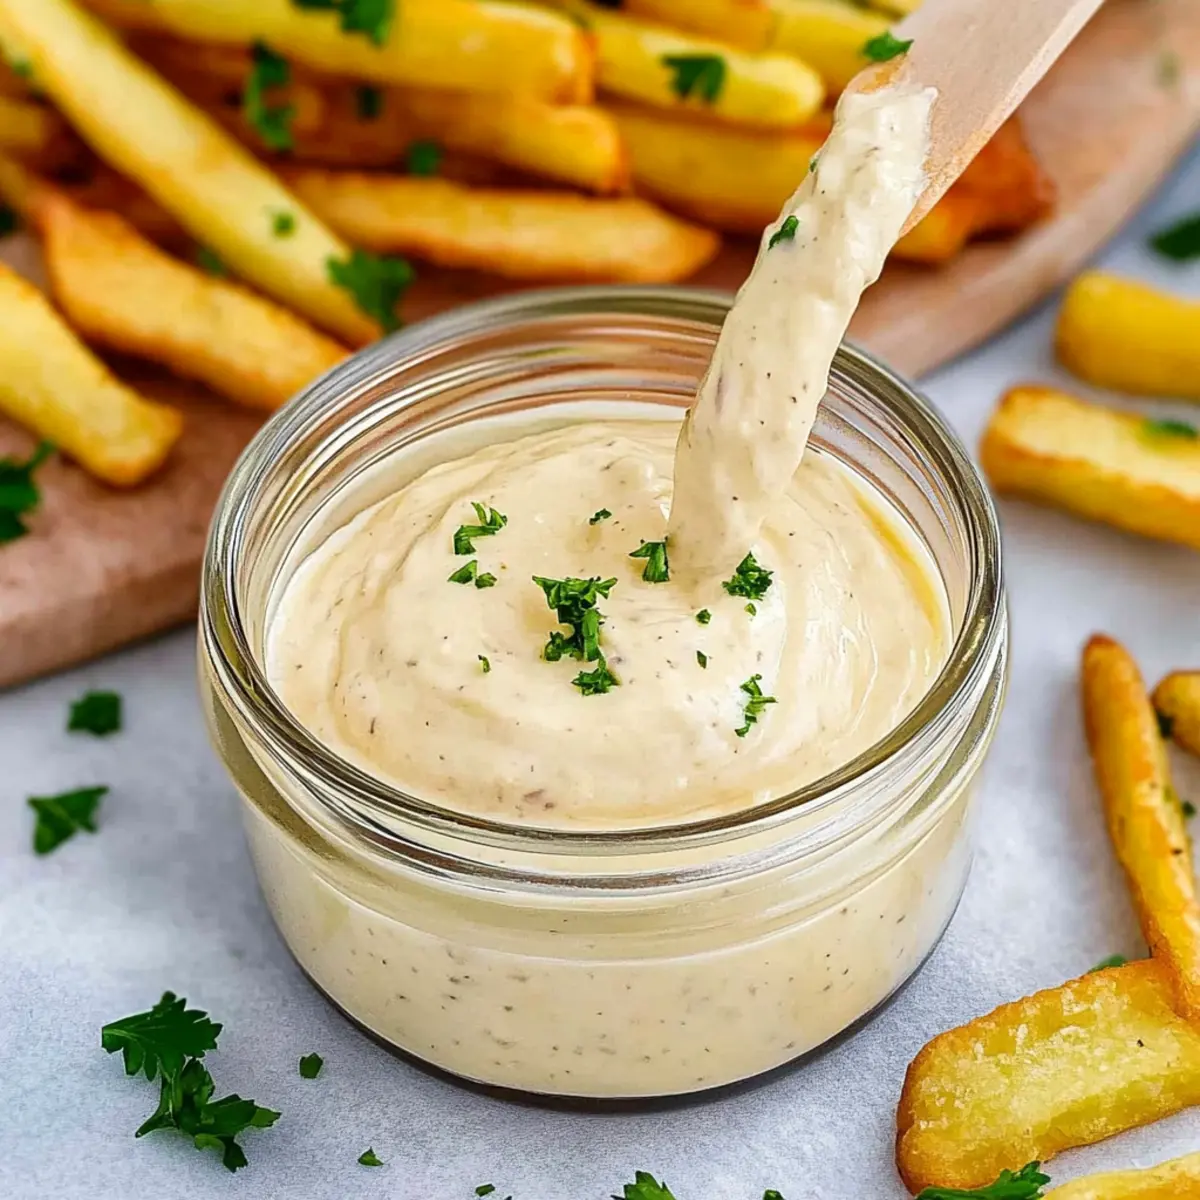
After chilling, your Roasted Garlic Aioli is ready to elevate any dish! Use it as a gourmet dip, a spread for sandwiches, or as a flavorful accompaniment to grilled meats and vegetables. The creamy texture and delightful garlic flavor will impress anyone who tries it!
Expert Tips for Roasted Garlic Aioli
-
Garlic Quality Matters: Use fresh bulbs for the best flavor; old or sprouted garlic can taste bitter and detract from your aioli’s richness.
-
Watch the Roasting Time: Keep an eye on your garlic after 30 minutes. If it burns, it can make your aioli taste overly bitter.
-
Chill for Flavor: Refrigerate your aioli for at least 30 minutes before serving. This resting time allows the flavors to meld beautifully and enhances its creamy texture.
-
Adjust Consistency: If your aioli seems too thick, mix in a bit of water or more lemon juice for a smoother result.
-
Experiment with Flavors: Don’t hesitate to spice things up! Add roasted red peppers or a pinch of cayenne for a fun twist on your roasted garlic aioli.
What to Serve with Creamy Roasted Garlic Aioli?
Imagine a beautiful spread of delicious dishes, each complemented by the rich, velvety texture of aioli, enticing everyone to dig in.
-
Grilled Vegetables: Perfectly charred zucchini and bell peppers bring a delightful smokiness that pairs beautifully with the creamy aioli. Their tender texture creates a lovely contrast.
-
Rustic Breads: A crusty baguette or sourdough can be dipped into the aioli for a delightful appetizer. The combination of crunchy bread and creamy sauce delights the palate.
-
Crispy Fries or Sweet Potato Fries: The salty crunch of fries elevates your aioli experience, making every bite a heavenly indulgence. Don’t forget to try it on sweet potato fries for a twist!
-
Seafood Platters: Drizzle this creamy roasted garlic aioli over grilled shrimp or fish tacos to add a gourmet touch. The garlicky richness enhances the natural flavors of the seafood.
-
Charcuterie Board: Include this aioli alongside cured meats and cheeses for a fancy touch. It adds a burst of flavor, making each bite an exciting experience.
-
Sandwich Spread: Use aioli on your sandwiches to elevate everyday ingredients like turkey, avocado, or grilled chicken. It adds moisture and a delicious kick.
-
Mixed Green Salad: Drizzle some aioli over a fresh salad instead of dressing; it transforms ordinary greens into a decadent dish. Add crunch with nuts or seeds for variation.
-
Wine Pairing: Pair your meal with a crisp white wine, like Sauvignon Blanc, which accentuates the garlicky goodness and balances the creamy richness.
Your culinary adventure is about to get a delightful boost with these delightful pairings!
Roasted Garlic Aioli Variations
Feel free to customize your Roasted Garlic Aioli to suit your taste buds and dietary needs!
- Dairy-Free: Substitute mayonnaise with a vegan mayo to create a delightful, creamy aioli without any dairy.
- Greek Yogurt: For a lighter version, replace some mayonnaise with Greek yogurt; it’ll maintain the creaminess while cutting calories.
- Spicy Kick: Add a pinch of cayenne pepper or a dash of your favorite hot sauce for a fiery twist that will awaken your palate.
- Smoky Flavor: Blend in a bit of smoked paprika to introduce a new depth of flavor that’s perfect for BBQ season.
- Herbed Bliss: Incorporate fresh herbs, such as basil or dill, to infuse the aioli with vibrant, aromatic notes—simply fold them in after mixing.
- Roasted Red Peppers: Add in some roasted red peppers for a burst of color and a sweet, tangy flavor that pairs beautifully with garlic.
- Citrus Zing: Mix in a tablespoon of orange juice or zest to brighten the flavor and create an unexpected twist.
- Chunky Style: For added texture, fold in finely chopped olives or capers, enhancing the flavor while giving it a delightful bite.
No matter how you twist it, remember that this creamy Roasted Garlic Aioli is perfect as a dip or spread! Pair it with grilled veggies or use it to amp up a simple sandwich. For an impressive meal idea, try it alongside my Honey Garlic Chicken or even as a topping for a delicious plate of Garlic Parmesan Fries. The possibilities are endless!
How to Store and Freeze Roasted Garlic Aioli
Fridge: Store your creamy Roasted Garlic Aioli in an airtight container for up to one week. Ensure it’s tightly sealed to maintain freshness and flavor.
Freezer: For longer storage, freeze the aioli in ice cube trays. Once solid, transfer the cubes to a freezer bag for up to 3 months. Thaw in the fridge before use.
Reheating: If the aioli thickens after freezing, simply stir in a bit of olive oil or water to regain its creamy consistency.
Make-Ahead Tip: Prepare the aioli in advance for gatherings. Just remember to refrigerate it for at least 30 minutes to enhance the flavor before serving.
Make Ahead Options
These Roasted Garlic Aioli are perfect for busy home cooks looking to save time during meal prepping! You can prepare the aioli up to 1 week in advance and store it in an airtight container in the refrigerator. To maintain its creamy texture and rich flavor, ensure the aioli is chilled for at least 30 minutes after mixing, allowing the ingredients to meld beautifully. When you’re ready to enjoy, simply give it a good stir before serving, and it’s just as delicious as when it was freshly made! With this make ahead option, you can elevate your meals throughout the week with minimal effort!
Roasted Garlic Aioli Recipe FAQs
How do I choose ripe garlic for my aioli?
Absolutely! When selecting garlic, look for bulbs that are firm and heavy with no dark spots or soft areas. The skins should be dry and papery. Avoid bulbs that feel squishy or have green shoots emerging, as these can have a bitter taste, affecting your aioli.
How should I store my roasted garlic aioli?
Very good question! Store your creamy Roasted Garlic Aioli in an airtight container in the refrigerator for up to one week. Make sure the lid is tightly sealed to preserve both freshness and flavor. Label it with the date for reference, so you’ll know when it’s best enjoyed!
Can I freeze roasted garlic aioli? If so, how?
Absolutely, you can freeze it! To do so, spoon your aioli into ice cube trays and freeze until solid. Once frozen, transfer the aioli cubes to a freezer-safe bag. This way, you can enjoy your gourmet dip for up to 3 months. Just thaw the desired amount in the fridge before using and stir in a little olive oil or water if it thickens.
What if my aioli turns out too thick?
No worries! If your aioli is thicker than you prefer, simply add a little bit of water or more lemon juice to achieve the desired consistency. Start with a teaspoon at a time, mixing well until you get that creamy texture just right.
Is this aioli recipe safe for those with allergies?
Great consideration! This Roasted Garlic Aioli is gluten-free, but always double-check your mayonnaise if you’re serving anyone with allergies. Additionally, if you want a vegan option, simply swap in a plant-based mayo. If you’re making it for pets, avoid garlic entirely, as it can be harmful to them.
Can I make this aioli in advance for a gathering?
Absolutely! In fact, making it a day in advance is a smart idea. Allowing the flavours to meld in the refrigerator overnight not only enhances the taste but also thickens the aioli’s consistency. Just remember to seal it tightly to keep all that goodness intact before your event.

Irresistibly Creamy Roasted Garlic Aioli Recipe You’ll Love
Ingredients
Equipment
Method
- Preheat your oven to 400°F (200°C).
- Take a whole head of garlic and peel away the outer layers until you can see the individual cloves. Slice off the top of the garlic bulb to expose the cloves.
- Drizzle the exposed garlic with olive oil, wrap it in aluminum foil tightly, and roast for 30-40 minutes until soft and golden brown.
- Once roasted, let the garlic cool slightly, then squeeze the softened cloves into a medium bowl and mash into a smooth paste.
- In a separate bowl, combine the mashed garlic, mayonnaise, lemon juice, and Dijon mustard, stirring until smooth.
- Add salt and pepper to taste, mixing well to ensure even seasoning.
- If desired, mix in chopped parsley or chives. Transfer to an airtight container and refrigerate for at least 30 minutes.
- Serve your Roasted Garlic Aioli as a dip, sandwich spread, or accompaniment to grilled meats and vegetables.
Leave a Reply