
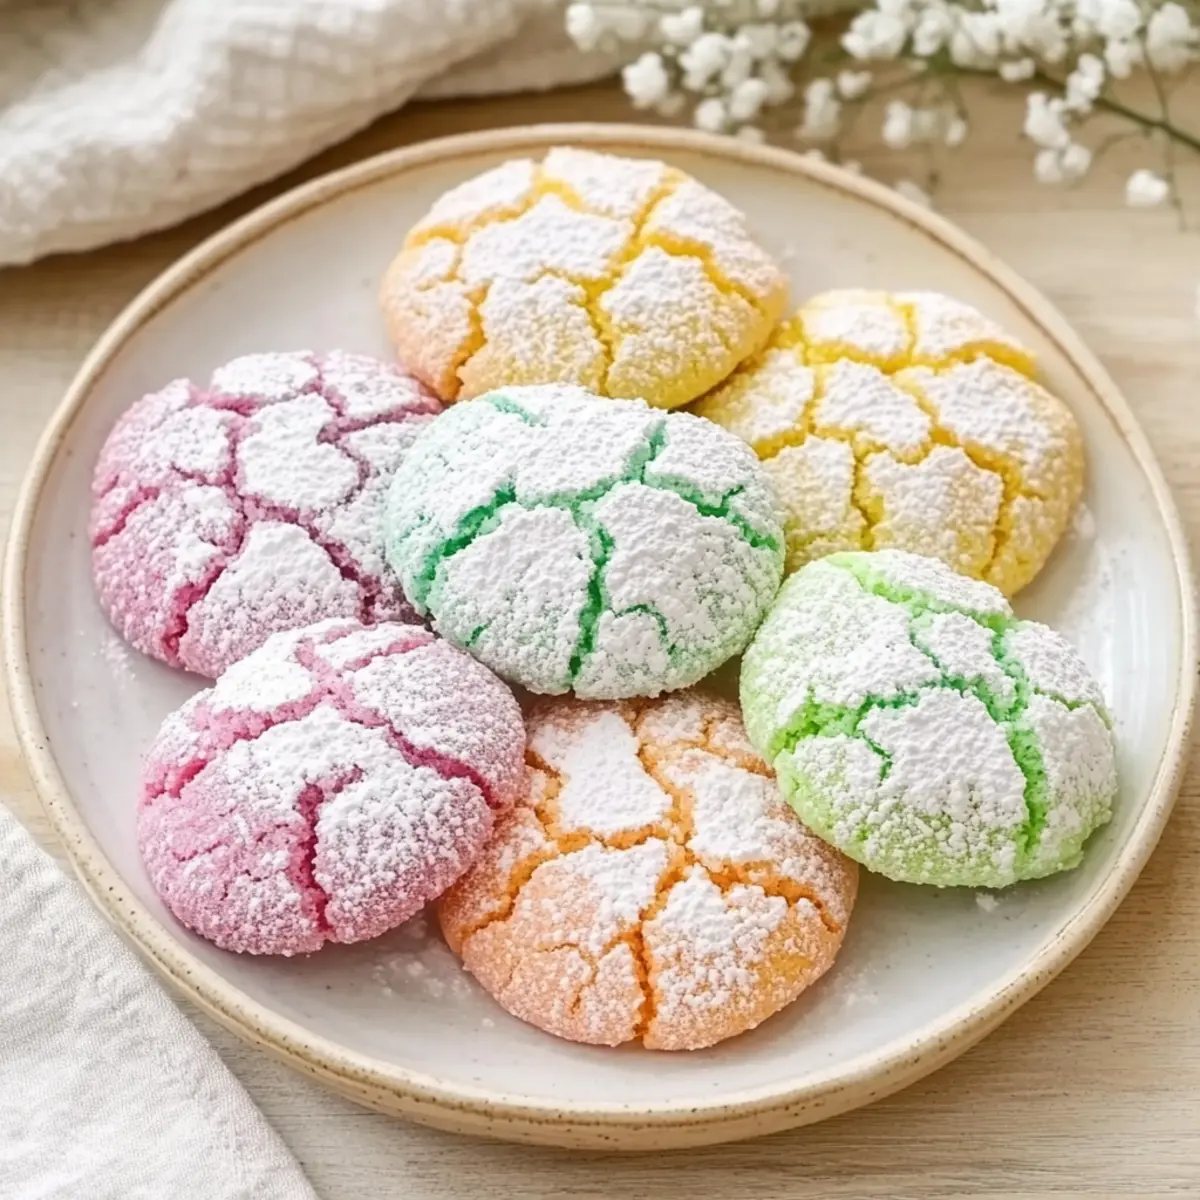
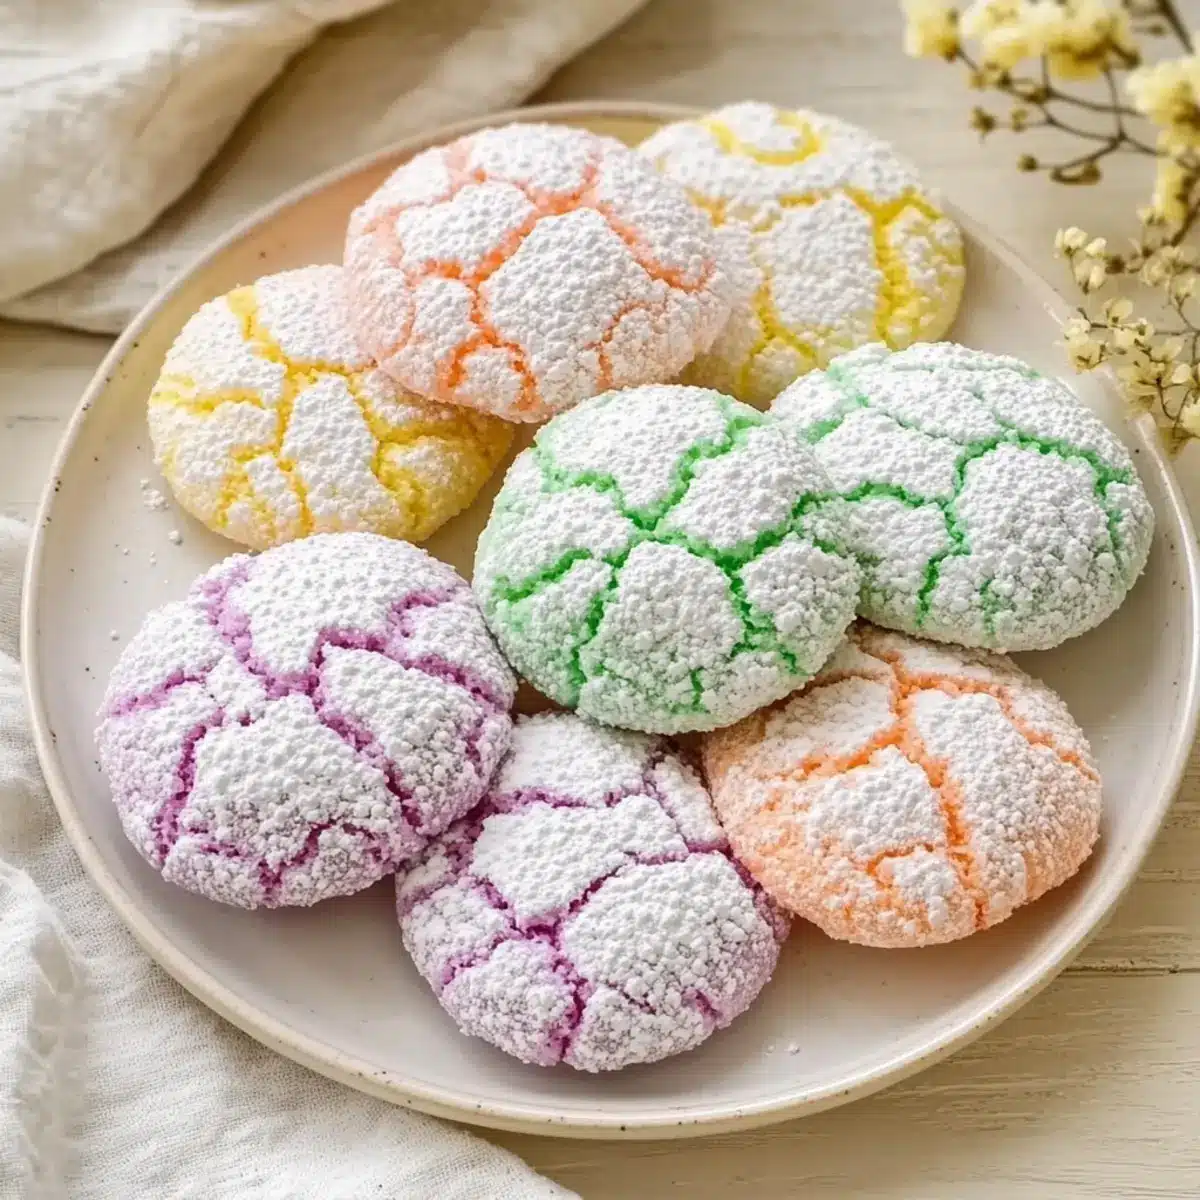
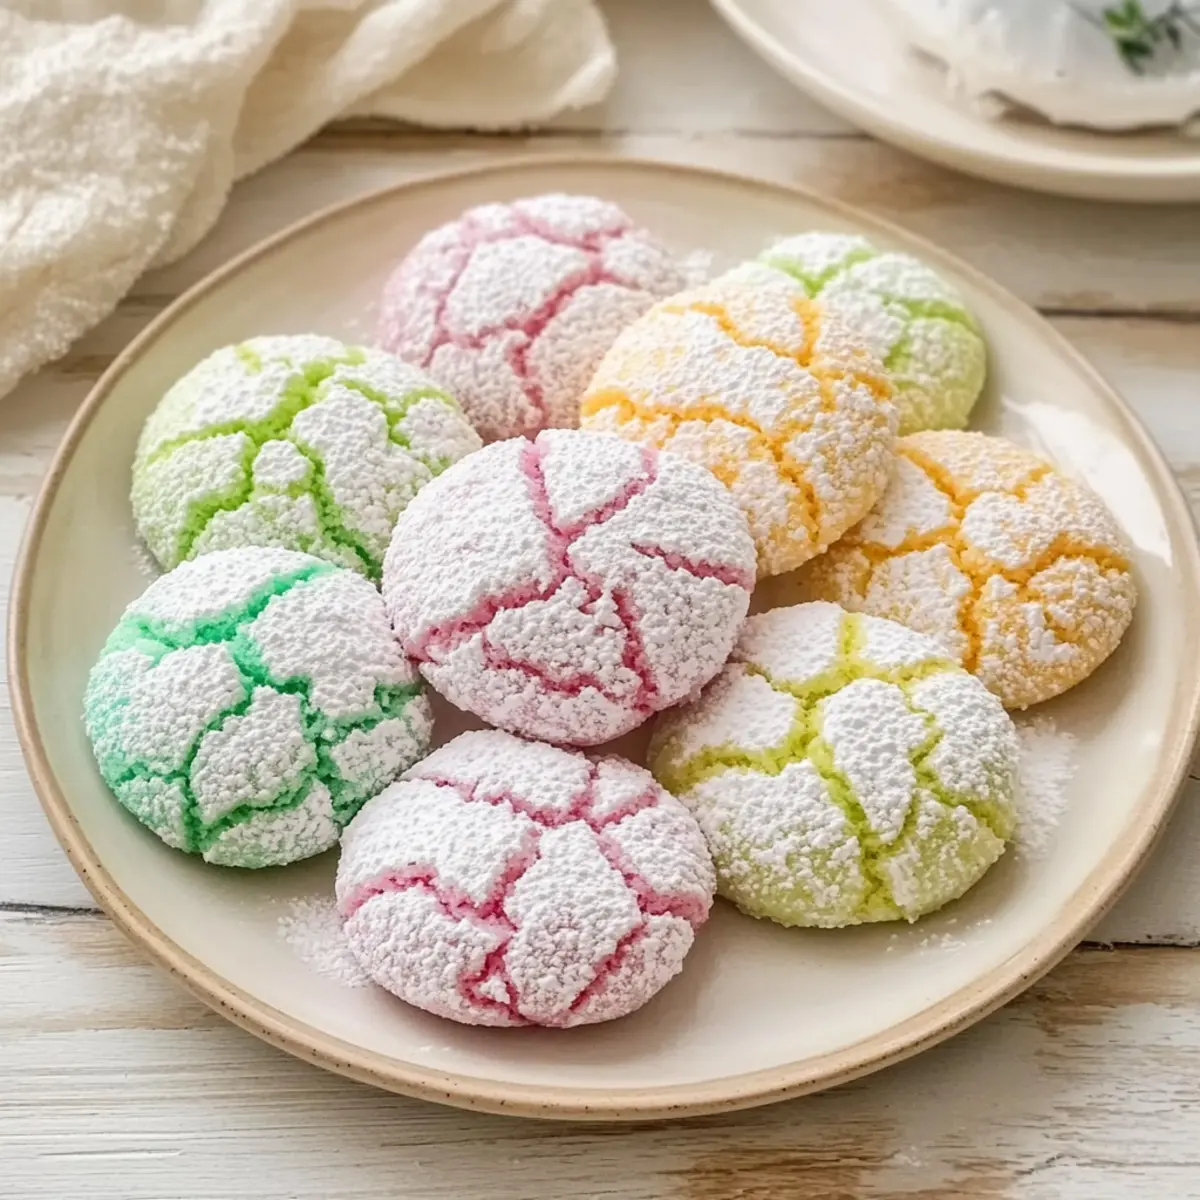
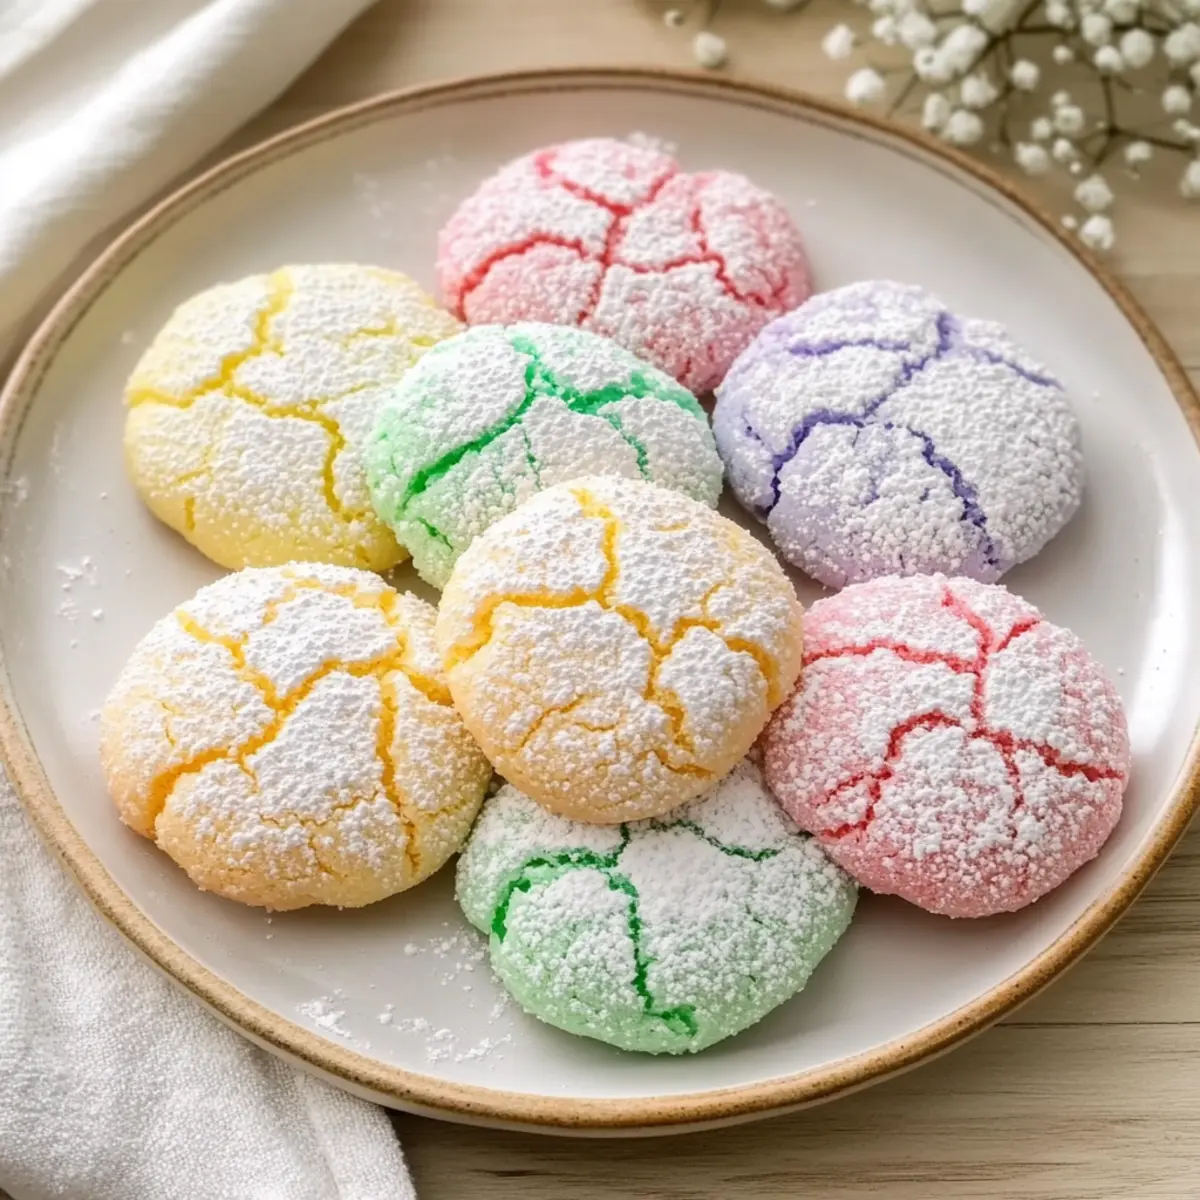
As spring unfolds its vibrant colors, I can’t help but crave something equally cheerful to brighten my baking routine. Enter my Springtime Crinkle Cookies! These delightful treats are a feast for the eyes and the palate, with their charming pastel hues and soft, chewy centers. They’re not just easy to whip up—perfect for any home chef looking to impress—they’re also a fabulous crowd-pleaser for Easter gatherings or simply a sweet pick-me-up during the afternoon. Made with just a handful of basic ingredients, these cookies can bring a sprinkle of joy into any moment. Ready to dive into a bakery-inspired adventure that’ll leave your kitchen filled with irresistible aromas? Let’s bake some magic!
Why Try Springtime Crinkle Cookies?
Bright, Cheery Colors: These cookies are a true celebration of spring with their stunning pastel hues that bring joy to any occasion.
Simple to Make: Even novice bakers can succeed here, as this straightforward recipe requires just a handful of ingredients and minimal prep time.
Irresistible Chewy Centers: The tender, soft interiors melt in your mouth, making each bite a delightful experience.
Perfect for Celebrations: Whether it’s Easter, a baby shower, or just a cheerful afternoon pick-me-up, these cookies are the ultimate crowd-pleaser.
Gift-Worthy Treats: Package them beautifully for a charming gift, or share them at gatherings to spread a little sweetness. Ready to take your baking skills up a notch? Pair these with my Red Velvet Crinkle or Kitchen Sink Cookies for a delightful cookie platter!
Springtime Crinkle Cookies Ingredients
To make these vibrant cookies, gather a few simple ingredients that will surprise you with their delightful flavors and textures.
For the Cookie Dough
- All-purpose flour – Provides structure; no substitutions necessary for best results.
- Baking powder – Helps the cookies rise; ensure freshness for optimal leavening.
- Salt – Enhances flavor; just a pinch is sufficient.
- Unsalted butter (softened) – Adds richness and moisture; can be substituted with margarine, but may alter taste.
- Granulated sugar – Sweetens cookies and contributes to texture; coconut sugar can be used for a unique twist.
- Large eggs – Binds ingredients and adds moisture for fluffiness; no substitutes recommended for integrity of the Springtime Crinkle Cookies.
- Vanilla extract – Provides comforting aroma and flavor; can be replaced with more almond extract if desired.
- Almond extract (optional) – Adds a light nutty note; omit if not preferred.
For the Fun Colors
- Powdered sugar – Coats dough balls, creating the signature crinkle effect; keep as is for best visual appeal.
- Gel food coloring (pastel shades) – Used to tint dough without affecting consistency; stick with gel for vibrant colors and avoid liquid coloring.
Step‑by‑Step Instructions for Springtime Crinkle Cookies
Step 1: Preheat the Oven
Begin by preheating your oven to 350°F (175°C). While it’s heating up, prepare a baking sheet by lining it with parchment paper, ensuring easy removal of your delightful Springtime Crinkle Cookies once baked. This initial preparation sets the stage for perfectly chewy cookies and helps manage your baking time efficiently.
Step 2: Mix the Dry Ingredients
In a medium-sized mixing bowl, whisk together 2 cups of all-purpose flour, 2 teaspoons of baking powder, and a pinch of salt until well combined. This step is crucial for achieving the ideal texture in your Springtime Crinkle Cookies, as the flour provides structure, while the baking powder ensures a lovely rise. Set the bowl aside and move on to the wet ingredients.
Step 3: Beat the Butter and Sugar
In a large mixing bowl, beat ½ cup of softened unsalted butter and 1 cup of granulated sugar using an electric mixer until the mixture is light and fluffy, which should take about 3-5 minutes. This step is essential for creating a tender cookie base. You’ll know it’s ready when the mixture looks pale and creamy, a delightful sign of goodness to come!
Step 4: Incorporate the Eggs and Extracts
Add in 2 large eggs, one at a time, mixing well after each addition to create a uniform batter. Then, gently stir in 1 teaspoon of vanilla extract and, if using, ½ teaspoon of almond extract. This flavor combination will enrich your Springtime Crinkle Cookies, infusing them with delightful aromas that fill your kitchen.
Step 5: Combine Dry and Wet Ingredients
Gradually fold the dry flour mixture into the wet ingredients until just combined. Be careful not to overmix; the dough should be thick and slightly sticky. This step ensures your cookies maintain their chewy centers while developing a lovely structure.
Step 6: Add Color and Chill the Dough
Divide the dough into equal portions, and mix in gel food coloring to achieve your desired pastel shades. Once colored, wrap the dough tightly in plastic wrap and refrigerate for at least 30 minutes. Chilling helps the flavors meld and makes the dough easier to handle, resulting in those perfect Springtime Crinkle Cookies.
Step 7: Shape the Cookies
After chilling, remove the dough and preheat your oven if you haven’t done so. Roll tablespoon-sized portions of the dough into balls, then roll them in powdered sugar to coat thoroughly. Place the coated dough on the prepared baking sheet, spacing them apart by about 2 inches. This gives the cookies the room they need to spread beautifully while baking.
Step 8: Bake to Perfection
Bake the cookies in the preheated oven for 10-12 minutes. Keep an eye on them: you’re looking for a beautiful crinkled top with edges that are set, while the centers remain slightly soft. Trust your instincts; they should look just barely underbaked as they cool to achieve that delightful chewiness.
Step 9: Cool and Serve
Once baked, allow the Springtime Crinkle Cookies to cool on the baking sheet for about 5 minutes. This brief resting time helps them to firm up. After that, carefully transfer them to a wire rack to cool completely. Enjoy the delightful aroma and the joyful crunch that awaits with each bite!
Springtime Crinkle Cookies Variations
Embrace your inner creativity with these fun twists on the classic Springtime Crinkle Cookies, adding your own personal touch to each batch!
-
Dairy-Free: Substitute unsalted butter with coconut oil for a dairy-free option while maintaining that delightful chewiness.
With its natural sweetness, coconut oil complements the vanilla flavor beautifully, creating a golden finish that’s just as rich and satisfying. -
Nutty Delight: Incorporate ½ cup of finely chopped nuts, such as walnuts or pecans, for an extra crunchy texture.
The addition of nuts not only provides a delightful contrast but also enhances the cookies’ flavor profile, making each bite a little celebration of spring! -
Fruit Flavored: Mix in 1 cup of white chocolate chips or dried fruit like cranberry or apricot for a fruity burst.
The sweetness of white chocolate pairs perfectly with pastel hues, adding unexpected joy with every mouthful—perfect for a colorful cookie platter! -
Spicy Kick: For a touch of warmth, add ½ teaspoon of cinnamon or a pinch of cayenne pepper to the dry ingredients.
This spices things up wonderfully, contrasting delightfully with the sweetness—perfect for those who love a little adventure in their treats! -
Additional Color Boost: Swap gel food coloring for natural alternatives like beet juice or turmeric for a festive twist.
This not only brightens up your cookies but also adds an interesting, wholesome flair that you can feel good about serving!
Why not double the fun? Pair these crinkle cookies with my Kitchen Sink Cookies for a delightful cookie assortment that’ll brighten any gathering!
Storage Tips for Springtime Crinkle Cookies
Room Temperature: Keep baked cookies in an airtight container at room temperature for up to 5 days. This helps retain their delightful chewiness and flavor.
Freezer: For long-term storage, freeze Springtime Crinkle Cookies in a single layer. Use a freezer-safe container or zip-top bag for up to 3 months. Make sure they’re cooled completely before freezing.
Reheating: When ready to enjoy, thaw cookies at room temperature. For a warm treat, reheat in the microwave for about 10-15 seconds, or enjoy them chilled for a delightful texture contrast!
Cookie Dough: If you want to make ahead, you can refrigerate the unbaked dough for up to 24 hours. Just allow it to sit at room temperature for a few minutes before rolling into balls and coating in powdered sugar.
Make Ahead Options
These Springtime Crinkle Cookies are a fantastic choice for meal prep, allowing you to savor homemade sweetness even on the busiest days! You can prepare the dough up to 24 hours in advance by mixing it as directed, dividing it into portions, and wrapping it tightly in plastic wrap before refrigerating. This chilling not only enhances the flavors but makes the dough easier to roll later, maintaining its quality. When you’re ready to bake, simply take the dough out, roll it in powdered sugar, and bake for approximately 10-12 minutes until the tops crack and the edges are set. Enjoy the convenience of freshly baked cookies with minimal effort!
What to Serve with Springtime Crinkle Cookies
Elevate your baking experience and make your gathering complete with delightful pairings that complement these vibrant treats!
- Fresh Fruit Salad: Bright, seasonal fruits add a refreshing crunch that balances the sweetness of the cookies beautifully.
- Creamy Vanilla Ice Cream: A scoop of rich vanilla ice cream on the side creates a delectable melt-in-your-mouth moment.
- Herbal Tea: Fragrant herbal teas such as chamomile or mint bring warmth and a subtle contrast to the cookie’s sweetness.
- Lemonade Sparkler: A citrusy lemonade adds a zesty twist that enhances the cheerful flavors of the Springtime Crinkle Cookies.
- Chocolate Dipped Strawberries: The combination of luscious chocolate and fresh strawberries makes a charming pairing for a festive touch.
- Coffee or Espresso: A rich cup of coffee or espresso balances the sweetness and elevates the flavors in each delightful bite.
- Cheesecake Bites: Mini cheesecake bites provide a creamy texture that complements the chewy cookie experience wonderfully.
- Chocolate Milkshake: Creamy, chocolatey milkshakes create a fun and playful dessert experience everyone will love.
- Nutty Biscotti: Crunchy, nutty biscotti offers a delightful contrast to the softness of the cookies, perfect for dunking.
- Pistachio Cream Dip: A light pistachio cream dip brings a unique flavor and adds an element of surprise to your dessert spread.
Expert Tips for Springtime Crinkle Cookies
-
Use Gel Coloring: Stick with gel food coloring to maintain dough consistency and achieve vibrant pastel hues. Liquid coloring can thin the dough too much.
-
Dusting Trick: Lightly dust your hands with powdered sugar when rolling the dough. This will prevent sticking and help keep those perfect shapes!
-
Chill for Success: Remember to chill the dough for at least 30 minutes. This not only enhances flavor but also makes shaping the cookies much easier.
-
Baking Watch: Keep an eye on the cookies while they bake. They should look slightly underbaked in the centers to ensure that delightful chew when you enjoy your Springtime Crinkle Cookies.
-
Cookie Storage: Store baked cookies in an airtight container at room temperature for up to five days. For longer freshness, freeze them for up to three months!
Springtime Crinkle Cookies Recipe FAQs
What kind of flour should I use for Springtime Crinkle Cookies?
For the best results, I recommend using all-purpose flour as it provides the right structure for these cookies. No substitutions are necessary; stick with all-purpose for a delightfully chewy texture!
How should I store my baked Springtime Crinkle Cookies?
You can keep your cookies stored in an airtight container at room temperature for up to 5 days. This helps maintain their delightful chewiness and freshness, ensuring you can enjoy them for several days.
Can I freeze Springtime Crinkle Cookies, and how?
Absolutely! To freeze, arrange the cookies in a single layer on a baking sheet and freeze until solid. Then transfer them to a freezer-safe container or zip-top bag, ensuring they’re tightly sealed. They’ll keep well for up to 3 months. When you’re ready to enjoy, simply thaw at room temperature or pop them in the microwave for a quick warm-up.
What if my dough is too sticky when making the cookies?
If you find that your dough is overly sticky, don’t worry! Simply chill it in the refrigerator for about 30 minutes. This will firm it up and make it easier to shape. Additionally, dust your hands with powdered sugar when rolling the dough to avoid sticking.
Are there any dietary considerations I should be aware of with these cookies?
Indeed! If you’re baking for someone with allergies, note that these cookies contain eggs and dairy (from the butter). You could substitute the butter with a dairy-free margarine and ensure that you’re using egg replacements suitable for their dietary needs. As always, read labels carefully!
Springtime Crinkle Cookies that Brighten Your Day
Ingredients
Equipment
Method
- Preheat your oven to 350°F (175°C) and line a baking sheet with parchment paper.
- Whisk together flour, baking powder, and salt in a medium bowl until well combined.
- Beat butter and granulated sugar in a large bowl until light and fluffy, about 3-5 minutes.
- Add eggs one at a time, mixing well after each addition, then stir in vanilla and almond extracts.
- Gradually fold the dry ingredients into the wet mixture until just combined.
- Divide the dough, mix in gel food coloring for desired pastel shades, then refrigerate for 30 minutes.
- Roll tablespoon-sized portions into balls, coat in powdered sugar, and space them on the baking sheet.
- Bake for 10-12 minutes until edges are set and centers are slightly soft.
- Allow cookies to cool on baking sheet for 5 minutes, then transfer to a wire rack to cool completely.
Leave a Reply