
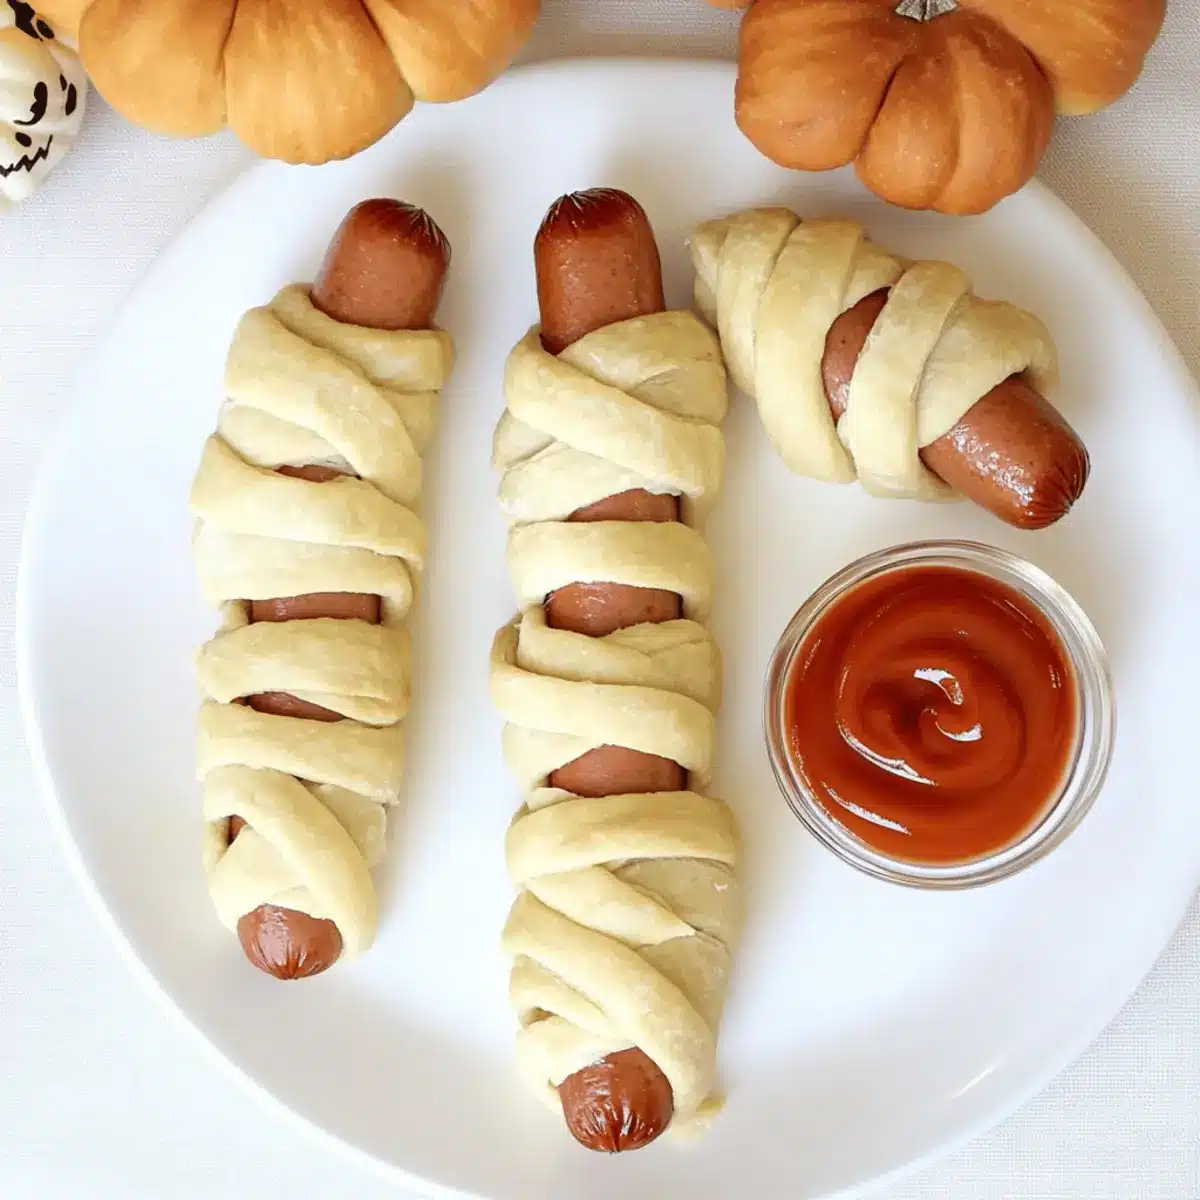
As the Halloween season creeps closer, my kitchen transforms into a playful battlefield of ghouls and goblins, and this year, I’m whipping up something delightfully spooky: Super Easy Mummy Hot Dogs! Just picture those adorable hot dogs, snugly wrapped in flaky crescent dough, ready to charm both kids and adults alike. In a mere 20 minutes, you can create this fun and tasty finger food that’s perfect for parties or a simple family dinner. These Mummy Hot Dogs are not only a crowd-pleaser but also a fantastic low-fuss treat that brings a dash of festive flair to any Halloween gathering. Who can resist a dish that’s this cute and easy? Let’s dive in and see how to craft these bewitchingly fun bites!
Why Are Mummy Hot Dogs So Fun?
Quick & Easy: These Mummy Hot Dogs whisk together in just 20 minutes, making them a stress-free addition to any Halloween gathering.
Kid-Friendly Fun: With their playful appearance, they’re sure to be a hit with the little ones, sparking joy in every bite.
Versatile Options: Swap out traditional hot dogs for veggie or turkey varieties for a healthier twist, or add cheese for an extra layer of flavor that kids will love.
Perfect for Parties: Whether it’s a spooky Halloween bash or a simple dinner, these bite-sized snacks are designed to impress guests without the hassle.
Flaky & Delicious: The golden, flaky crescent dough perfectly complements the juicy hot dogs inside, creating a delightful contrast of textures. For more tasty treats for your Halloween festivities, check out my Brown Sugar Peach recipe or explore some festive cookie ideas like Kitchen Sink Cookies.
Super Easy Mummy Hot Dogs Ingredients
Ready to create these spooky delights? Here’s what you’ll need:
For the Mummies
- Hot Dogs – These are the star of the dish, providing the savory filling everyone loves.
- Crescent Roll Dough – This flaky dough wraps around the hot dogs to create your cute mummies; feel free to use puff pastry as a tasty alternative.
For Serving
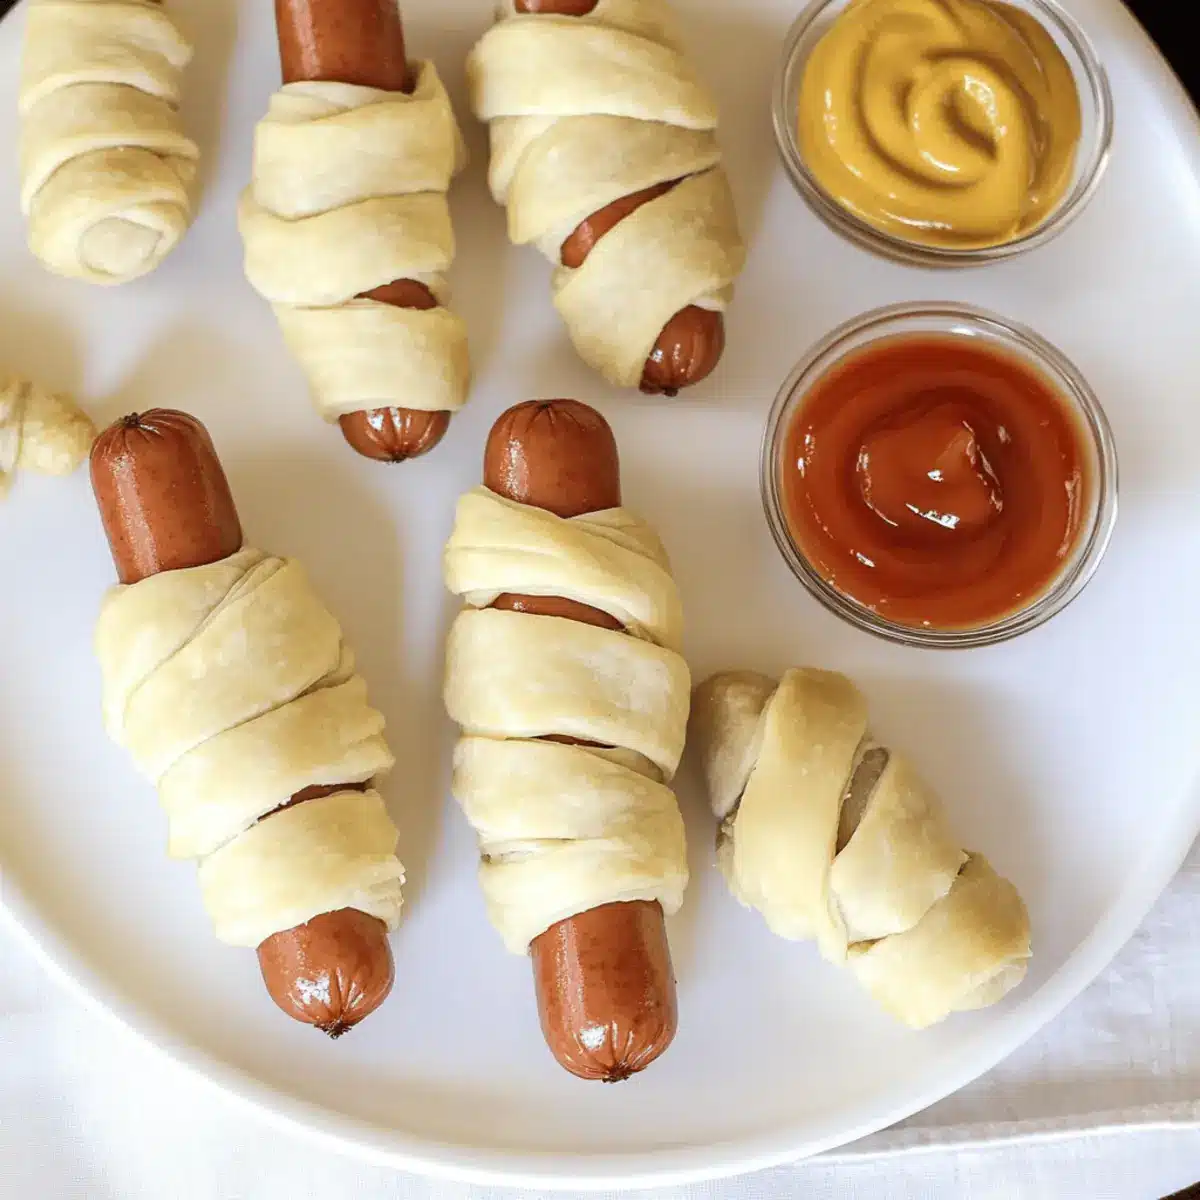
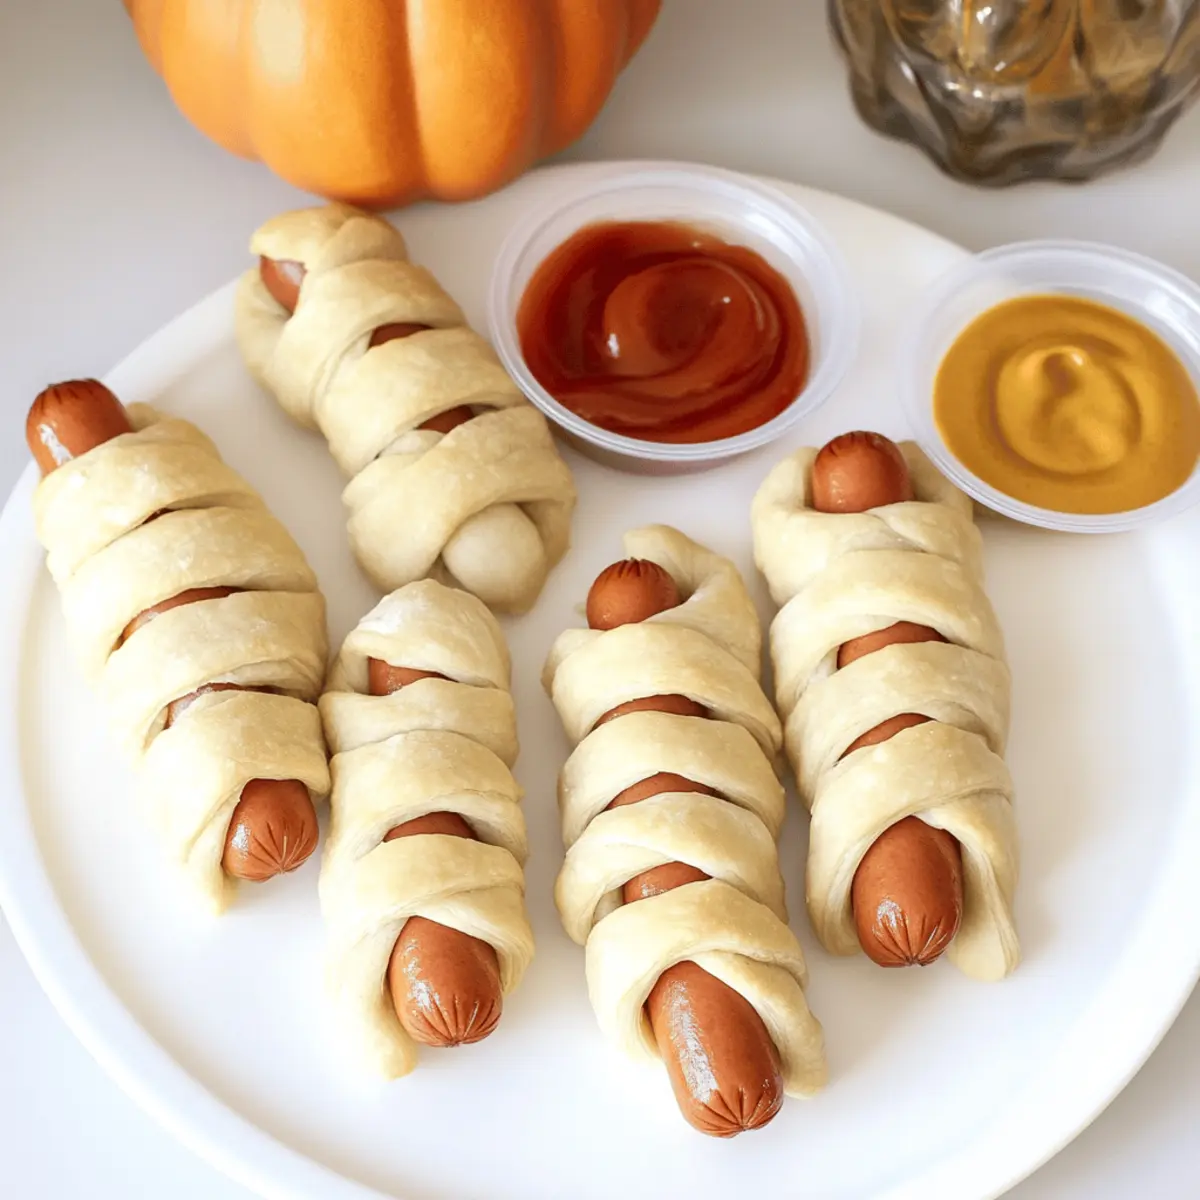
- Ketchup – A classic dipping sauce that pairs perfectly with the Mummy Hot Dogs.
- Mustard – For those who love a little tang with their treats; it adds a nice flavor contrast.
With these ingredients, you’ll be well on your way to making Super Easy Mummy Hot Dogs that are sure to delight both kids and adults at your Halloween celebrations!
Step‑by‑Step Instructions for Super Easy Mummy Hot Dogs
Step 1: Preheat the Oven
Begin by preheating your oven to 350°F (175°C). This temperature is crucial for ensuring that your crescent dough turns beautifully golden brown. While your oven warms up, gather your ingredients and equipment, including a baking sheet, which you’ll use later to bake those adorable Mummy Hot Dogs.
Step 2: Prepare the Hot Dogs
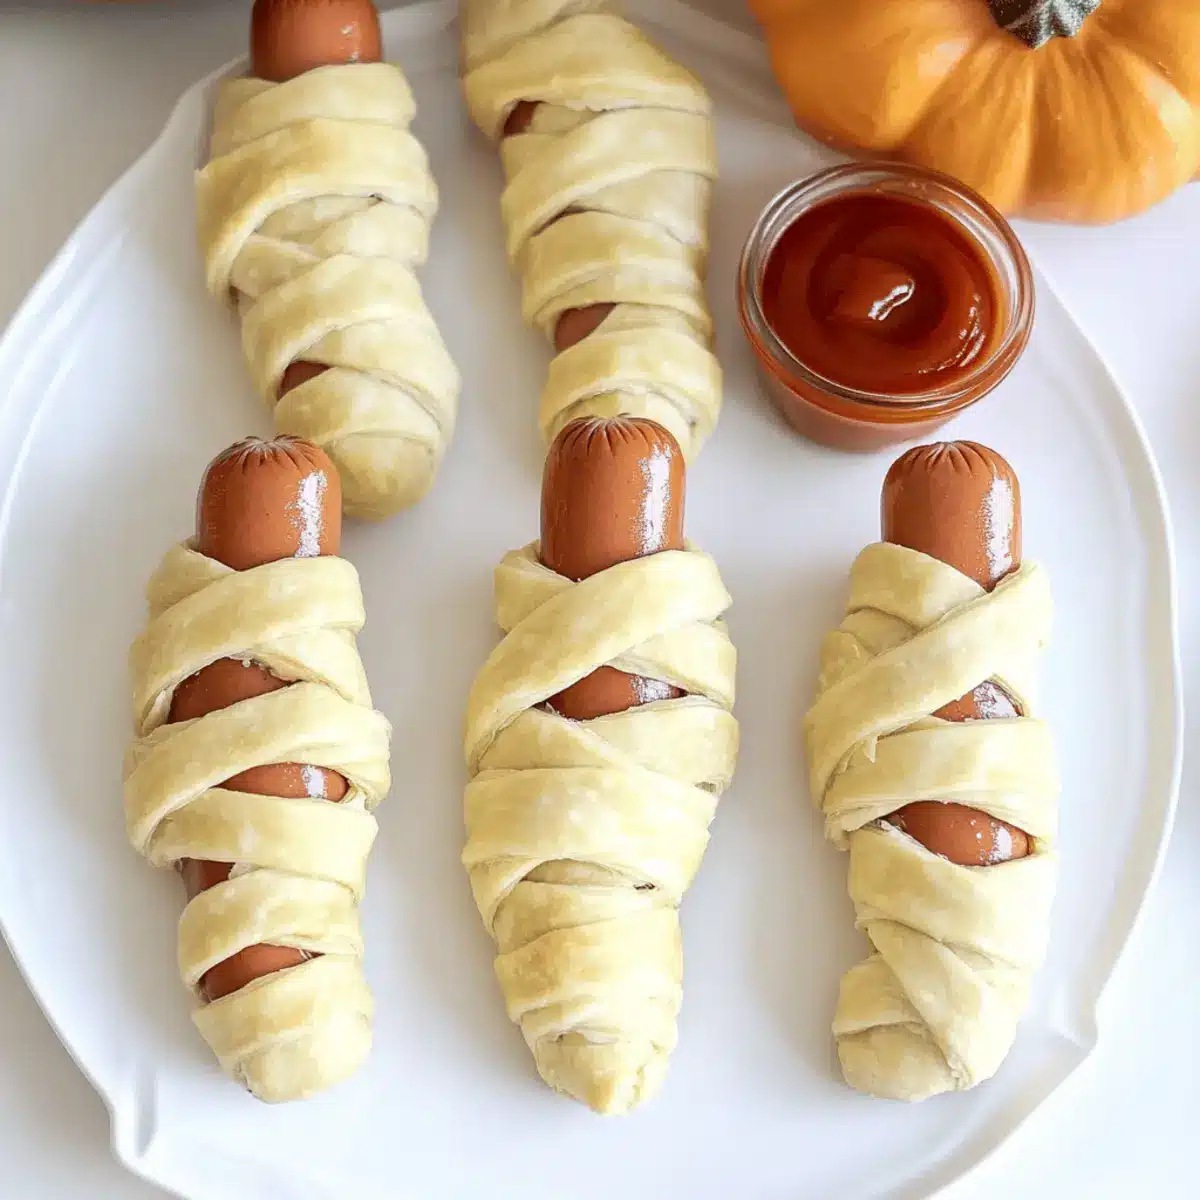
Next, take your hot dogs and, using a sharp knife, carefully make two cuts towards one end of each hot dog to create arms and legs. You’ll want to make sure to leave enough intact at the top for a cute mummy head. Set these prepared hot dogs aside, ready to be wrapped in flaky dough.
Step 3: Grease the Baking Sheet
Lightly grease your baking sheet with a cooking spray or a little oil to prevent the Mummy Hot Dogs from sticking during baking. This step is important since you want to enjoy all those crispy, flaky delights without worry. Once it’s prepared, set the baking sheet aside as you get ready to unwrap the crescent dough.
Step 4: Roll Out the Crescent Dough
Unroll your crescent roll dough on a clean cutting board. Using a sharp knife or pizza cutter, slice the dough into thin strips about half an inch wide. These strips will serve as the “bandages” for your Mummy Hot Dogs, so you’ll want to ensure they are even for a neat appearance.
Step 5: Wrap the Hot Dogs
Now it’s time to wrap your hot dogs! Take a strip of dough and start wrapping it around each hot dog, leaving gaps for the arms and legs to peek through. The quirky look of your Mummy Hot Dogs will make them extra appealing. Continue until all hot dogs are wrapped snugly and look like adorable little mummies.
Step 6: Arrange on the Baking Sheet
Carefully place your wrapped Mummy Hot Dogs onto the greased baking sheet. Make sure to leave a small space between each one for even cooking. The design is playful, and it’s fun to watch them grow golden and puffy as they bake, so be sure to arrange them well!
Step 7: Bake to Perfection
Slide your baking sheet into the preheated oven and bake for about 15 minutes. Keep an eye on your Mummy Hot Dogs; they’re ready when the crescent dough is puffed and a delightful golden brown. The visual contrast is not only tempting but smells absolutely heavenly!
Step 8: Cool and Serve
Once baked, remove the Mummy Hot Dogs from the oven and let them cool for 5–10 minutes. This cooling time allows the hot dogs to settle. Serve them alongside your favorite ketchup and mustard for dipping; these fun treats are sure to be a hit with kids and adults alike!
Expert Tips for Super Easy Mummy Hot Dogs
-
Cut Even Strips: Use a sawing motion when slicing the crescent dough to ensure you get thin, even strips, perfect for wrapping your Mummy Hot Dogs.
-
Added Creativity: Enhance their appearance by creating extra limbs with small pieces of dough, making the mummies even more playful and appealing.
-
Batch Cooking: If you’re hosting a crowd, consider doubling the ingredients to ensure there are plenty of Super Easy Mummy Hot Dogs for everyone to enjoy.
-
Safe Baking: Remember to keep an eye on your Mummy Hot Dogs while baking. They should be golden brown and puffy; any darker, and they risk burning.
-
Dipping Fun: Pair with fun Halloween-themed dipping sauces for extra flavor and enjoyment; kids particularly love the classic ketchup and mustard combo.
Super Easy Mummy Hot Dogs Variations
Feel free to get creative with these fun and delicious variations, making this Halloween treat perfectly yours!
-
Veggie Version: Swap traditional hot dogs for vegetarian or turkey hot dogs for a healthier twist. Your little ghouls won’t even notice the difference!
-
Cheesy Delight: Add a slice of cheese inside each hot dog before wrapping for a gooey, cheesy surprise that’s sure to delight.
-
Spicy Kick: Wrap jalapeño poppers in crescent dough instead of hot dogs for a spicy, flavorful treat that adults will love.
-
Herb-Infused Dough: Sprinkle a pinch of Italian herbs on your dough strips for an aromatic twist that complements the savory hot dog perfectly.
-
Sweet Touch: For dessert, try wrapping apple slices with cinnamon and crescent dough, creating a sweet treat that pairs well with caramel dipping sauce.
-
Double Dipping: Serve with a Halloween-themed dipping sauce, like a spooky green pesto or orange ranch dressing, to elevate the fun!
-
Bite-Sized Mummies: Cut hot dogs into smaller pieces for mini versions, perfect for little hands and fun party snacks.
-
Warm Your Heart: For a seasonal touch, throw in some pumpkin spice into your dipping sauces, turning every bite into a flavorful fall feast!
For more delightful and easy recipes that will elevate your Halloween celebrations, don’t forget to try my Brown Sugar Peach dessert or whip up some yummy Kitchen Sink Cookies for those sweet cravings!
What to Serve with Super Easy Mummy Hot Dogs
Elevate your Halloween gathering with scrumptious sides and fun treats that complement these adorable Mummy Hot Dogs beautifully.
-
Crispy French Fries: Golden and crunchy, they provide a satisfying contrast to the flaky dough and juicy hot dogs.
-
Pumpkin Soup: A warm, creamy bowl of pumpkin soup evokes the spirit of fall and pairs delightfully with the savory flavors of the hot dogs.
-
Coleslaw: The crunch and tanginess of coleslaw adds a refreshing balance to the richness of the Mummy Hot Dogs, making for a well-rounded meal.
-
Veggie Platter: Colorful veggies with a zesty dip offer a crunchy, fresh element that complements the savory taste and adds a healthy touch.
-
Cheese Quesadillas: Soft, cheesy quesadillas can be sliced into spooky shapes and are a comforting favorite that both kids and adults will love.
-
Blood Orange Lemonade: A fun, Halloween-themed drink that’s refreshingly tangy, perfect for washing down your delicious Mummy Hot Dogs!
-
Chocolate-Covered Strawberries: End on a sweet note with these decadent treats; their vibrant color and mild sweetness contrast the savory appetizers beautifully.
-
Halloween Cake Pops: Festively decorated cake pops can add a touch of whimsy and sweetness, making them a delightful finish to your meal.
Storage Tips for Super Easy Mummy Hot Dogs
Fridge: Store leftover Mummy Hot Dogs in an airtight container for up to 3 days. The dough may lose some crispiness, but they still make a delicious snack!
Freezer: For longer storage, freeze baked Mummy Hot Dogs individually wrapped in plastic wrap and then in a freezer-safe bag for up to 2 months.
Reheating: To retain some crunch, reheat in the oven at 350°F (175°C) for about 10-15 minutes. Avoid the microwave, as it can make the dough soggy.
Make-Ahead: You can prepare the wrapped but uncooked Mummy Hot Dogs and refrigerate them for up to 1 day before baking, making it easy to get dinner on the table.
Make Ahead Options
These Super Easy Mummy Hot Dogs are a fantastic meal prep choice for busy Halloween festivities! You can prepare the wrapped hot dogs up to 24 hours in advance by assembling them and then covering the baking sheet tightly with plastic wrap before refrigerating. This will help maintain the dough’s freshness and prevent it from drying out. When you’re ready to bake, simply remove the plastic wrap and pop them directly into the preheated oven. They’ll be just as delightful and flaky, ensuring a delicious treat that saves you time and stress on party day. Enjoy the convenience of having these spooky snacks ready to go when you need them!
Super Easy Mummy Hot Dogs Recipe FAQs
What type of hot dogs can I use for Mummy Hot Dogs?
Absolutely! You can use any regular hot dog variety for this recipe, including classic beef, turkey, or even vegetarian options. The choice is yours, and it can cater to different dietary preferences while still being delicious!
How should I store leftover Mummy Hot Dogs?
Store any leftover Mummy Hot Dogs in an airtight container in the fridge for up to 3 days. While the dough may lose some of its crispiness, reheating them in the oven can help restore some texture.
Can I freeze Mummy Hot Dogs?
Yes, you certainly can! To freeze baked Mummy Hot Dogs, wrap each one individually in plastic wrap, then place them in a freezer-safe bag. They can be stored for up to 2 months. When you’re ready to enjoy them, just reheat in the oven at 350°F (175°C) for about 10-15 minutes for best results.
What if I make too many Mummy Hot Dogs?
No problem! If you find yourself with more Mummy Hot Dogs than you can eat, simply follow the freezing instructions above. If you’ve made them but haven’t baked them yet, you can refrigerate the wrapped hot dogs for up to 1 day before popping them in the oven.
Are there any allergy considerations for Mummy Hot Dogs?
Yes, since this recipe contains hot dogs and crescent dough, be sure to check for any allergies to these ingredients. For those sensitive to gluten, you can seek gluten-free versions of crescent dough and opt for hot dogs that align with dietary needs.
How can I ensure my Mummy Hot Dogs bake evenly?
To achieve perfectly baked Mummy Hot Dogs, leave a small space between them on the baking sheet. This allows for better airflow and even cooking. Also, keep an eye on them to remove from the oven when the dough is a beautiful golden brown, which should take about 15 minutes. Enjoy the delightful aroma while they bake!
Super Easy Mummy Hot Dogs: Fun Halloween Snacks Everyone Loves
Ingredients
Equipment
Method
- Preheat your oven to 350°F (175°C).
- Prepare the hot dogs by making two cuts towards one end to create arms and legs.
- Grease the baking sheet with cooking spray or oil.
- Roll out the crescent dough and slice into thin strips about half an inch wide.
- Wrap the strips of dough around each hot dog, leaving gaps for arms and legs.
- Arrange the wrapped hot dogs onto the greased baking sheet with space in between.
- Bake for about 15 minutes until the crescent dough is puffed and golden brown.
- Cool for 5-10 minutes before serving with ketchup and mustard.
Leave a Reply