
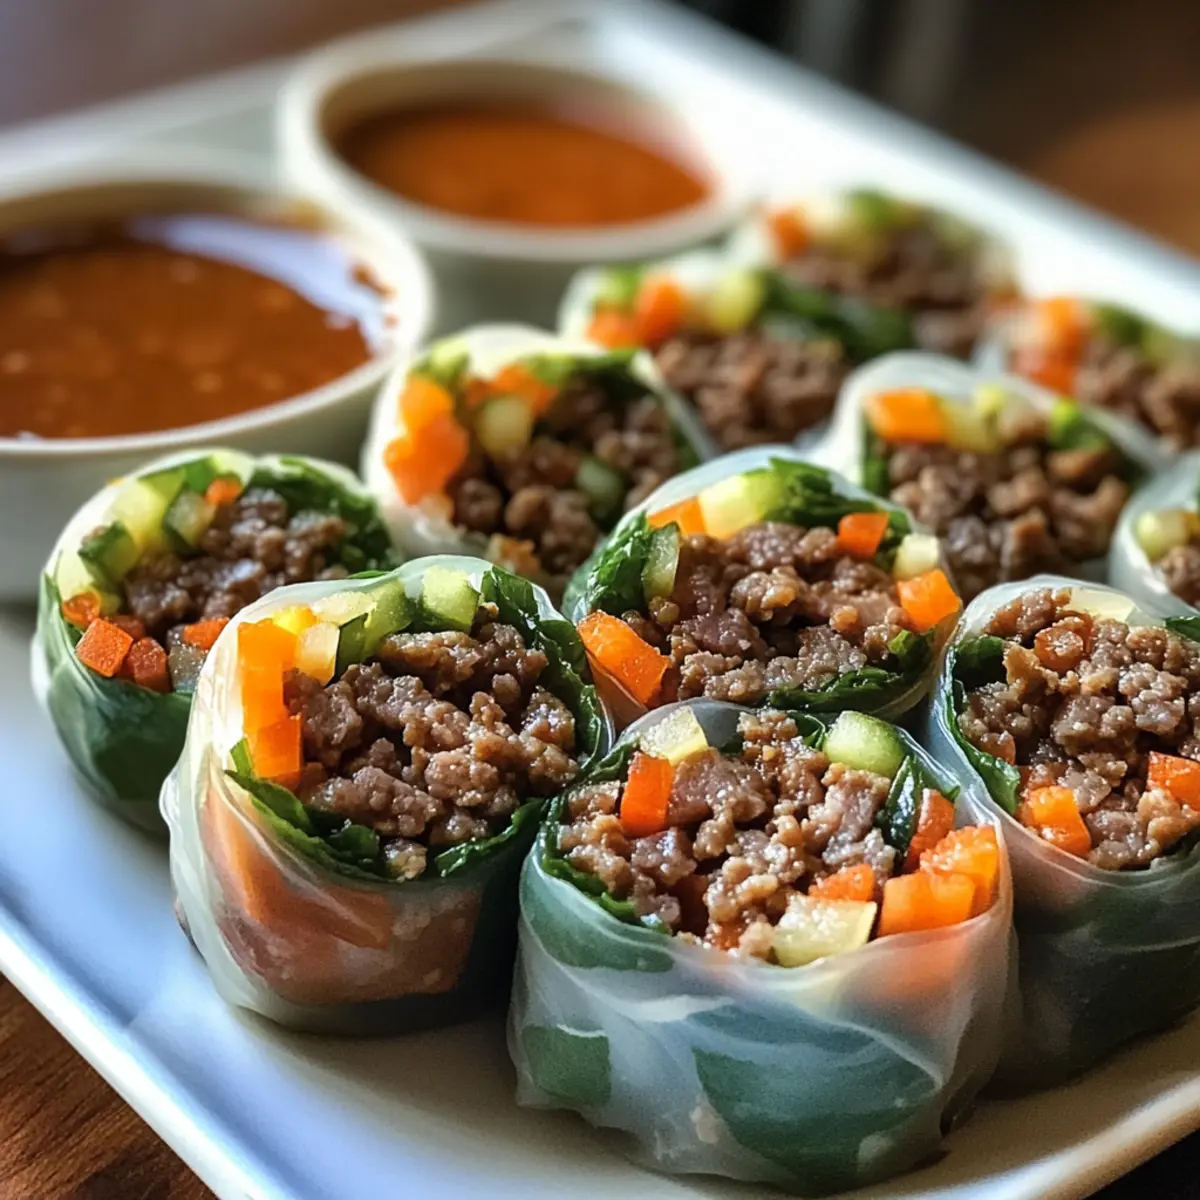
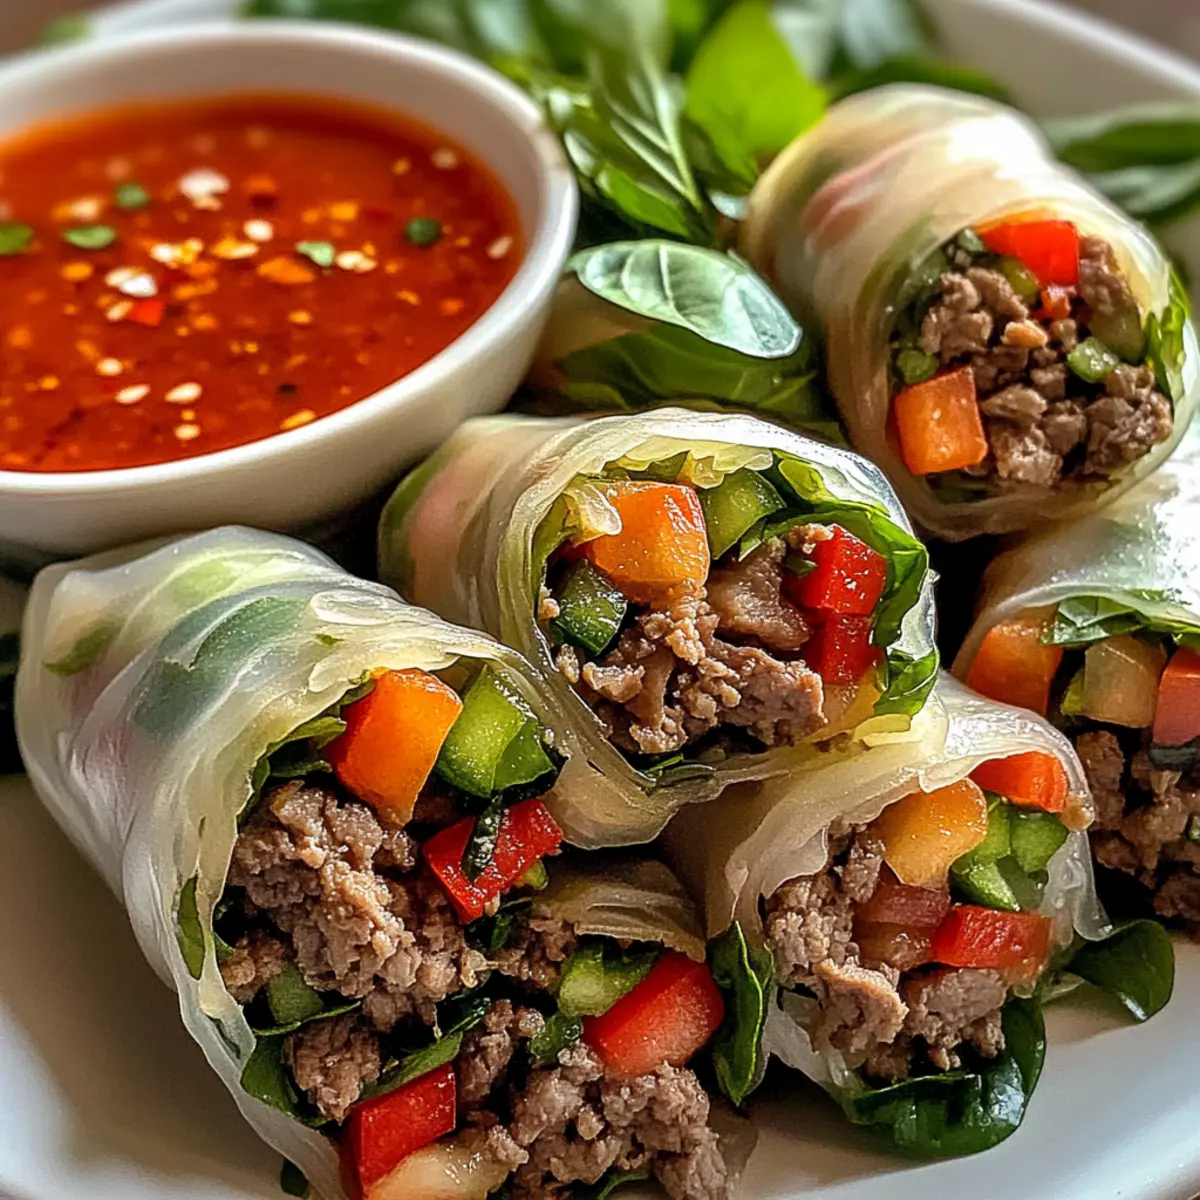
As I sank my teeth into a beautifully wrapped Thai Basil Beef Roll, a delightful contrast of textures instantly sparked joy. These rolls are a refreshing escape from fast food, combining savory stir-fried beef with fragrant Thai basil and crisp veggies, all bundled in delicate rice paper. Not only are they a fun and interactive appetizer, but they’re also an adaptable meal option—perfect for using up any proteins you have on hand, whether it’s ground turkey, chicken, or even shrimp. With gluten-free options available too, these Thai Basil Beef Rolls will impress your family and friends, making each gathering feel extra special. Curious about crafting these fresh delights in your kitchen? Let’s roll into this flavorful adventure together!
Why are Thai Basil Beef Rolls a must-try?
Freshness: The lively combination of crisp vegetables and fragrant herbs gives each bite a refreshing zing that contrasts beautifully with the savory beef.
Versatile: You can easily swap out the protein, using ground turkey, chicken, or even shrimp depending on what you have in your fridge!
Gluten-Free Friendly: With simple adjustments, you can enjoy these rolls without worry, making them suitable for all dietary needs.
Interactive Appetizer: Get everyone involved in the kitchen – rolling these beauties is a fun activity for family and friends alike! Consider pairing them with a light salad or other Thai-inspired dishes for a flavor-packed meal.
Quick Preparation: These rolls come together in no time, perfect for when you’re short on time but still want something delicious and homemade. Enjoy the satisfaction of impressing your guests with this satisfying dish!
Thai Basil Beef Rolls Ingredients
For the Filling
- Ground Beef – The main protein, offering richness and flavor; you can substitute with ground turkey or shrimp for lighter options.
- Garlic – Provides aromatic flavor; freshly minced garlic is the best choice for maximum aroma.
- Red Chili – Introduces heat and vibrant color; swap it out for jalapeño if you prefer a milder taste.
- Thai Basil – Essential for authentic flavor; sweet basil and mint can be used if Thai basil is unavailable.
For the Sauce
- Soy Sauce – Provides umami and saltiness; opt for gluten-free soy sauce (tamari) if needed.
- Fish Sauce – Adds a savory depth; you can use additional soy sauce for a vegetarian-friendly version.
- Brown Sugar – Balances flavors with sweetness; honey or coconut sugar make great substitutes.
- White Pepper – Adds mild heat and a unique flavor; black pepper can work as an alternative.
For Assembly
- Rice Paper Wrappers – Encases the filling; keep them dry and cool to ensure they don’t tear.
- Fresh Mint or Cilantro – Adds brightness; use any combination of fresh herbs for enhanced flavor.
- Lettuce or Baby Spinach (optional) – Provides a nice crunch; you can omit this if you prefer.
For Dipping Sauce
- Sesame Oil – Adds nuttiness and depth to the dipping concoction; feel free to customize based on taste preferences.
- Rice Vinegar – Provides a tangy contrast; adjust the quantity depending on the desired sweetness level.
- Chili Flakes – Adds a kick of spice; you can simply leave this out for a milder sauce.
Begin your journey in creating delectable Thai Basil Beef Rolls! The combination of these fresh ingredients will not only nourish but also excite your palate, making it a perfect dish for gatherings or a delightful weeknight meal!
Step‑by‑Step Instructions for Thai Basil Beef Rolls
Step 1: Sauté Aromatics
Begin by heating a tablespoon of sesame oil in a large skillet or wok over medium heat. Once shimmering, add in minced garlic and sliced red chili, sautéing for about 30 seconds until fragrant. This initial step sets the flavor foundation for your Thai Basil Beef Rolls, filling your kitchen with delightful aromas.
Step 2: Cook the Beef
Next, add the ground beef to the skillet, breaking it apart with a spatula. Cook for 5-7 minutes, stirring occasionally, until the beef is browned and cooked through. Make sure there are no pink bits left; this is crucial for the perfect savory filling in your Thai Basil Beef Rolls.
Step 3: Season the Mix
Stir in soy sauce, fish sauce, brown sugar, and white pepper, adjusting the heat to medium-low. Cook for an additional 2-3 minutes, allowing the sauce to thicken slightly and coat the beef. You’ll know it’s ready when the mixture turns glossy and the sugar has dissolved completely, enhancing the rich flavor profile.
Step 4: Incorporate Basil
Remove the skillet from heat and fold in the chopped Thai basil, mixing until the fresh herbs are evenly distributed throughout the beef mixture. Allow the filling to cool for a few minutes; this will prevent the rice paper from tearing when you begin to roll your Thai Basil Beef Rolls.
Step 5: Prepare Rolling Station
Set up your rolling station by filling a shallow dish with warm water to soak the rice paper wrappers. Lay a clean, damp surface nearby—this will make assembling your Thai Basil Beef Rolls easier and help prevent sticking.
Step 6: Soak the Rice Paper
Take a rice paper wrapper and immerse it in the warm water for 5-8 seconds until it becomes pliable but firm. Carefully remove it and lay it flat on your damp surface, ensuring it maintains its shape as you prepare to fill it.
Step 7: Add Filling and Vegetables
In the center of the rice paper, layer a few basil or mint leaves, followed by a generous portion of the beef mixture. Then, add a few slices of carrots, cucumber, and onions for added crunch and freshness. This colorful assembly is what makes your Thai Basil Beef Rolls visually appealing and flavorful.
Step 8: Roll Them Up
Begin by folding the bottom of the rice paper over the filling. Tuck in the sides to seal, then roll it up tightly from the bottom, similar to wrapping a burrito. Ensure it’s snug to hold all the delicious contents inside without tearing the wrapper.
Step 9: Slice and Arrange
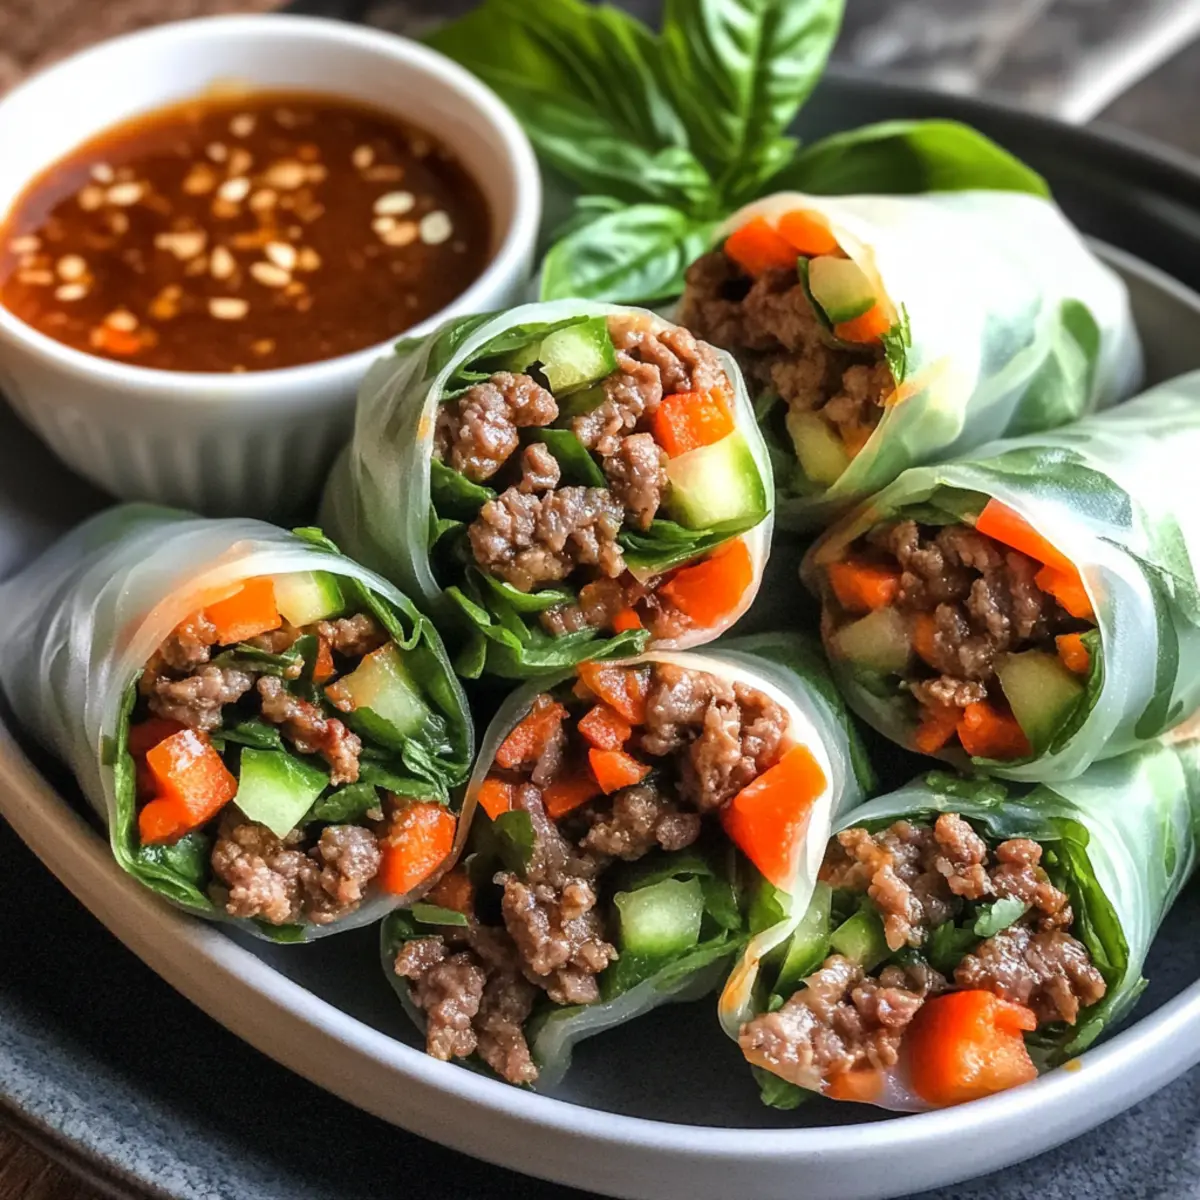
Continue this process with the remaining ingredients until you have a lovely platter of Thai Basil Beef Rolls. Once rolled, use a sharp knife to slice each roll in half, displaying the colorful fillings. This presentation invites guests to dive right in!
Step 10: Mix the Dipping Sauce
In a small bowl, combine soy sauce, rice vinegar, honey, sesame oil, minced garlic, and chili flakes to make your sweet-spicy dipping sauce. Adjust the flavors according to your preference, ensuring a perfect balance to complement the fresh tastes of the rolls.
Step 11: Serve and Enjoy
Arrange your beautifully crafted Thai Basil Beef Rolls on a serving platter, alongside the freshly made dipping sauce. You can garnish with extra herbs for added flair. It’s time to gather everyone and relish in this delightful dish—you’ve earned it!
What to Serve with Thai Basil Beef Rolls
Elevate your dining experience by pairing these delicious rolls with complementary sides and drinks that balance flavors and textures.
-
Coconut Rice: This subtly sweet and fragrant rice dish enhances the savory flavors of the beef rolls, making every bite blissfully harmonious. It’s an excellent base for soaking up any dip too!
-
Thai Green Papaya Salad: With its crunchy texture and zesty lime dressing, this salad provides a refreshing contrast that’s both spicy and sweet—perfect for cleansing the palate.
-
Fresh Summer Rolls: Light and packed with veggies, these rolls offer a similar hand-held fun factor while delivering a burst of fresh flavor that harmonizes beautifully with the Thai Basil Beef Rolls.
-
Spicy Peanut Sauce: Rich, creamy, and slightly spicy, this dipping sauce adds another layer of flavor while satisfying that craving for something nutty, making each roll an unforgettable experience.
-
Crispy Spring Rolls: These golden treats offer a delightful crunch that contrasts with the tender beef rolls, all while keeping within the delicious Thai theme.
-
Herbal Tea: Serve with a cup of jasmine or lemongrass tea to cleanse the palate and complement the herby flavors of the rolls. The delicate aroma and lightness will enhance the overall dining experience.
How to Store and Freeze Thai Basil Beef Rolls
Fridge: Store leftover Thai Basil Beef Rolls in an airtight container for up to 3 days. Be sure to separate layers with parchment paper to avoid sticking.
Make-Ahead: You can prepare the rolls a day in advance! Wrap them tightly in plastic wrap and keep them in an airtight container in the fridge until you’re ready to serve.
Freezer: Avoid freezing as rice paper wrappers can become soggy and lose their texture upon thawing, which detracts from the deliciousness of your Thai Basil Beef Rolls.
Reheating: If desired, briefly microwave the rolls for about 15-20 seconds or enjoy them cold as they are refreshing and full of flavor!
Make Ahead Options
These Thai Basil Beef Rolls are perfect for meal prep, saving you time on busy weeknights! You can prepare the beef filling up to 24 hours in advance. Simply cook and cool the beef mixture, then refrigerate it in an airtight container. The rice paper wraps can also be soaked and prepared up to 2 hours before serving (just keep them covered with a damp cloth to prevent drying out). When you’re ready to serve, roll the rice paper with the cooled filling and fresh veggies. This way, you’ll have delicious, fresh Thai Basil Beef Rolls ready to impress your family and friends with minimal effort!
Variations & Substitutions for Thai Basil Beef Rolls
Feel free to tweak this recipe to suit your taste! The possibilities are endless, making each culinary creation uniquely yours.
- Dairy-Free: If you want to keep things light, just omit any dairy in the dipping sauce and enjoy the flavors as they are!
- Alternate Proteins: Swap ground beef for ground turkey, chicken, or shrimp to customize your rolls based on dietary preferences. Each option brings its own delicious twist.
- Spicy Boost: Want more heat? Add a few extra red chilies or a splash of sriracha to your filling for a spicy punch that will awaken your taste buds.
- Veggie-Filled: For an even healthier option, add in sautéed mushrooms or bell peppers to the beef mixture—these will add extra textures and flavors to your rolls.
- Herb Variations: If you can’t find Thai basil, use a mix of sweet basil and fresh mint for a different yet delightful taste that keeps the freshness intact.
- Crunchy Extras: Add shredded carrots or thinly sliced bell peppers directly into the fillings to amp up the crunch factor and visual appeal—everyone will love the added bite.
- Sweet-Sour Sauce: Experiment with a sweet-sour dipping sauce by mixing tamarind paste with honey and a splash of lime juice for a vibrant flavor contrast; it’s a game-changer!
- Make It a Meal: Serve these rolls with a side of Crockpot Thai Coconut soup for a cozy and satisfying dinner that warms your heart.
These variations not only cater to different taste preferences but also make meal prep fun! Each roll can be a delightful surprise, keeping everyone excited at the dinner table.
Expert Tips for Thai Basil Beef Rolls
- Cool the Filling: Allow the beef filling to cool before rolling to prevent tearing the rice paper, ensuring a beautiful presentation.
- Damp Surface: Roll on a damp surface to minimize sticking while working. This small tip can save you from frustration!
- Perfect Soaking: Don’t over-soak the rice paper; it should be pliable yet firm, creating the ideal texture for your Thai Basil Beef Rolls.
- Use Fresh Herbs: Fresh mint and cilantro can elevate flavors; feel free to mix them in for an aromatic twist in every bite!
- Slice Carefully: Use a sharp knife for slicing the rolls to preserve their shape and showcase the colorful filling inside.

Thai Basil Beef Rolls Recipe FAQs
What type of meat is best for Thai Basil Beef Rolls?
Absolutely! While ground beef is the traditional choice and offers rich flavor, you can easily substitute it with ground turkey, chicken, or even finely chopped shrimp. Each protein brings its own unique taste and texture, allowing you to customize your rolls based on personal preferences or what’s available in your kitchen.
How should I store leftover Thai Basil Beef Rolls?
Very simply! Store your leftover rolls in an airtight container in the fridge for up to 3 days. To prevent them from sticking together, separate layers with parchment paper. This way, you can enjoy the freshness and flavors even a few days later!
Can I freeze Thai Basil Beef Rolls?
It’s best to avoid freezing because the rice paper wrappers can become soggy and lose their delightful texture when thawed. If you must freeze them, I recommend preparing the filling and storing that in the freezer instead, then rolling the fresh wrappers just before serving.
How do I know when my rice paper is ready for wrapping?
The perfect texture is key! Soak the rice paper in warm water for 5-8 seconds until it’s pliable yet still firm. If it’s too soft and sticky, it’s likely to tear, which can ruin your rolls. Practice makes perfect, so don’t worry if your first few aren’t picture-perfect!
What if someone has a gluten allergy?
No worries at all! Just use gluten-free soy sauce, often labeled as tamari, and ensure that your other ingredients, like the fish sauce, are gluten-free. This way, everyone can enjoy delicious Thai Basil Beef Rolls without any concerns!
Can I make the filling in advance?
Yes, indeed! You can prepare the beef filling a day ahead of time. Simply let it cool, store it in an airtight container in the fridge, and roll your Thai Basil Beef Rolls just before serving for the best texture and flavor!
Savory Thai Basil Beef Rolls with Fresh Herby Crunch
Ingredients
Equipment
Method
- Sauté garlic and red chili in sesame oil until fragrant.
- Add ground beef, cook until browned and no pink remains.
- Stir in soy sauce, fish sauce, brown sugar, and white pepper; cook until sauce thickens.
- Fold in chopped Thai basil; allow filling to cool.
- Set up a rolling station with warm water and a damp surface.
- Soak rice paper until pliable, then lay on damp surface.
- Layer filling, fresh herbs, and optional veggies in the center of rice paper.
- Roll up tightly, folding sides in to seal.
- Slice rolls in half for presentation.
- Mix soy sauce, rice vinegar, honey, sesame oil, garlic, and chili flakes for dipping sauce.
- Serve rolls with dipping sauce and garnish with herbs.
Leave a Reply