
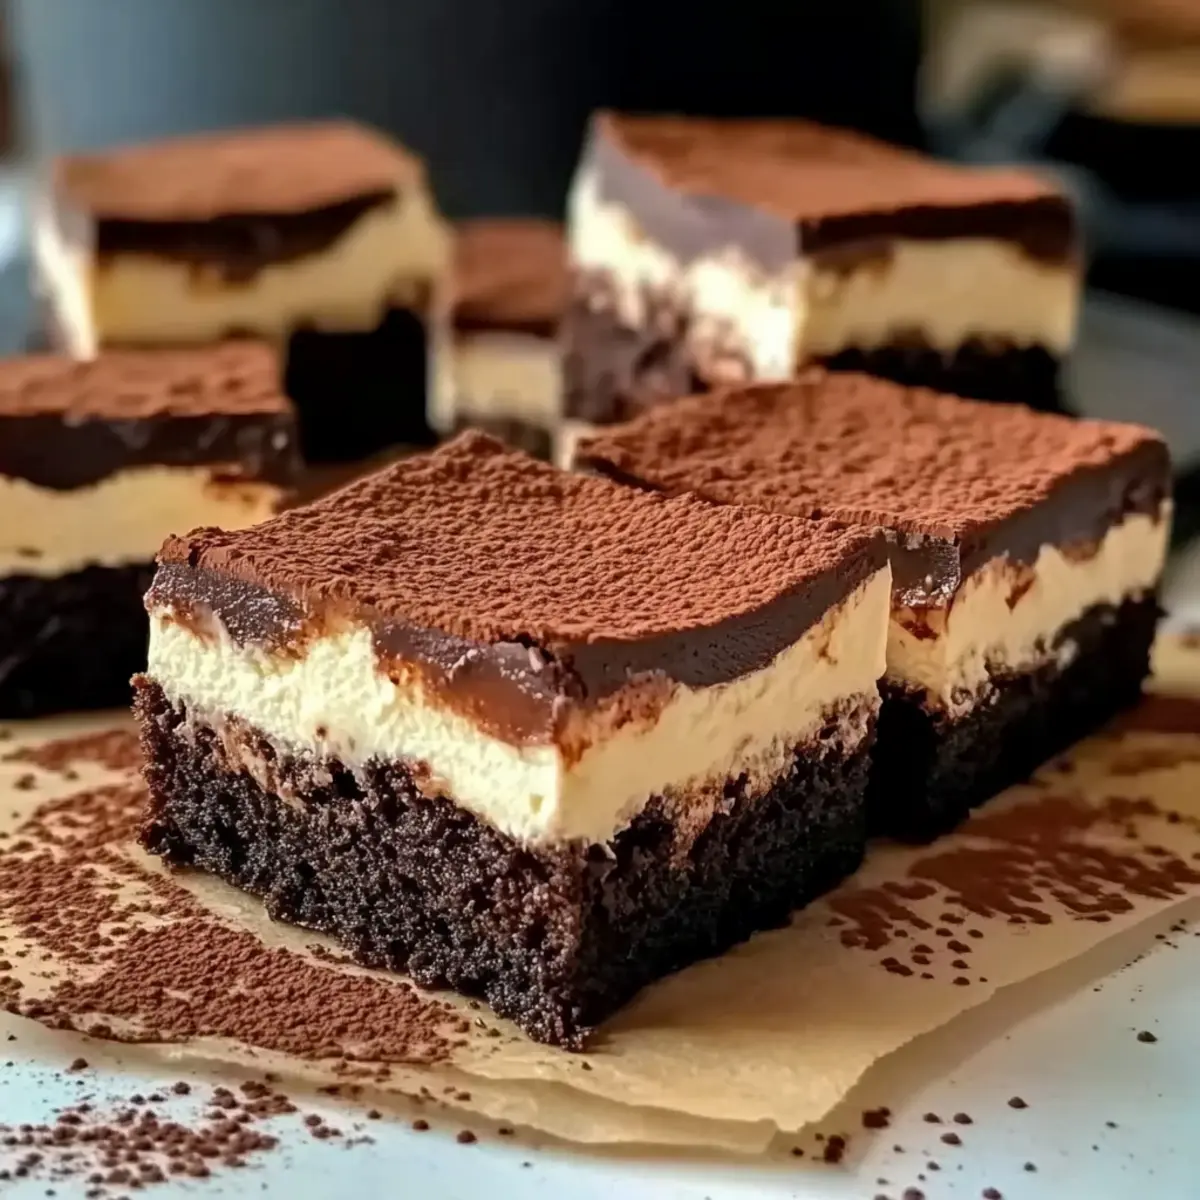
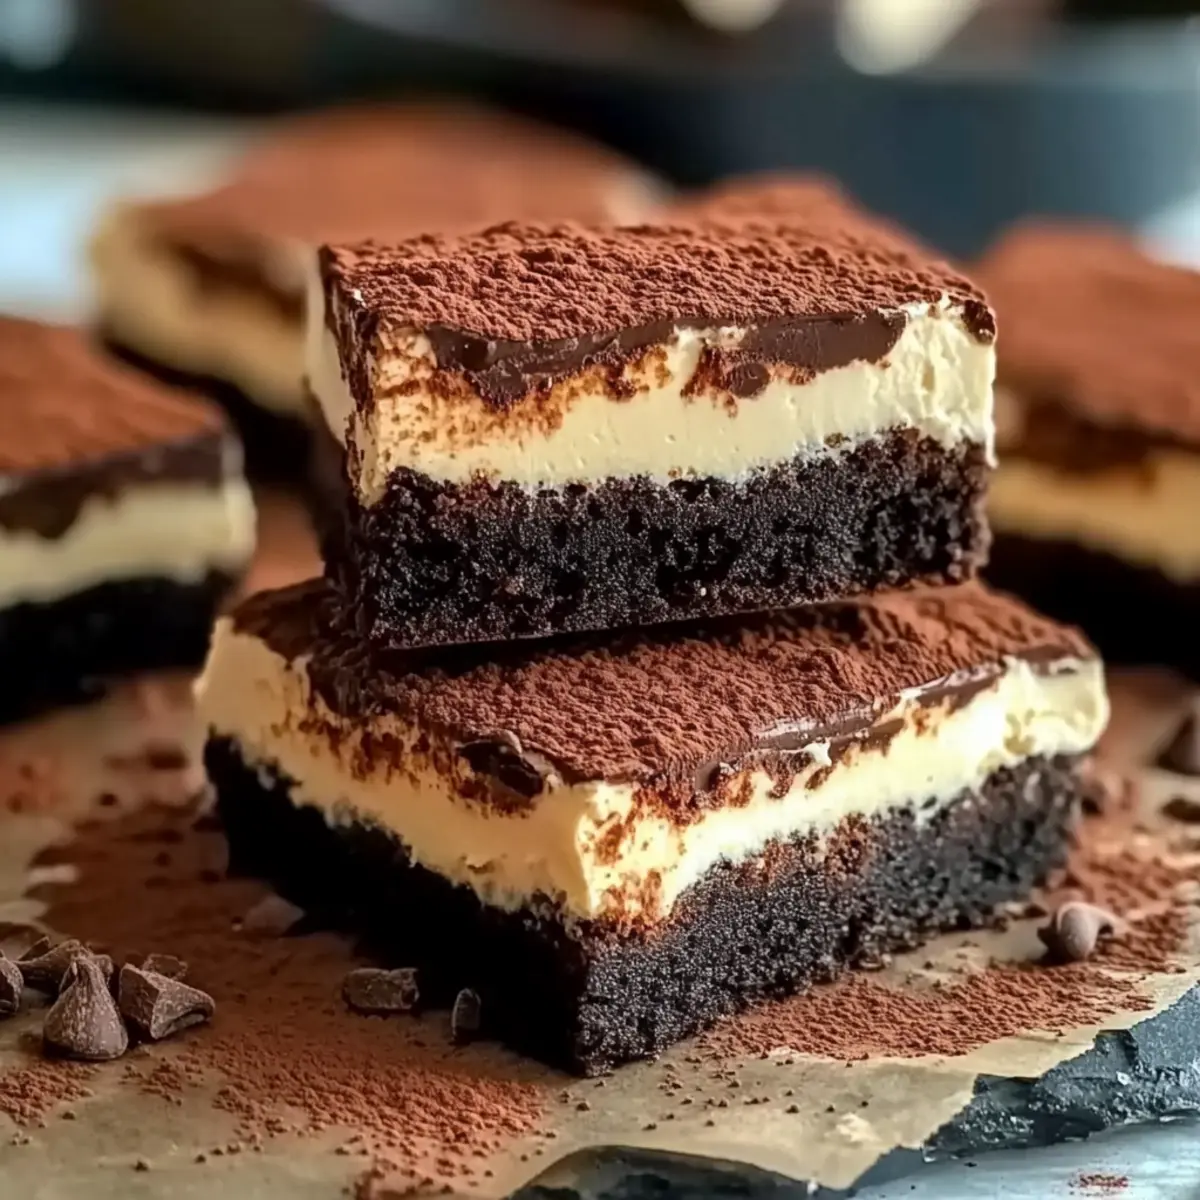
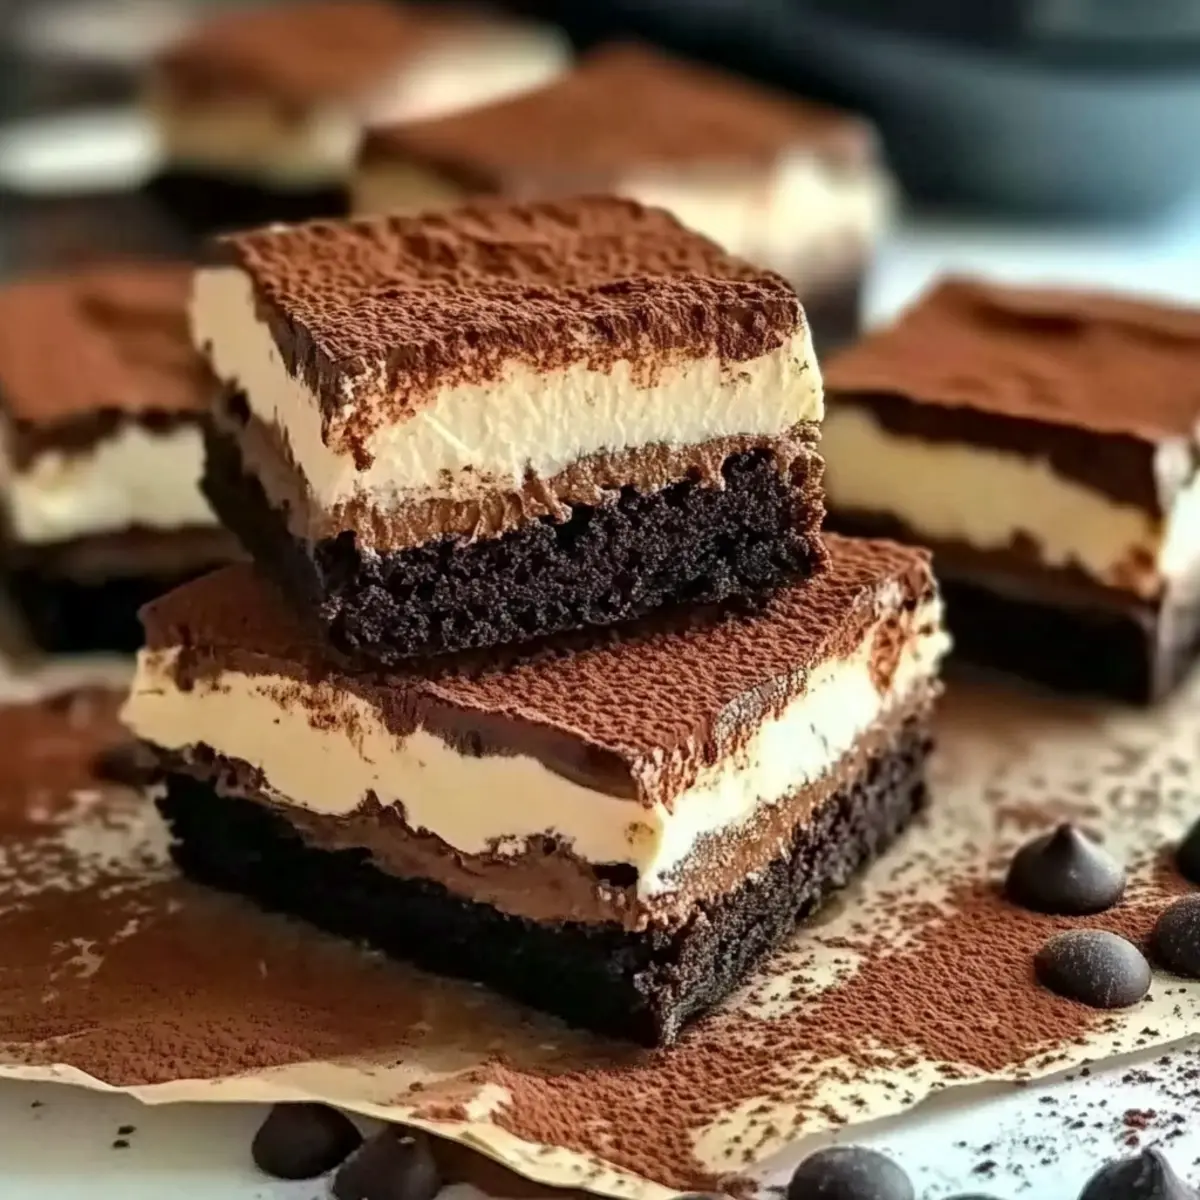
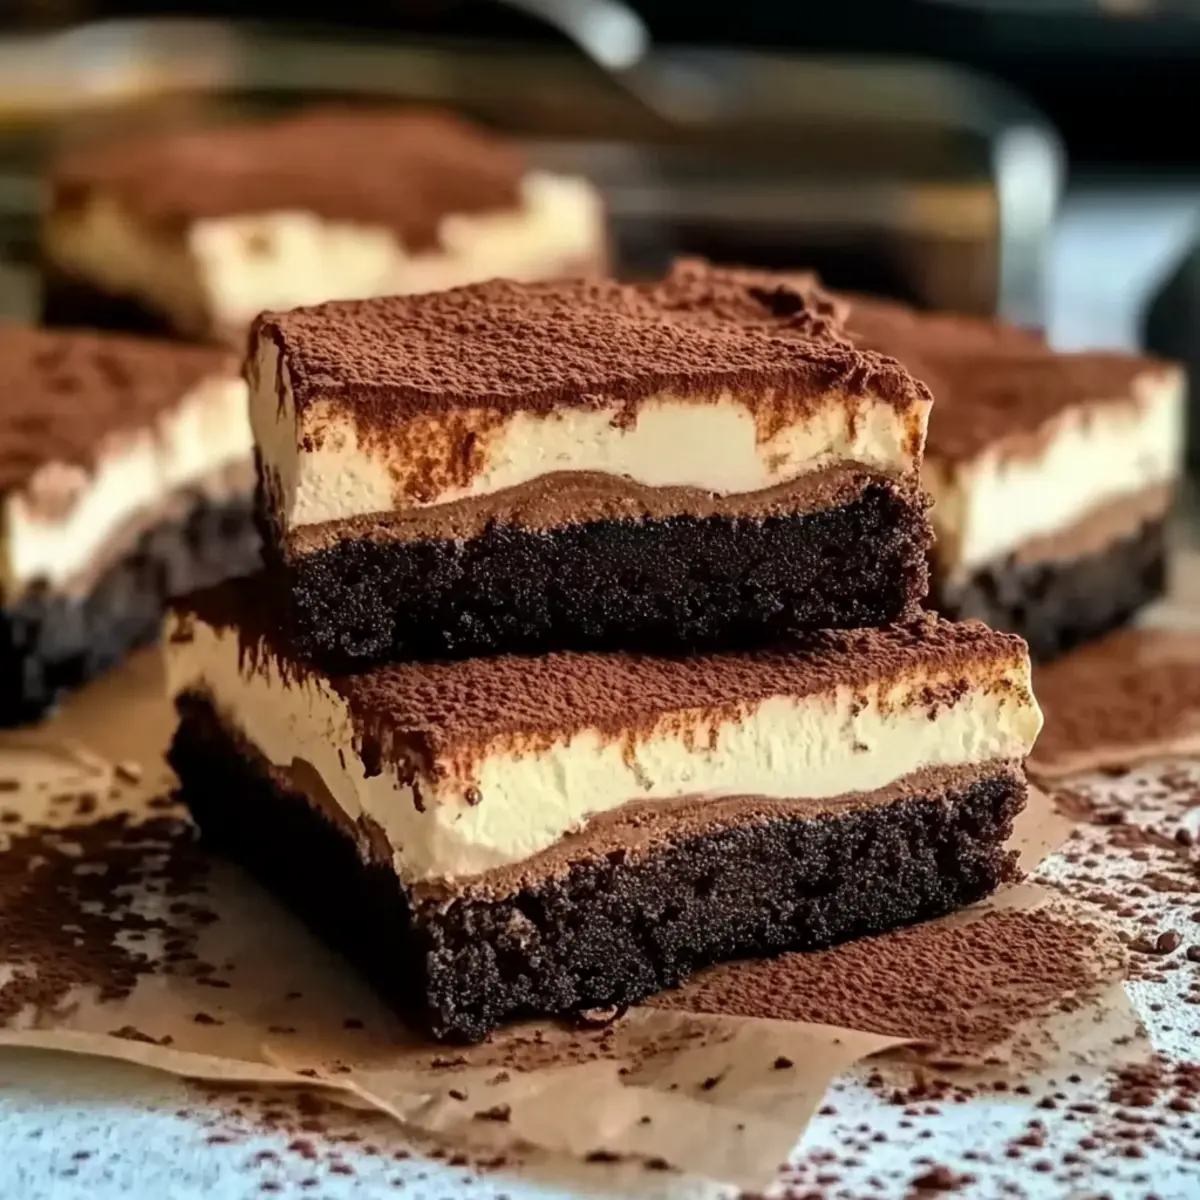
There’s something magical about the moment you take a bite into a fudgy brownie and catch a hint of creamy mascarpone layered with rich coffee flavor. It’s as if two beloved desserts—traditional tiramisu and indulgent chocolate brownies—have come together in perfect harmony. Say hello to my Ultimate Tiramisu Brownies, where you can enjoy all the sophistication of an Italian classic with none of the fuss! Not only are these brownies surprisingly easy to whip up, but they also double as a crowd-pleaser for gatherings or a cozy night in—with the bonus of being freezer-friendly for a delightful treat anytime. So, are you ready to elevate your dessert game with these luscious layers that will have everyone asking for seconds?
Why Are Tiramisu Brownies a Must-Try?
Indulgence Awaits: These Ultimate Tiramisu Brownies bring the best of both worlds, marrying rich chocolate brownies with a luxurious mascarpone layer.
Surprisingly Simple: With only a few basic ingredients, you can create a stunning dessert that looks like a masterpiece but is super easy to whip up.
Crowd-Pleaser: Perfect for gatherings, they’re bound to impress your guests, making you the star of the show.
Versatile Flavors: Feel free to elevate them even further by adding a splash of coffee liqueur to the mascarpone for an adult twist.
Freezer-Friendly: Make a batch ahead of time and store them for a rainy day—what’s better than a sweet treat waiting for you? For more delicious variations on classic desserts, check out these mouthwatering Spooky Spiderweb Brownies.
Tiramisu Brownies Ingredients
Here’s everything you need to make your own heavenly Tiramisu Brownies!
For the Brownie Base
- Butter – Adds richness and moisture; use unsalted for better control over salt levels.
- Sugar – Provides sweetness and structure; substitute with a sugar alternative if necessary.
- Cocoa Powder – Contributes to the chocolate flavor; opt for unsweetened for a richer taste.
- Eggs – Essential for binding and leavening; using at room temperature ensures proper mixing.
- Flour – Gives structure to the brownies; consider gluten-free flour as a substitute if you’re gluten-sensitive.
For the Mascarpone Layer
- Mascarpone Cheese – Creates a creamy, luscious layer; can be substituted with cream cheese for tanginess but may alter texture.
- Espresso Powder – Enhances the coffee flavor; substitute with finely ground coffee if necessary.
For Topping
- Cocoa Powder – A finishing touch to tie the flavors together and provide a beautiful presentation.
With these ingredients, you’re just a few steps away from indulging in the rich, velvety world of Tiramisu Brownies!
Step‑by‑Step Instructions for Tiramisu Brownies
Step 1: Preheat the Oven
Begin by preheating your oven to 350°F (175°C), allowing it to reach the perfect temperature for your Tiramisu Brownies. As the oven warms, gather your brownie and mascarpone ingredients to streamline the process. This ensures a smooth workflow and builds excitement for the delicious aroma that will soon fill your kitchen.
Step 2: Prepare the Baking Pan
Next, take a brownie pan and either grease it with butter or line it with parchment paper for easy removal of your fudgy brownies. Ensure the paper hangs over the edges slightly, as this will help lift the brownies out later. Your pan is now ready and waiting for the rich brownie batter.
Step 3: Make the Brownie Base
In a saucepan over low heat, melt the butter until it’s completely liquid. Once melted, remove it from heat and stir in sugar and cocoa powder, mixing thoroughly until smooth. Beat in the eggs one by one, ensuring each is fully incorporated, then gently fold in the flour until just combined. The batter should be glossy and thick, signaling it’s ready for the oven.
Step 4: Bake the Brownies
Pour the brownie mixture into the prepared baking pan, spreading it evenly. Place the pan in the oven and bake for 25-30 minutes, or until a toothpick inserted into the center comes out with a few moist crumbs. This step creates the rich, fudgy base of your Ultimate Tiramisu Brownies.
Step 5: Prepare the Mascarpone Layer
While the brownies bake, combine the mascarpone cheese and espresso powder in a mixing bowl. Use a spatula or whisk to blend them until the mixture is smooth and creamy. This delightful layer will add a luxurious texture to your Tiramisu Brownies, enhancing the flavors beautifully.
Step 6: Assemble the Brownies
Once the brownies have cooled completely in the pan, spread the mascarpone mixture evenly over the top. Use an offset spatula for a smooth application, ensuring every bite will be filled with that delicious creaminess. This delightful assembly transforms your baked brownies into an elegant dessert.
Step 7: Chill the Brownies
Cover the assembled brownies with plastic wrap and place them in the refrigerator for at least 2 hours. Chilling allows the flavors to meld beautifully, and the mascarpone layer will set to a perfect consistency. The wait will only build your anticipation for these delectable Tiramisu Brownies.
Step 8: Serve the Brownies
Before serving, dust the top with cocoa powder for an elegant finish. To cut the brownies into squares, use a hot knife dipped in water for clean slices. With this final touch, your Tiramisu Brownies are ready to be enjoyed—serve them at room temperature or chilled for a delightful treat!
Expert Tips for Tiramisu Brownies
- Chill Time Matters: Allow the brownies to chill for at least 2 hours. This step enhances flavor and helps the mascarpone layer set perfectly.
- Clean Cuts: For neat slices, use a hot knife dipped in water. This prevents the mascarpone from sticking and maintaining a beautiful presentation.
- Flavor Boost: Consider adding a splash of coffee liqueur to the mascarpone layer for an adult twist. It complements the Tiramisu Brownies beautifully!
- Mind the Bake: Watch the baking time closely—overbaking can lead to dry brownies. The right texture is fudgy with a few moist crumbs.
- Ingredient Substitutes: If you’re gluten-sensitive, substitute regular flour with gluten-free flour for an equally delicious brownie base.
How to Store and Freeze Tiramisu Brownies
Fridge: Store brownies covered in the refrigerator for up to 5 days, ensuring they stay fresh and moist for your indulgent treats.
Freezer: For longer storage, freeze individual slices in airtight containers for up to 2 months. Thaw in the refrigerator overnight for the best flavor and texture.
Reheating: If serving chilled, you can let the Tiramisu Brownies sit at room temperature for about 15 minutes before enjoying, allowing the creamy mascarpone to soften slightly.
Wrapping: When freezing, wrap slices in plastic wrap before placing them in the container to prevent freezer burn and maintain the delightful taste of the brownies.
What to Serve with Ultimate Tiramisu Brownies?
Indulging in rich, fudgy layers of Tiramisu Brownies elevates any gathering into a memorable experience.
-
Whipped Cream: A dollop of freshly whipped cream adds a light, airy contrast to the dense brownies, making each bite a delightful balance of flavors.
-
Vanilla Ice Cream: The creamy, cold texture of vanilla ice cream beautifully complements the rich chocolate and coffee notes of the brownies, creating a deliciously decadent pairing.
-
Espresso: A shot of robust espresso enhances the coffee flavor of the brownies, creating a delightful union that coffee lovers will adore. Pairing this will awaken your senses just as much as the brownies do!
-
Chocolate Sauce: Drizzling warm chocolate sauce over the brownies adds an extra layer of richness, satisfying any chocolate craving with every mouthful.
-
Fresh Berries: Raspberries or strawberries provide a burst of tartness that cuts through the richness, offering a refreshing contrast that balances the sweetness perfectly.
-
Mint Leaves: Garnishing with fresh mint adds a pop of color and a refreshing aroma, enhancing the dessert’s appeal and providing a lovely herbal note with every bite.
-
Coffee Liqueur: For the adult crowd, serving with a splash of coffee liqueur on the side can elevate dessert time to an extraordinary experience, accompanying the brownies with a boozy twist.
Choosing any of these delightful companions will ensure your Tiramisu Brownies shine even brighter at the dessert table!
Make Ahead Options
These Ultimate Tiramisu Brownies are perfect for meal prep enthusiasts! You can prepare the brownie base up to 24 hours in advance; simply bake and let cool, then cover tightly with foil to maintain their fudginess. The mascarpone layer can also be made up to 3 days ahead—just mix it and store it in the fridge in an airtight container. When you’re ready to indulge, spread the mascarpone on the chilled brownies, and don’t forget to dust them with cocoa powder right before serving. This way, every bite will remain just as deliciously rich and creamy as when you first made them, making them an excellent go-to for busy weeknights or impromptu gatherings!
Tiramisu Brownies Variations & Substitutions
Feel free to explore these delightful twists to make your Tiramisu Brownies even more exciting and personalized!
- Dairy-Free: Use coconut cream instead of mascarpone for a luscious, dairy-free alternative that still captures the essence of tiramisu.
- Gluten-Free: Swap all-purpose flour with a gluten-free blend to cater to gluten sensitivities without compromising taste.
- Fruit-Infused: Add a layer of fresh raspberries or strawberries between the brownie and mascarpone layers for a fruity contrast that brightens each bite.
- Nutty Crunch: Fold in chopped hazelnuts or walnuts to the brownie batter for added texture and a nutty flavor that complements the coffee essence beautifully.
- Decadent Spice: Incorporate a pinch of cinnamon or nutmeg in the brownie mixture for a warm, aromatic twist that enhances the overall flavor profile.
- Coffee Liqueur Boost: For an adult-only version, mix a splash of coffee liqueur into the mascarpone layer, enriching the brownies with an extra depth of flavor.
- Chocolate Drizzle: Drizzle melted dark chocolate over the top before serving to elevate your dessert with an extra touch of indulgence—it’s a simple way to wow your guests.
- Frozen Delight: For a cool treat, freeze the brownies after assembling and serve them chilled on hot days, offering a refreshing take on this classic dessert.
No matter which variation you try, you might find inspiration from our Spooky Spiderweb Brownies for entertaining twists or seasonal delights!
Tiramisu Brownies Recipe FAQs
How do I choose the right coffee for Tiramisu Brownies?
Absolutely! When selecting coffee for your Tiramisu Brownies, opt for high-quality espresso powder or finely ground coffee. The flavor is essential for that rich coffee taste. If using ground coffee, make sure it’s fine enough to blend with the mascarpone for a smooth layer. The better the coffee, the more depth of flavor you’ll achieve!
How should I store leftover Tiramisu Brownies?
Store your Tiramisu Brownies in an airtight container in the refrigerator for up to 5 days. This keeps them fresh and moist. Just ensure they’re covered well to prevent them from drying out—nobody wants dry brownies! I often place parchment paper between layers to keep them from sticking together.
Can Tiramisu Brownies be frozen?
Certainly! Tiramisu Brownies freeze beautifully. To do so, slice them into individual squares and wrap each slice tightly in plastic wrap. Then place them in an airtight container. They can last for up to 2 months in the freezer. When you’re ready to enjoy, thaw them in the refrigerator overnight to maintain their deliciousness!
What can I do if my brownies are too dry?
If your Tiramisu Brownies turn out too dry, don’t fret! You can gently warm them in the microwave for about 10-15 seconds to help revive their moisture. Alternatively, serve them with a drizzle of coffee liqueur or a dollop of whipped cream; this can add a touch of moisture and elevate the flavor.
Can I make Tiramisu Brownies gluten-free?
Very! To make your Tiramisu Brownies gluten-free, simply substitute regular flour with a gluten-free all-purpose flour blend. I recommend double-checking the ingredients, especially in any baking powder or mix you use, to ensure they’re gluten-free. The flavor and texture will remain delightful and satisfyingly fudgy!
Can pets eat Tiramisu Brownies?
No, it’s best to keep Tiramisu Brownies away from pets. Ingredients like chocolate and caffeine are toxic to dogs and cats, so it’s important to avoid sharing these treats with your furry friends. Stick to dog-friendly biscuits for their sweet cravings!
Indulge in Decadent Tiramisu Brownies Today!
Ingredients
Equipment
Method
- Preheat the oven to 350°F (175°C).
- Prepare the brownie pan by greasing it or lining it with parchment paper.
- Melt the butter in a saucepan over low heat, then remove from heat and stir in the sugar and cocoa powder until smooth.
- Beat in eggs one by one, then fold in flour until just combined.
- Pour the mixture into the prepared pan and bake for 25-30 minutes.
- Combine mascarpone cheese and espresso powder until smooth.
- Spread the mascarpone mixture evenly over the cooled brownies.
- Cover with plastic wrap and chill in the refrigerator for at least 2 hours before serving.
- Dust the top with cocoa powder before serving. Use a hot knife for clean cuts.
Leave a Reply