
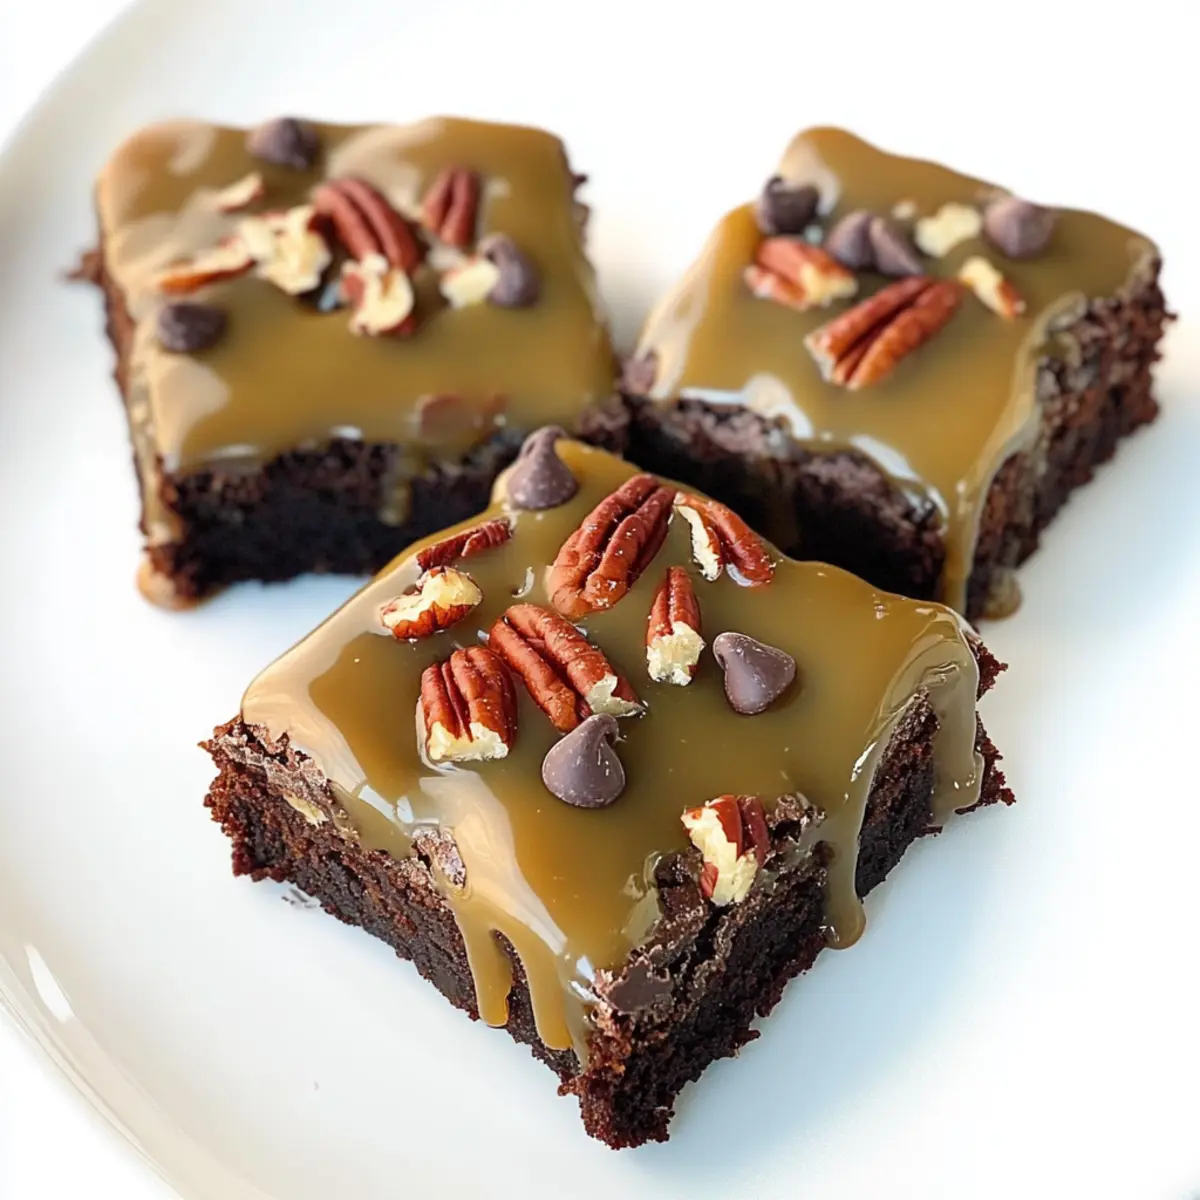
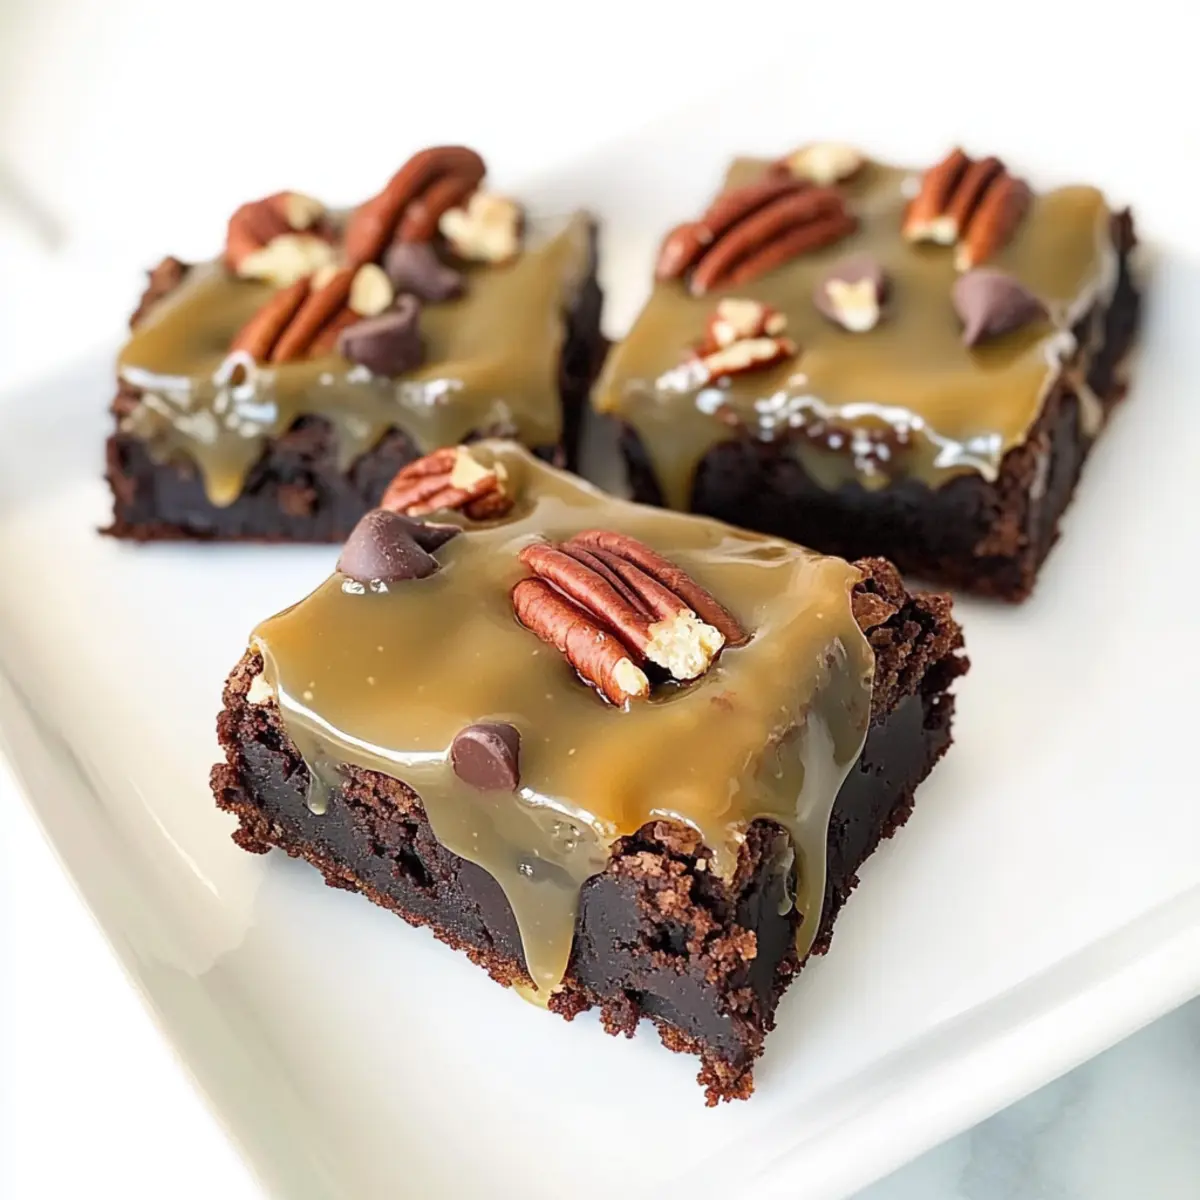
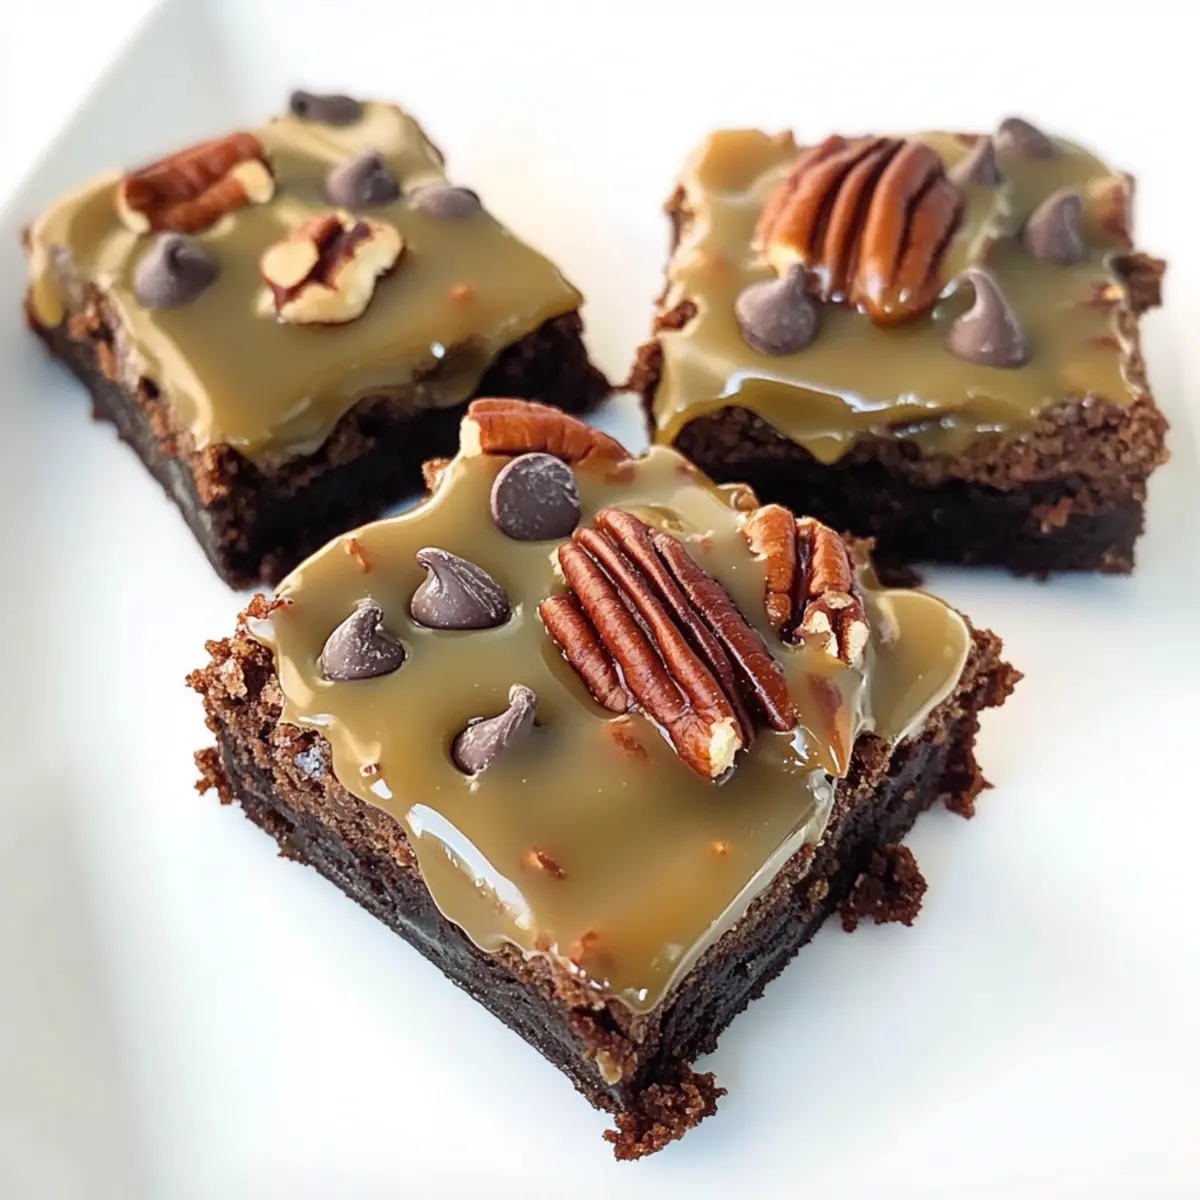
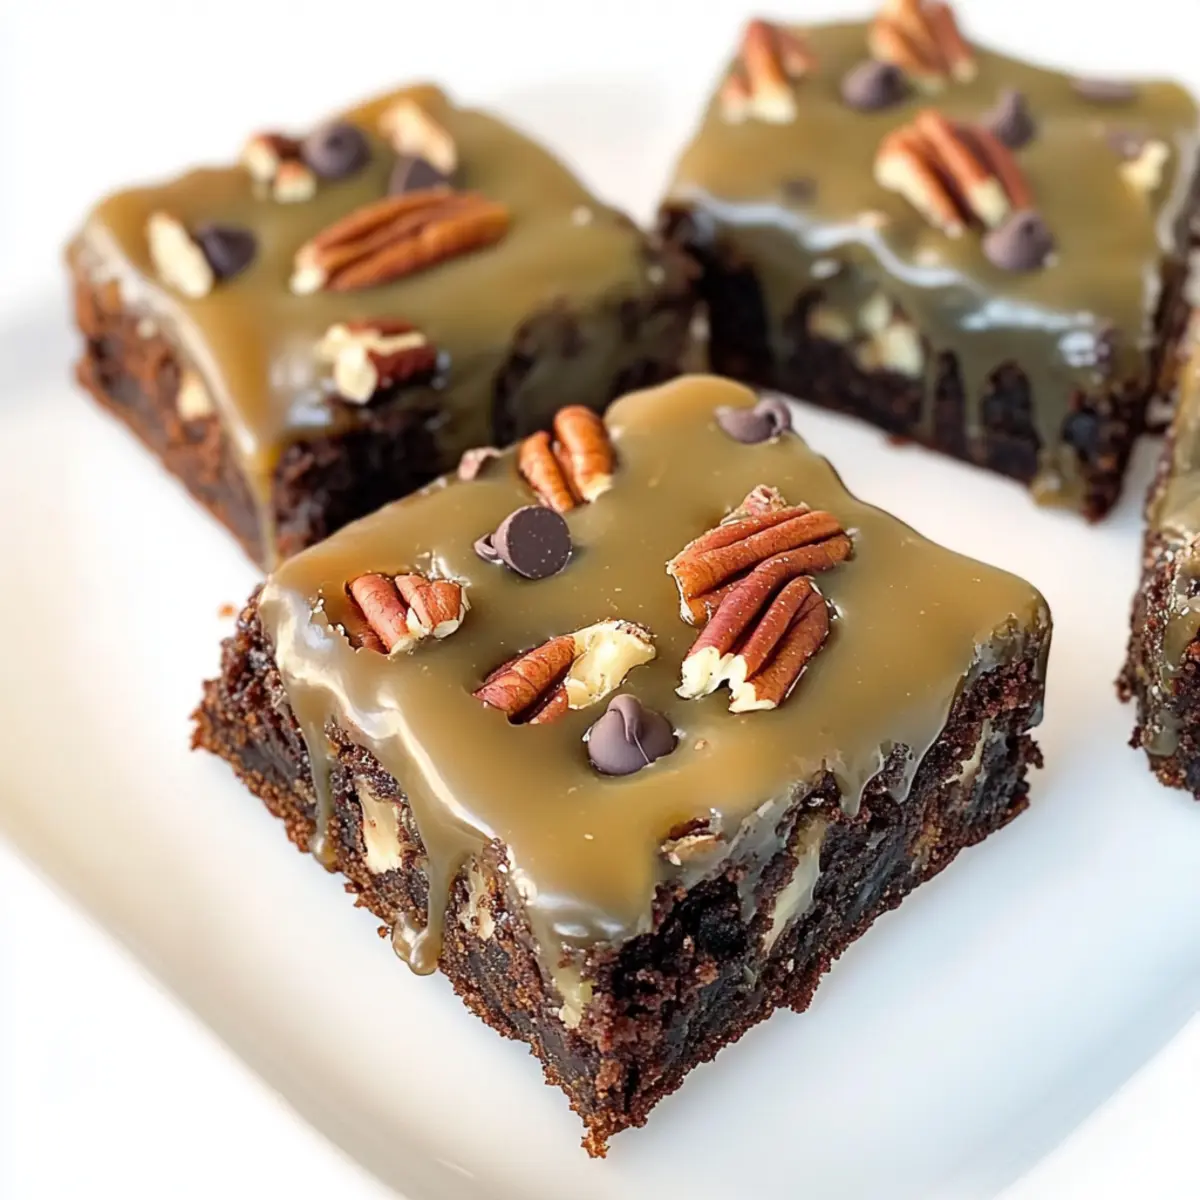
The aroma of freshly baked dessert fills the kitchen, transporting me to a cozy café where Turtle Brownies are the star of the show. These indulgent treats, with their thick, fudgy layers and a glossy top of homemade caramel, are an experience worth savoring. The best part? You can whip up these Turtle Brownies in no time, making them a perfect solution for a sweet craving or unexpected guests. Plus, there’s a nut-free option for those who prefer a different texture. Just imagine sinking your fork into the rich brownies, where chocolate chips melt into a luscious bite, complemented by the comforting crunch of pecans. Ready to create your new favorite dessert? Let’s dive in!
Why Are Turtle Brownies a Must-Try?
Indulgent sweetness: These Turtle Brownies are the epitome of dessert bliss, featuring a luscious homemade caramel layer that enhances every bite.
Fudgy texture: The rich, dense brownie base creates a melt-in-your-mouth experience, complemented by semi-sweet chocolate chips.
Quick and easy: With straightforward steps, you’ll be enjoying these brownies in less than an hour—perfect for those unexpected guests!
Nut-free variation: Want to skip the nuts? No problem! This recipe allows for a customizable experience that caters to every palate.
Crowd-pleaser: Whether it’s a family gathering or a cozy night in, these Turtle Brownies will impress everyone. Don’t be surprised if they ask for seconds!
If you love experimenting with flavors, try the delightful Spooky Spiderweb Brownies for a fun twist on a classic!
Turtle Brownies Ingredients
For the Brownie Base
• Unsalted Butter – Provides fat for moisture and flavor; can substitute with coconut oil for a dairy-free option.
• Granulated Sugar – Adds sweetness and contributes to texture; no substitutions recommended for best results.
• Light Brown Sugar – Adds extra moisture and a caramel flavor; swap with dark brown sugar for a deeper taste.
• Unsweetened Cocoa Powder – Essential for rich chocolate flavor; do not use sweetened cocoa as it alters flavor.
• Salt – Enhances the sweetness; using kosher salt is best for optimal flavor.
• Instant Coffee Granules – Boosts chocolate flavor without a coffee taste; omit for a caffeine-free option.
• Baking Powder – Provides leavening for lightness; ensure it’s fresh for effectiveness.
• Large Eggs (Cold) – Creates structure and moisture; egg substitutes may alter texture.
• Vanilla Extract – Adds depth; always go for pure vanilla for the best quality.
• All-Purpose Flour – Provides structure; use a 1:1 gluten-free blend for a gluten-free option.
For the Add-ins
• Semi-Sweet Chocolate Chips – Bursts of chocolate goodness; can be replaced with dark or white chocolate for variation.
• Chopped Pecans – Adds crunch and flavor; omit for a nut-free version of these Turtle Brownies.
For the Topping
• Homemade Caramel Sauce – Drizzled on top for that indulgent sweetness; make sure it cools before serving for perfect drizzling.
Dive into these delightful Turtle Brownies and experience the perfect balance of sweetness and richness!
Step‑by‑Step Instructions for Turtle Brownies
Step 1: Prepare the Pan
Begin by preheating your oven to 350°F (175°C). While the oven warms up, grab a 9×9 or 8×8 inch baking pan, line it with foil, and lightly grease the foil to ensure your Turtle Brownies release easily once baked.
Step 2: Brown Butter
In a medium saucepan, melt the unsalted butter over medium heat, stirring frequently. Keep an eye on it as it bubbles and foams for about 5-10 minutes until the butter turns a light golden brown and releases a nutty aroma—this step adds a depth of flavor to your brownies.
Step 3: Mix Dry Ingredients
Once the butter is browned, transfer it to a large mixing bowl. Add granulated sugar, light brown sugar, unsweetened cocoa powder, kosher salt, instant coffee granules, and baking powder to the butter. Stir thoroughly to combine, and allow the mixture to cool for about 5 minutes until it’s warm but not hot.
Step 4: Add Wet Ingredients
Incorporate the cold large eggs and pure vanilla extract into the brownie mixture. Whisk until everything is well combined and shiny, creating a smooth, rich base for your Turtle Brownies. The mixing process should be quick to maintain a fudgy texture.
Step 5: Combine Dry and Wet
Now, gradually fold in the all-purpose flour using a spatula. Mix gently to avoid overmixing; you want to keep that dense brownie texture. Once just combined, add in semi-sweet chocolate chips and chopped pecans, stirring until they are evenly distributed throughout the batter.
Step 6: Bake
Pour the brownie batter into your prepared pan, spreading it evenly to ensure uniform baking. Place it in the preheated oven and bake for 20-25 minutes, or until the edges look firm and a toothpick inserted in the center comes out with a few moist crumbs.
Step 7: Cool and Top
After baking, allow the Turtle Brownies to cool completely in the pan on a wire rack. Once cool, drizzle the homemade caramel sauce generously over the top, and sprinkle additional chocolate chips and chopped pecans for added texture and flavor. To set, refrigerate for 30 minutes.
Step 8: Serve
Finally, cut the brownies into 9 squares, revealing those gooey layers of chocolate and caramel. Serve them up and savor every rich, indulgent bite of these delectable Turtle Brownies!
Make Ahead Options
These Turtle Brownies are a fantastic choice for meal prep, allowing you to enjoy a delightful dessert with minimal effort on busy days! You can prepare the brownie batter up to 24 hours in advance by mixing all your ingredients and storing it in the refrigerator (make sure to cover it tightly to prevent drying out). Additionally, you can make the homemade caramel sauce ahead of time and refrigerate it for up to 3 days; just warm it slightly before drizzling over your brownies. When you’re ready to bake, simply pour the chilled batter into the prepared pan and bake as directed. This ensures your Turtle Brownies will remain just as decadent and fudgy when served!
Expert Tips for Turtle Brownies
-
Room Temperature Ingredients: Ensure all ingredients, especially the eggs and butter, are at room temperature to create a smooth, well-mixed batter.
-
Cool the Caramel: Allow your homemade caramel sauce to cool before drizzling. If it’s too warm, it may run off the brownies instead of beautifully topping them.
-
Check for Doneness: Watch the brownies closely while baking. They should be soft in the center; aim for a toothpick that comes out with a few moist crumbs—not wet batter.
-
Avoid Overmixing: When folding in flour and add-ins, mix just until combined to maintain that fudgy texture which makes these Turtle Brownies so delightful.
-
Nut-Free Option: If making a nut-free version, simply omit the chopped pecans and maybe add a sprinkle of extra chocolate chips for added richness.
What to Serve with Decadent Turtle Brownies with Homemade Caramel
Indulging in these rich, fudgy Turtle Brownies deserves a supporting cast to elevate your dessert experience to new heights.
- Vanilla Ice Cream: This classic pairing balances the rich flavors, providing a creamy contrast that melts into the warm brownies.
- Fresh Berries: A mix of strawberries, raspberries, or blueberries adds a burst of freshness and a pop of color that brightens each bite.
- Espresso or Coffee: The deep, roasted flavors of coffee enhance chocolatey notes, creating a warm and inviting dessert experience.
- Whipped Cream: A dollop of freshly whipped cream adds lightness and sweetness, perfect for cutting through the richness of the brownies.
- Chocolate Sauce: Drizzling extra chocolate sauce over the top intensifies the chocolate experience, especially for true chocolate lovers.
- Chopped Nuts: If you love that crunch, serve alongside extra chopped pecans or walnuts to rekindle that satisfying texture.
Imagine enjoying these Turtle Brownies with a scoop of vanilla ice cream, each spoonful creating a balance of creamy and fudgy sweetness that’ll leave your taste buds singing.
How to Store and Freeze Turtle Brownies
Room Temperature: Store the brownies in an airtight container at room temperature for up to 3 days. This keeps them fresh while retaining their fudgy texture.
Fridge: If you want to extend their lifespan, refrigerate the Turtle Brownies in an airtight container for up to 1 week. Just be aware they may slightly firm up in the fridge.
Freezer: For longer storage, slice and freeze the brownies in an airtight container or freezer bag for up to 3 months. Layer with parchment paper to prevent sticking.
Reheating: To enjoy the brownies warm, microwave individual pieces for about 15-20 seconds. They’ll regain that gooey consistency, especially delicious when paired with a scoop of vanilla ice cream!
Turtle Brownies Variations & Substitutions
Customize your Turtle Brownies and make them your own with these fun and delicious swaps!
-
Nut-Free: Omit the chopped pecans entirely for a smooth texture that everyone can enjoy.
A nut-free option ensures all chocolate lovers can indulge without worry—perfect for family gatherings! -
Dairy-Free: Swap unsalted butter with coconut oil or a vegan butter alternative for a dairy-free treat.
Rich and fudgy remains the name of the game while accommodating those with specific dietary needs. -
Flour-Free: Use a 1:1 gluten-free flour blend to create a gluten-free version of these Turtle Brownies.
The same great taste and texture you love, without the gluten—everyone at the table can indulge worry-free. -
White Chocolate: Swap semi-sweet chocolate chips with white chocolate for a sweeter, creamier twist.
This change adds a delightful surprise and brings a new level of indulgence into your baking experience! -
Flavor Boost: Consider replacing vanilla extract with almond extract for a fun flavor twist.
This simple swap echoes the creaminess of nut flavors without adding actual nuts, making it a versatile option. -
Extra Crunch: Substitute chopped pecans with walnuts or almonds to change the nutty flavor profile.
Each nut brings its personality, so indulge in a bit of variety depending on your mood or pantry stock! -
Caramel Swirl: Instead of drizzling your brownies with homemade caramel sauce, create a swirl by mixing it into the batter.
This adds a delightful surprise of caramel throughout every bite, intensifying that gooey experience!
Remember to check out the delightful Spooky Spiderweb Brownies for another way to satisfy your sweet cravings!
Turtle Brownies Recipe FAQs
How do I select the best ingredients for my Turtle Brownies?
Absolutely! When selecting ingredients like butter, look for unsalted varieties for control over the saltiness. For the best caramel sauce, choose high-quality sugar; using light brown sugar will yield a rich caramel flavor. As for the eggs, aim for large, fresh ones—this will help create the desired fudgy texture. Inspect your cocoa powder; it should be dark and rich without any lumps.
How should I store my Turtle Brownies?
You can store the brownies in an airtight container at room temperature for up to 3 days to maintain freshness. If you want to keep them longer, refrigerating them for up to 1 week works well too, though they may firm up slightly. Be sure to let them return to room temperature for the best texture before serving.
Can I freeze Turtle Brownies for later?
Certainly! To freeze, first slice the brownies into squares. Then, place them in a single layer in an airtight container, separating layers with parchment paper to prevent sticking. They will keep well for up to 3 months in the freezer. Just remember to thaw them in the fridge or counter before enjoying, and for an extra touch, microwave them for about 15-20 seconds to restore their gooey goodness.
What should I do if my Turtle Brownies are too cakey?
If your Turtle Brownies turn out too cakey, it might be due to overmixing the batter or overbaking. To prevent this next time, mix just until combined after adding flour, and check for doneness at the lower end of the baking time. Remember, if a toothpick inserted in the center comes out with a few moist crumbs, they are perfectly baked!
Are there any dietary considerations I should know for Turtle Brownies?
Very! This Turtle Brownies recipe can easily be made nut-free by omitting the pecans. Additionally, if you have dairy allergies, substitute the butter with coconut oil. For a gluten-free option, simply use a 1:1 gluten-free flour blend instead of all-purpose flour. Always check the labels of your ingredients to ensure they meet your dietary needs.
Indulgent Turtle Brownies with Homemade Caramel Bliss
Ingredients
Equipment
Method
- Preheat your oven to 350°F (175°C) and line the baking pan with foil, lightly greasing it.
- Melt the unsalted butter over medium heat and brown it for 5-10 minutes until it turns golden.
- Combine the brown butter with granulated sugar, light brown sugar, cocoa powder, salt, coffee granules, and baking powder. Let cool.
- Incorporate the cold eggs and vanilla into the mixture, whisking until smooth.
- Gently fold in the flour, then add chocolate chips and pecans, stirring until evenly combined.
- Pour the batter into the pan and bake for 20-25 minutes until edges are firm and a toothpick comes out with moist crumbs.
- Allow the brownies to cool completely, then drizzle with caramel and refrigerate for 30 minutes.
- Cut into 9 squares and serve.
Leave a Reply