
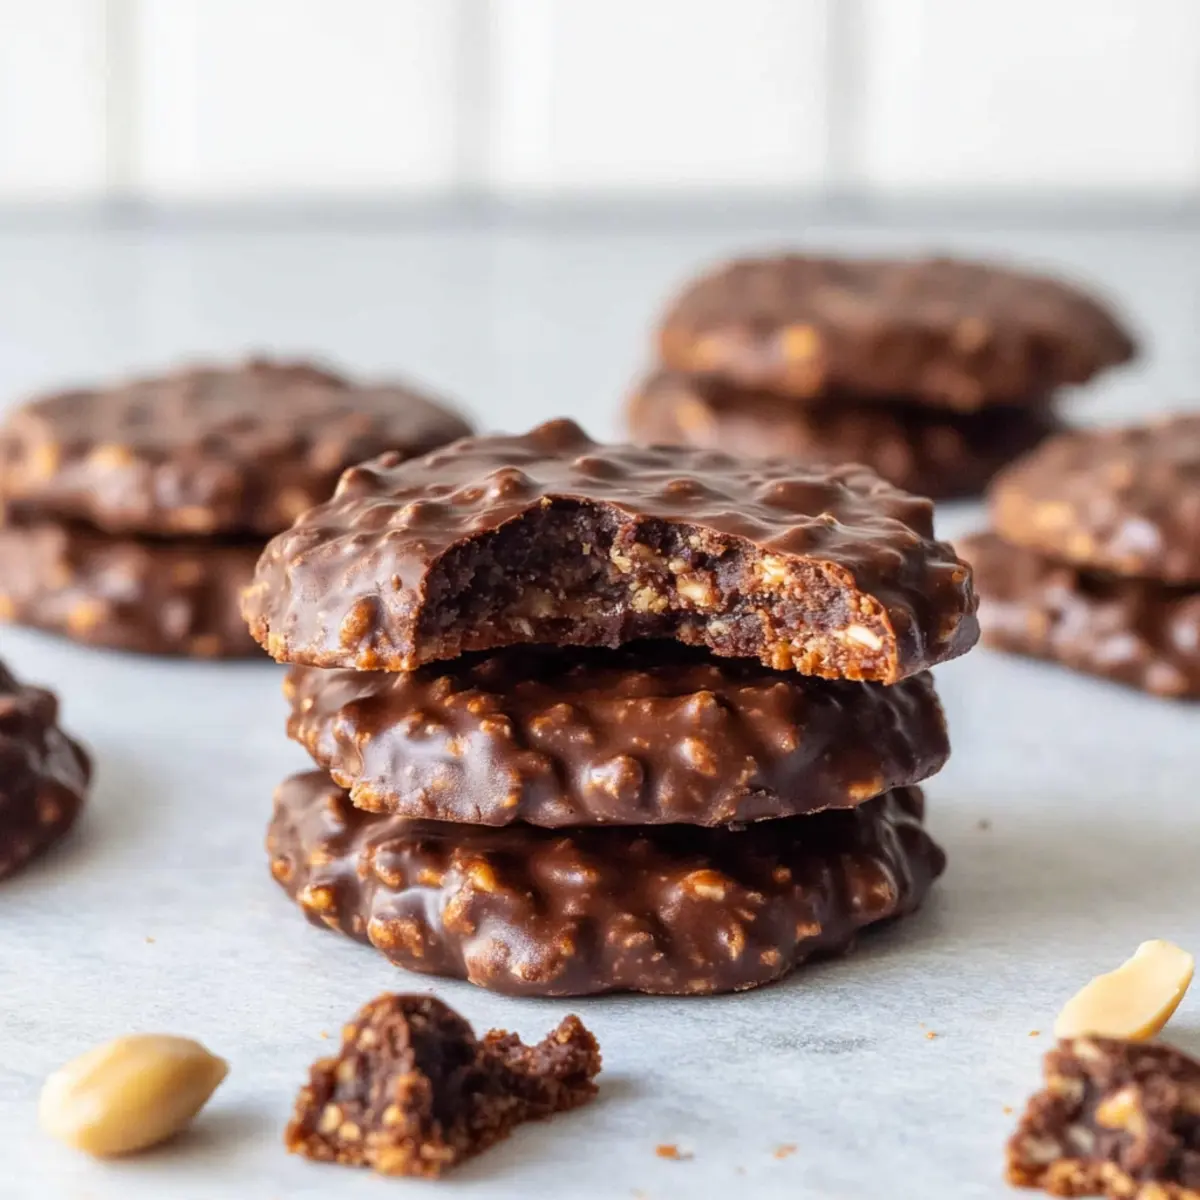
As I scrolled through my recipe collection, a little unexpected gem caught my eye: Vegan No-Bake Cookies. These delightful treats combine rich chocolate and creamy peanut butter into a snack that’s both heavenly and hassle-free. What’s better? They don’t require any baking, which means you can whip them up in mere minutes, making them an ideal choice for busy weeknights or impromptu gatherings. They’re not just quick and easy; they’re also a hit with kids and adults alike, proving that dessert can be both satisfying and nutritious. Imagine packing these lovely cookies in lunchboxes or serving them at parties—such a simple yet impressive touch! Curious about how you can bring this delicious recipe to life? Let’s dive into the details!
Why Are These Cookies So Irresistible?
Simplicity at Its Best: You’ll love how effortlessly these Vegan No-Bake Cookies come together—no oven needed, which means less mess!
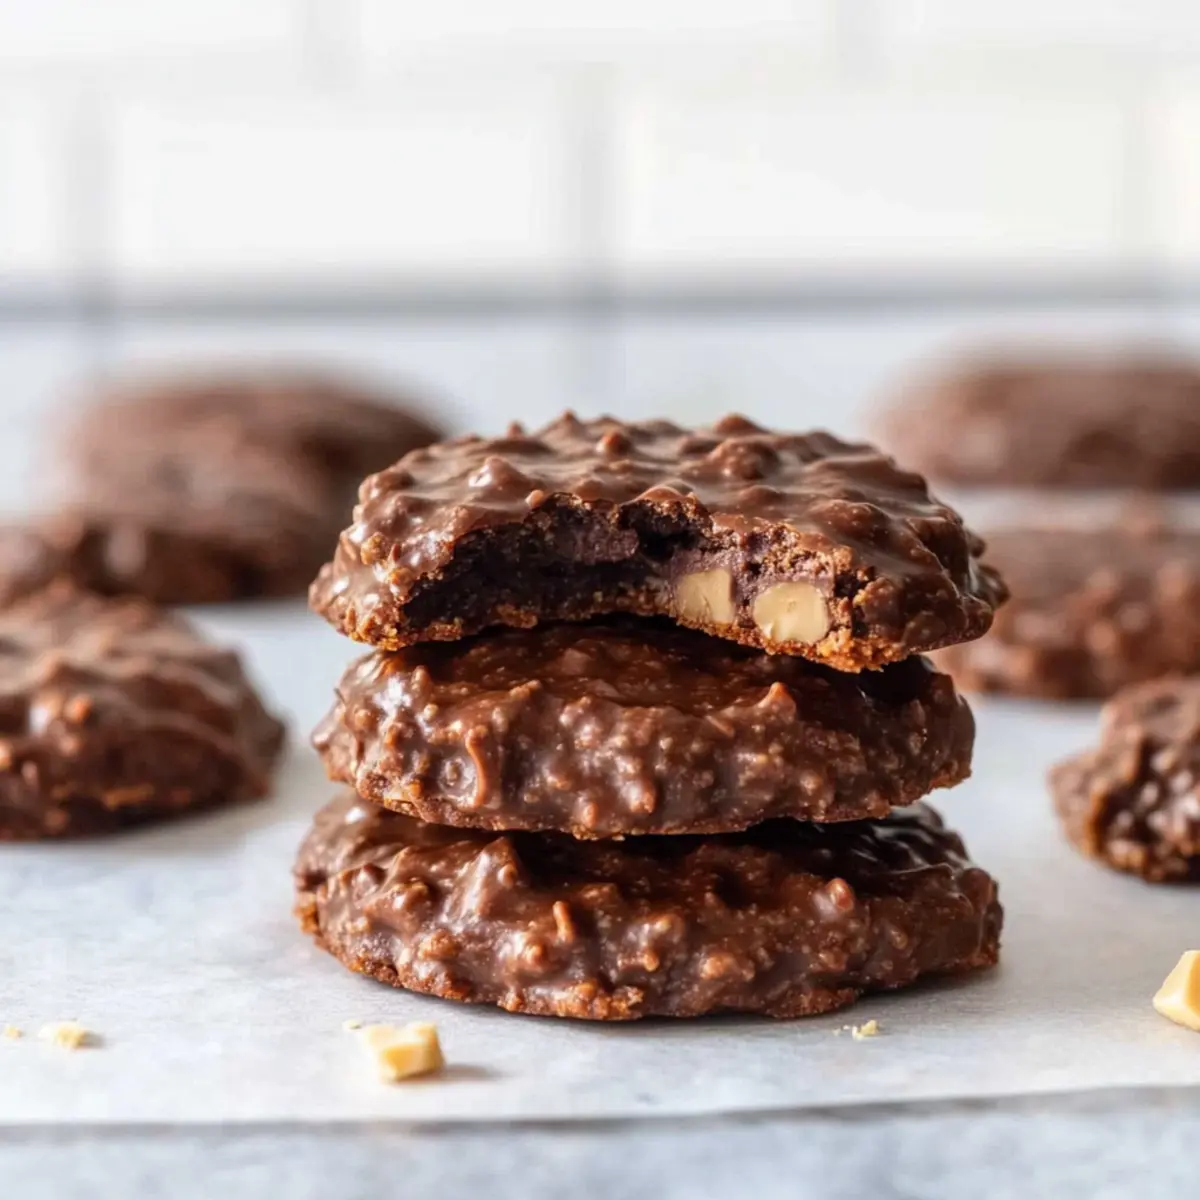
Rich, Decadent Flavor: The luscious combo of chocolate and peanut butter offers a satisfying richness that’s hard to resist.
Kid-Friendly Treat: A sure win with both kids and adults, secretively sneaking in wholesome ingredients without sacrificing fun!
Endless Variations: Want to mix it up? Swap in your favorite nut butter or throw in some chocolate chips for extra indulgence—endless possibilities await.
Perfect for Meal Prep: These cookies last up to a week in the fridge, making them a great grab-and-go option! If you love easy recipes, you might also enjoy my Vegan Sun Dried recipe for a complete meal solution or my delightful Kitchen Sink Cookies for a sweet twist!
Vegan No-Bake Cookies Ingredients
For the Batter
- Vegan Butter – A creamy fat source that brings richness; coconut oil can be substituted for a dairy-free twist.
- Sugar – Sweetens the mix and contributes to the structure; feel free to replace with a sugar alternative if needed.
- Non-Dairy Milk – Adds moisture; opt for almond, soy, or oat for a delightful result.
- Cocoa Powder – Delivers a robust chocolate flavor; use unsweetened for the best outcome.
- Quick Oats – Provides chewiness and structure; rolled oats work too, though the texture may differ slightly.
For the Binding
- Creamy Peanut Butter – The star ingredient that binds everything together; swap for almond butter or sun butter for nut-free delights.
- Vanilla Extract – Elevates the overall flavor; pure vanilla is recommended for optimal taste.
- Salt – Balances sweetness and enhances flavors; can be omitted if you prefer to avoid sodium.
Step‑by‑Step Instructions for Vegan No-Bake Chocolate Peanut Butter Cookies
Step 1: Prepare Baking Sheets
Start by lining two baking sheets with parchment paper to prevent sticking. This step not only makes cleanup easier but also helps the Vegan No-Bake Cookies hold their shape. Ensure the sheets are ready before moving on, as you’ll need them for scooping the dough directly.
Step 2: Combine Ingredients
In a large saucepan, add the vegan butter, sugar, non-dairy milk, and cocoa powder. Place over medium heat while whisking continuously to ensure an even mixture. Bring the mixture to a rolling boil, which should take about 5 minutes. You know it’s ready when it bubbles vigorously, creating a delightful chocolate aroma.
Step 3: Boil
Once boiling, let the mixture cook for exactly 1 minute. This timing is crucial as it helps activate the ingredients, ensuring the cookies set properly later. Be sure to keep stirring to prevent sticking, maintaining that rich chocolatey consistency.
Step 4: Mix Dough
Remove the saucepan from heat and immediately stir in the quick oats, creamy peanut butter, vanilla extract, and salt. Use a sturdy spatula to mix thoroughly until everything is well combined, and you can see the rich chocolate color blended with the oats. The dough should be thick and fudgy, ready for scooping.
Step 5: Scoop Cookies
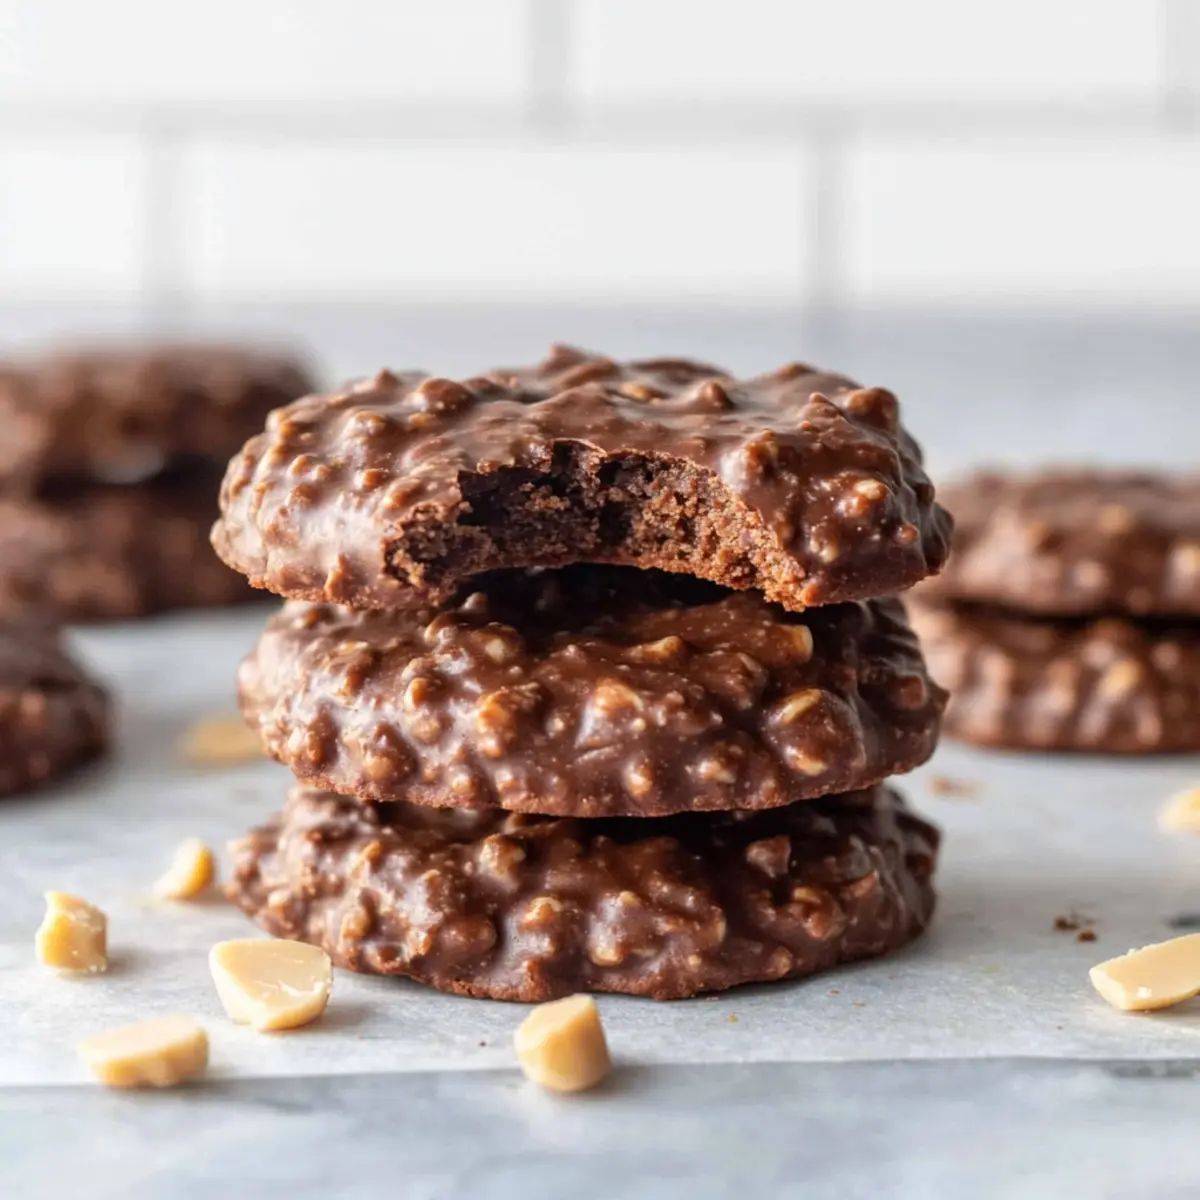
Using a cookie scoop or a tablespoon, drop spoonfuls (about 1½ tablespoons) of the dough onto the prepared baking sheets. Space them a bit apart, as they will flatten slightly but maintain their shape. You should have a nice arrangement of chocolate goodness on each sheet, tempting anyone nearby.
Step 6: Set Cookies
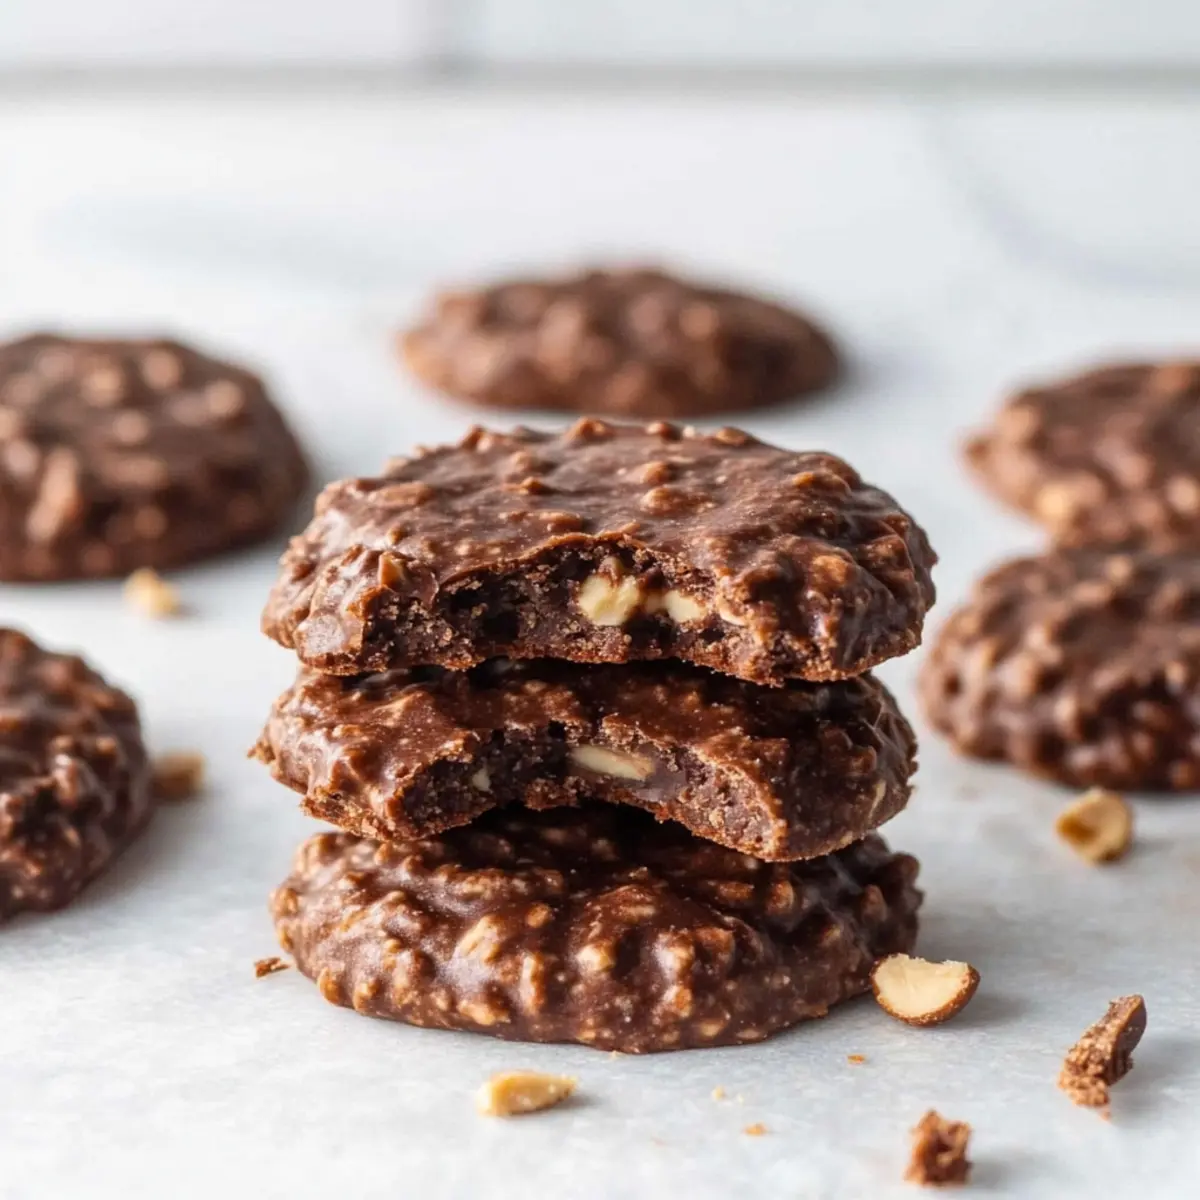
Allow the cookies to cool at room temperature for about 30 minutes. During this time, they will firm up and achieve that perfect chewy texture that makes Vegan No-Bake Cookies so irresistible. Resist the urge to rush this step, as cooling is key to their final consistency.
Expert Tips for Vegan No-Bake Cookies
- Boil Time Matters: Ensure the mixture reaches a rolling boil and maintains it for a full minute. This activation step is essential for perfect texture.
- Use a Cookie Scoop: For uniform size, use a cookie scoop or tablespoon when dropping the dough. This ensures even setting and a polished appearance.
- Don’t Rush Cooling: Allow the cookies to cool for at least 30 minutes. They’ll firm up as they cool, achieving that delightful chewiness you crave in Vegan No-Bake Cookies.
- Experiment with Flavors: Feel free to substitute peanut butter with almond or sunflower butter, or add in chocolate chips for a fun twist!
- Storage Savvy: Store cookies in an airtight container in the fridge for up to a week. They also freeze well for longer preservation, ready for whenever cravings strike!
What to Serve with Vegan No-Bake Chocolate Peanut Butter Cookies
Indulge in a delightful meal that pairs beautifully with these chewy, chocolatey treats to satisfy your cravings.
- Creamy Almond Milk: A glass of smooth almond milk is a perfect companion, balancing the rich flavors while adding a nutty undertone.
- Fresh Fruit Salad: Light and refreshing, a colorful mix of seasonal fruits brings a burst of freshness, cutting through the cookies’ sweetness.
- Roasted Nut Medley: Crunchy, roasted nuts enhance the texture and provide a savory contrast to the sweet, fudge-like cookies.
- Classic Vegan Milkshake: Blend banana and almond milk with a dash of cocoa for a thick shake—an indulgent yet healthy sipping treat!
- Chilled Herbal Iced Tea: A refreshing glass of iced herbal tea complements the cookies, offering a soothing flavor that cools your palate.
- Dark Chocolate Drizzled Popcorn: Popcorn tossed with a sprinkle of salt and drizzled in dark chocolate mirrors the cookies’ flavor while adding a fun crunch.
- Coconut Macaroon Bites: These chewy bites add another sweet option to the table while beautifully complementing the peanut butter and chocolate pair.
- Decadent Vegan Brownies: If you’re in the mood for more dessert, a small square of fudgy vegan brownies will satisfy your chocolate craving perfectly!
- Coffee or Espresso: A cup of rich coffee or a shot of espresso brings out the chocolate in the cookies, making for an uplifting afternoon treat.
- Creamy Avocado Toast: For a savory option, the creaminess of avocado on whole-grain bread creates an excellent contrast to your sweet cookies.
Make Ahead Options
These Vegan No-Bake Cookies are perfect for busy home cooks looking to save time! You can prepare the cookie mixture up to 24 hours in advance by following the first four steps: combine the vegan butter, sugar, non-dairy milk, and cocoa powder, boil, and mix in the oats and peanut butter. Once mixed, refrigerate the dough in an airtight container to prevent it from drying out. When you’re ready to serve, simply scoop and set the cookies as directed, letting them cool for about 30 minutes at room temperature. This way, you’ll have delicious, chocolatey treats ready to impress at a moment’s notice, all without sacrificing quality!
How to Store and Freeze Vegan No-Bake Cookies
Fridge: Store the cookies in an airtight container in the fridge for up to 5 days. This will keep them fresh and chewy, perfect for snacking!
Freezer: For longer storage, freeze the cookies for up to 3 months. Place them in a single layer in a freezer-safe container, separating layers with parchment paper to prevent sticking.
Thawing: To enjoy frozen cookies, remove them from the freezer and let them thaw in the fridge or at room temperature for about 30 minutes before serving.
Reheating: If you prefer warm cookies, you can gently microwave them in 10-second intervals until just warmed through; this will reactivate that delicious gooey texture!
Vegan No-Bake Cookies Variations
Feel free to get creative and customize these delightful treats to suit your taste buds!
-
Nut-Free: Swap creamy peanut butter for sunflower seed butter if you’re looking for a nut-free option that still packs a punch.
-
Sweetener Swap: Use maple syrup or agave nectar instead of sugar for a natural sweetness that reflects your dietary preferences.
-
Chocolate Lovers: Incorporate mini chocolate chips into the dough for an extra chocolatey experience that every cocoa aficionado will adore.
-
Coconut Bliss: Add shredded unsweetened coconut to the mixture for a tropical twist; it will enhance texture and bring delightful flavor.
-
Spicy Kick: Mix in a pinch of cayenne pepper or cinnamon to introduce a gentle heat that pairs beautifully with the chocolate.
-
Fruit Burst: Dried fruits like cranberries or raisins can be folded in to add a chewy contrast to the rich chocolate and nutty flavors.
-
Granola Crunch: Extend the chewy texture by folding in some homemade granola; it creates a satisfying crunch that makes these cookies even more dynamic.
-
Double Chocolate: For a richer cookie, replace half of the oats with extra cocoa powder to turn the flavor all the way up—perfect for the chocolate aficionado!
These variations allow you to cater to different tastes and dietary needs. Want to pair these cookies with something special? Try them alongside my delightful No-Bake Chocolate Peanut Butter Bars for an indulgent treat!
Vegan No-Bake Chocolate Peanut Butter Cookies Recipe FAQs
What is the best way to select ripe ingredients for this recipe?
Absolutely! For the best results, choose a creamy peanut butter that is smooth without added sugars or oils. If you can, use freshly opened containers to ensure that it’s at its best. For the non-dairy milk, options like almond, soy, or oat should be fresh and free from any sour odor that indicates spoilage.
How should I store my Vegan No-Bake Cookies, and how long will they last?
You can store your Vegan No-Bake Cookies in an airtight container in the fridge for up to 5 days. This helps retain their chewy texture and keeps them fresh. Just make sure they’re completely cool before you seal them to prevent moisture buildup!
Can I freeze the cookies, and if so, how?
Very! Freezing these cookies is an excellent option for longer storage. Just lay the cookies in a single layer in a freezer-safe container, with layers separated by parchment paper to prevent them from sticking together. They can be frozen for up to 3 months. To enjoy them later, simply remove the desired portion from the freezer and let them thaw in the fridge or at room temperature for about 30 minutes before serving.
What should I do if my mixture doesn’t set after cooling?
If your cookies don’t set properly, it might be due to not boiling the mixture for a full minute. When you make the recipe again, ensure you let it boil vigorously for the full minute. If they’re still too soft, you can try refrigerating them for an additional 30 minutes after they’ve cooled to help them firm up further.
Are there any dietary considerations for pets or allergies?
Absolutely! Since this recipe contains peanut butter, make sure to feed these cookies only to humans; peanuts can be harmful to dogs in large quantities. Additionally, if you or your guests have nut allergies, feel free to substitute the peanut butter with sunflower butter or a similar nut-free alternative. Always check labels for allergens in store-bought ingredients.
Deliciously Easy Vegan No-Bake Cookies for Sweet Cravings
Ingredients
Equipment
Method
- Prepare Baking Sheets: Line two baking sheets with parchment paper.
- Combine Ingredients: Add vegan butter, sugar, non-dairy milk, and cocoa powder to a saucepan over medium heat and whisk continuously to combine.
- Boil: Bring mixture to a rolling boil for 1 minute while stirring.
- Mix Dough: Remove from heat and stir in quick oats, peanut butter, vanilla extract, and salt until well combined.
- Scoop Cookies: Drop spoonfuls of dough onto prepared baking sheets with a cookie scoop or tablespoon.
- Set Cookies: Allow cookies to cool at room temperature for about 30 minutes to firm up.
Leave a Reply