Go Back
+ servings
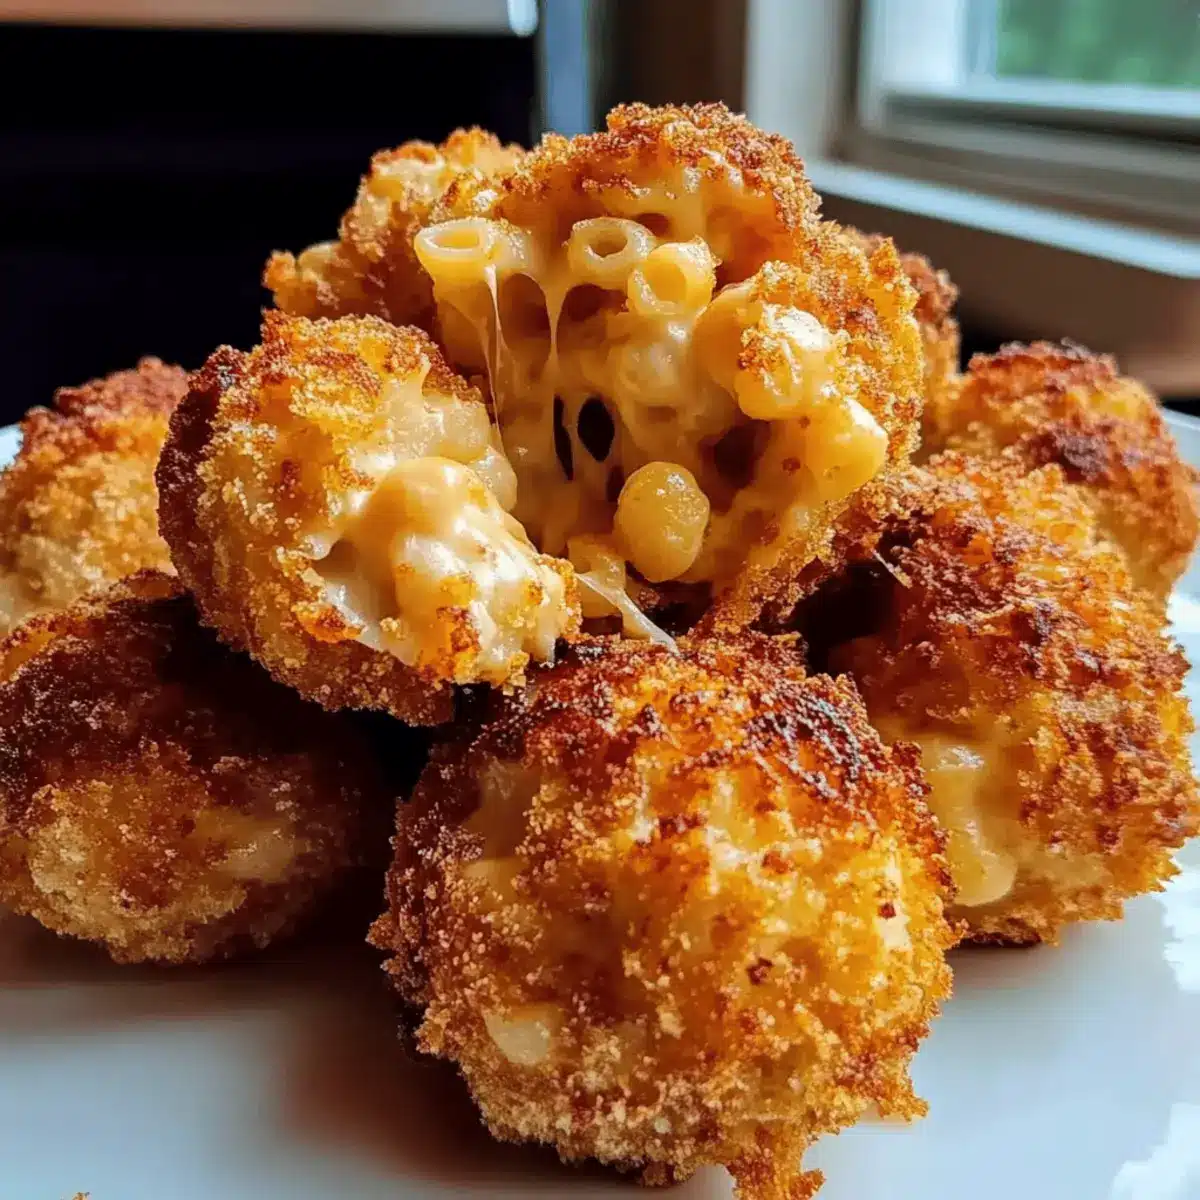
Air Fryer Mac and Cheese Balls

Crispy Air Fryer Mac and Cheese Balls for Ultimate Comfort Snacking

Air Fryer Mac and Cheese Balls offer a delightfully crispy exterior and gooey center, turning leftovers into a nostalgic snack.
Prep Time 20 minutes
Cook Time 10 minutes
Chilling Time 1 hour
Total Time 1 hour 30 minutes
Servings: 4 balls
Course: Snacks
Cuisine: Vegetarian
Calories: 150

Ingredients
  

For the Mac and Cheese Base
  • 2 cups Cooked Macaroni Ensure it’s cooled before mixing
  • 1 cup Shredded Cheddar Cheese Feel free to experiment with other cheeses
  • 1/4 cup Milk Adjust according to desired consistency
  • 1/2 teaspoon Salt Tweak based on cheese saltiness
  • 1/4 teaspoon Pepper Optional for subtle spice
  • 1 teaspoon Garlic Powder Can swap with onion powder
For the Breading
  • 2 large Eggs Can be replaced with vegan alternative
  • 1 cup Breadcrumbs Gluten-free panko works well

Equipment

  • Air fryer

Method
 

Step-by-Step Instructions
  1. In a large bowl, combine chilled cooked macaroni, shredded cheddar cheese, milk, salt, pepper, and garlic powder. Mix vigorously until uniformly combined.
  2. Cover the mixture with plastic wrap and refrigerate for at least 1 hour to firm up.
  3. Scoop about 2 tablespoons of the mixture and roll it into tight balls, placing them on a plate.
  4. Prepare two bowls—one with whisked eggs and the other with breadcrumbs. Coat each ball lightly in egg followed by breadcrumbs.
  5. Preheat the air fryer to 375°F (190°C) for approximately 3 minutes.
  6. Lightly grease the air fryer basket and arrange the balls in a single layer. Cook for about 8-10 minutes, flipping halfway.
  7. Allow the Air Fryer Mac and Cheese Balls to cool briefly before serving. Pair them with your favorite dipping sauces.

Nutrition

Serving: 1ballCalories: 150kcalCarbohydrates: 15gProtein: 6gFat: 7gSaturated Fat: 3gMonounsaturated Fat: 4gCholesterol: 70mgSodium: 300mgPotassium: 100mgFiber: 1gSugar: 1gVitamin A: 200IUCalcium: 150mgIron: 1mg

Notes

Refrigerating the mixture helps in easy shaping and maintaining form during cooking. Use one hand for wet ingredients and the other for dry during the breading process.
Tried this recipe?

Let us know how it was!