
The kitchen felt alive with laughter as I rolled bright balls of dough, each flecked with red and blue—an irresistible invitation to celebrate. These stunning 4th of July Crinkle Cookies not only look festive but also promise a soft, buttery texture that will leave everyone asking for seconds. They are perfect for summer gatherings, delivering a delightful visual and tasty treat that’s a fun project to undertake with friends or family. Plus, they’re super easy to whip up, allowing you to focus on what really matters: creating memories. Whether you’re hosting a barbecue or attending a potluck, these cookies will elevate your holiday spread. Are you ready to get started on a batch that will steal the show?
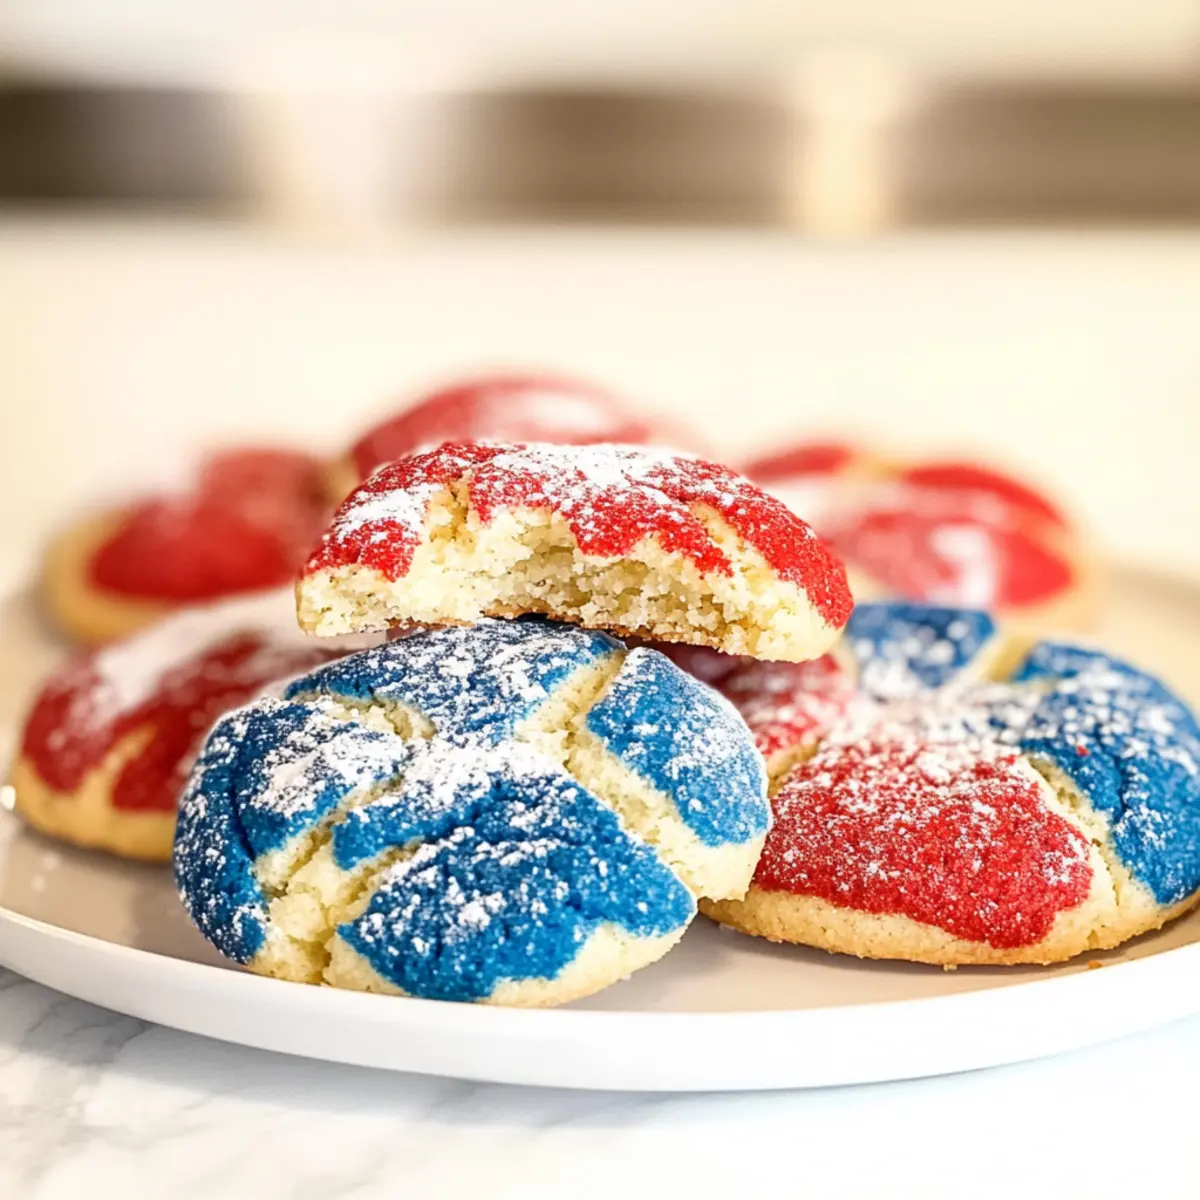
Why Are These Crinkle Cookies So Special?
Festive Appeal: The vibrant red and blue colors of these cookies make them the star of any celebration, adding charm to your 4th of July festivities.
Easy to Make: With straightforward instructions, even novice bakers can achieve a stunning result that looks like it came from a professional kitchen.
Soft, Buttery Texture: Each bite offers a heavenly chewiness, making them a perfect sweet treat for summer gatherings.
Great for Sharing: Ideal for barbecues, picnics, or goodie bags, these cookies are designed to be enjoyed with friends and family. You might also love the cheerful vibes of my Red Velvet Crinkle cookies!
Delightfully Unique: Combining texture and taste, they’re unlike any ordinary cookie. Don’t forget, the crinkled tops coated in powdered sugar are simply irresistible for both the eyes and the palate!
Time-Saving Treat: With just minimal chill time, you can whip these up in a flash, leaving you more time to enjoy the holiday festivities.
4th of July Crinkle Cookies Ingredients
For the Dough
• Soft Butter – Adds richness and moisture; keep it at room temperature for easier mixing.
• Granulated Sugar – Provides sweetness and helps achieve the classic crinkle crust.
• Eggs – Binds ingredients and adds moisture; use large eggs for best results.
• All-Purpose Flour – Gives structure to the cookies; ensure it’s sifted to avoid lumps.
• Baking Powder – Leavening agent that helps cookies rise.
• Salt – Enhances flavor; a small amount is crucial to balance sweetness.
For the Color
• Red Food Coloring – Provides the festive color for half the dough; gel food coloring is recommended for vibrant results.
• Blue Food Coloring – Provides the second festive color for the remaining dough.
For the Coating
• Powdered Sugar – Coating that creates the signature crinkle texture once baked; ensure thorough coverage for best results.
These 4th of July Crinkle Cookies not only taste amazing but also make for an eye-catching dessert that your friends and family will remember!
Step‑by‑Step Instructions for 4th of July Crinkle Cookies
Step 1: Cream the Butter and Sugar
In a large mixing bowl, use a hand mixer or stand mixer to cream together 1 cup of room temperature soft butter and 1 ½ cups of granulated sugar. Beat on medium speed for about 2-3 minutes, until the mixture is light and fluffy, showcasing a pale yellow color. This step is essential for creating the soft texture of your 4th of July Crinkle Cookies.
Step 2: Incorporate the Eggs
Add in 2 large eggs, one at a time, mixing well after each addition. Continue beating on medium speed for another 1-2 minutes until the eggs are fully incorporated, and the batter is smooth and creamy. This step binds the mixture together, adding moisture and richness to your festive cookies.
Step 3: Sift and Combine Dry Ingredients
In a separate bowl, sift together 2 ½ cups of all-purpose flour, 2 teaspoons of baking powder, and ½ teaspoon of salt. Gradually add this dry mixture into the wet ingredients, mixing on low speed until a thick and sticky dough forms. Take care not to overmix; you want to maintain the delicate texture of the 4th of July Crinkle Cookies.
Step 4: Chill the Dough
Cover the mixing bowl with plastic wrap and place it in the refrigerator for at least 1 hour, or overnight for even better results. This chilling time helps the dough firm up, preventing the cookies from spreading too much while baking, and aids in achieving that crinkled appearance.
Step 5: Preheat and Prepare Baking Sheets
When you’re ready to bake, preheat your oven to 350°F (175°C). Line two baking sheets with parchment paper, ensuring a non-stick surface for your cookies. The aroma of the preheating oven will make your kitchen feel inviting, as you prepare to create your stunning 4th of July Crinkle Cookies.
Step 6: Color the Dough
After chilling, divide the dough into three equal portions. Keep one portion plain, then knead red food coloring into the second portion and blue food coloring into the third until you achieve the desired vibrant shades. This technique allows for the festive, eye-catching colors that elevate your cookies!
Step 7: Form the Cookie Balls
Take a generous ½ tablespoon of each colored dough, rolling them gently together into a ball. Be creative—feel free to mix and match the colors! Once formed, roll each ball in powdered sugar until thoroughly coated; this ensures that wonderful crinkle effect and sweetness in your 4th of July Crinkle Cookies.
Step 8: Bake the Cookies
Space the sugar-coated dough balls about 2 inches apart on the prepared baking sheets. Bake in the preheated oven for 12-14 minutes, until the tops are cracked, but the centers remain soft. Keep a close eye on them, as you want that perfect soft and chewy texture!
Step 9: Cool Down
Once baked, allow the cookies to cool on the baking sheet for 10 minutes. This resting period lets them set properly before moving them. Gently transfer your 4th of July Crinkle Cookies to a wire rack to cool completely, ensuring they maintain their delightful texture and vibrant appearance.
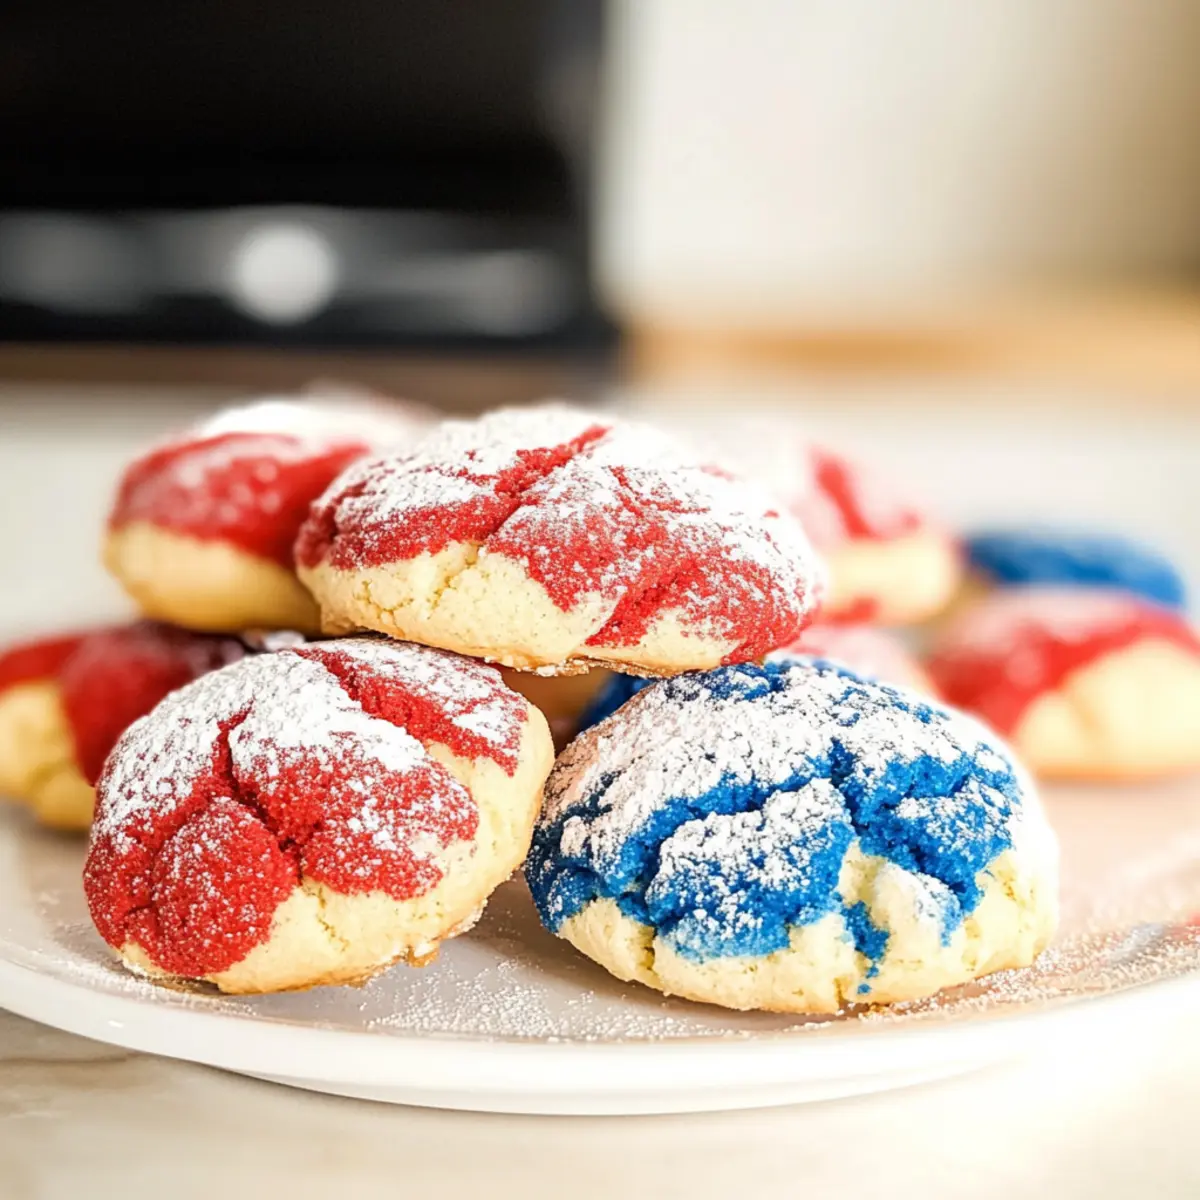
What to Serve with 4th of July Crinkle Cookies
As you get ready to indulge in these vibrant treats, consider pairing them with delicious sides that complete the festive experience.
-
Vanilla Ice Cream: A classic pairing that offers a creamy contrast to the buttery cookies, making each bite even more delightful.
-
Fresh Berries: Juicy strawberries and blueberries add a refreshing burst, complementing the cookies’ sweet flavors while enhancing the red, white, and blue theme.
-
Sparkling Lemonade: The zesty sparkle of lemonade can cut through the sweetness, making it a perfect drink to sip while enjoying your crinkle cookies.
-
Grilled Veggie Skewers: Light and vibrant, these add a wonderful savory element to your spread, balancing the sweet treats beautifully.
-
Chocolate Dipped Pretzels: The salty crunch of pretzels dipped in chocolate provides a fun texture contrast and appeals to every snack lover.
-
Patriotic Fruit Salad: Mix red and blue fruits with creamy yogurt for a healthy side that ties in perfectly with the holiday theme.
-
Picnic-Style Sandwiches: Simple turkey or veggie sandwiches are great finger foods for a festive gathering, offering a hearty complement to the sweet delights.
-
Ice Cold Milk: An unbeatable classic, milk pairs perfectly with cookies, especially for those nostalgic moments shared over a plate of sweets.
Make Ahead Options
These 4th of July Crinkle Cookies are perfect for meal prep enthusiasts! You can prepare the dough up to 24 hours in advance by chilling it in the refrigerator, which not only saves time but also enhances the flavors. Simply cover the mixing bowl with plastic wrap and store it in the fridge until you’re ready to bake. When you’re set to impress your guests, divide and color the chilled dough as instructed, then roll into balls and coat in powdered sugar before baking. This makes your cookie-making a breeze, allowing you to enjoy those summer festivities with less stress while still achieving that delicious, soft texture!
Storage Tips for 4th of July Crinkle Cookies
Room Temperature: Store in an airtight container for up to 1 week. This keeps them soft and fresh, allowing you to enjoy their delightful texture.
Fridge: If you want to extend their shelf life, keep the cookies in the refrigerator for up to 2 weeks. Ensure they’re well-sealed to prevent them from drying out.
Freezer: Freeze for longer preservation! Place cookies in a single layer in a freezer-safe bag or container for up to 3 months. Thaw at room temperature when ready to indulge.
Reheating: For a freshly baked experience, reheat in the microwave for 5-10 seconds, or enjoy them cold straight from the fridge.
4th of July Crinkle Cookies Variations
Get ready to take your crinkle cookies to new heights with these delightful twists that will spark joy in your kitchen!
- Nut-Free: Replace butter with a nut-free vegan alternative like coconut oil for a safe, equally delicious treat.
- Gluten-Free: Swap all-purpose flour with a 1:1 gluten-free flour blend for indulgence without the gluten worries, while keeping that chewy texture!
- Minty Fresh: Add a few drops of peppermint extract for a refreshing twist that complements the summer vibes. These cookies take on a whole new flavor profile!
- Double Chocolate: Incorporate cocoa powder into the dough for a rich chocolate version. Chocolate lovers will swoon over this decadent treat!
- Sunny Citrus: Add zests of lemon or orange into your dough for a bright flavor that dances on your palate—perfect for summer celebrations!
- Sprinkles Galore: Fold in colorful sprinkles before baking to give your cookies a fun and festive flair, making them even more visually appealing!
- Peanut Butter Bliss: Substitute some of the butter with creamy peanut butter for a nutty richness. It’s a delightful surprise in every bite!
- Spicy Kicker: Add a pinch of cayenne pepper to the dough for a hint of unexpected heat. This twist enhances the delightful sweetness; a true flavor adventure!
Feeling inspired? You might also want to check out my festive Kitchen Sink Cookies for a delicious mix of flavors!
Expert Tips for 4th of July Crinkle Cookies
-
Chill the Dough: Ensure you chill your dough for at least one hour, or overnight, to prevent overly spreading during baking. This step is crucial for that perfect crinkle appearance.
-
Double-Coat in Powdered Sugar: For the trademark crinkle effect, roll each ball in powdered sugar twice. This not only boosts sweetness but enhances the visual appeal of your 4th of July Crinkle Cookies.
-
Watch the Baking Time: Keep an eye on your cookies while they bake; they should be just set around the edges but remain soft in the center. Overbaking can lead to a tough texture.
-
Use Gel Food Coloring: Opt for gel food coloring instead of liquid to achieve vibrant, rich hues that won’t affect dough consistency. A little goes a long way!
-
Don’t Overmix: When combining dry ingredients with wet, mix just until incorporated. Overmixing can lead to a denser cookie, straying from the soft texture you want.
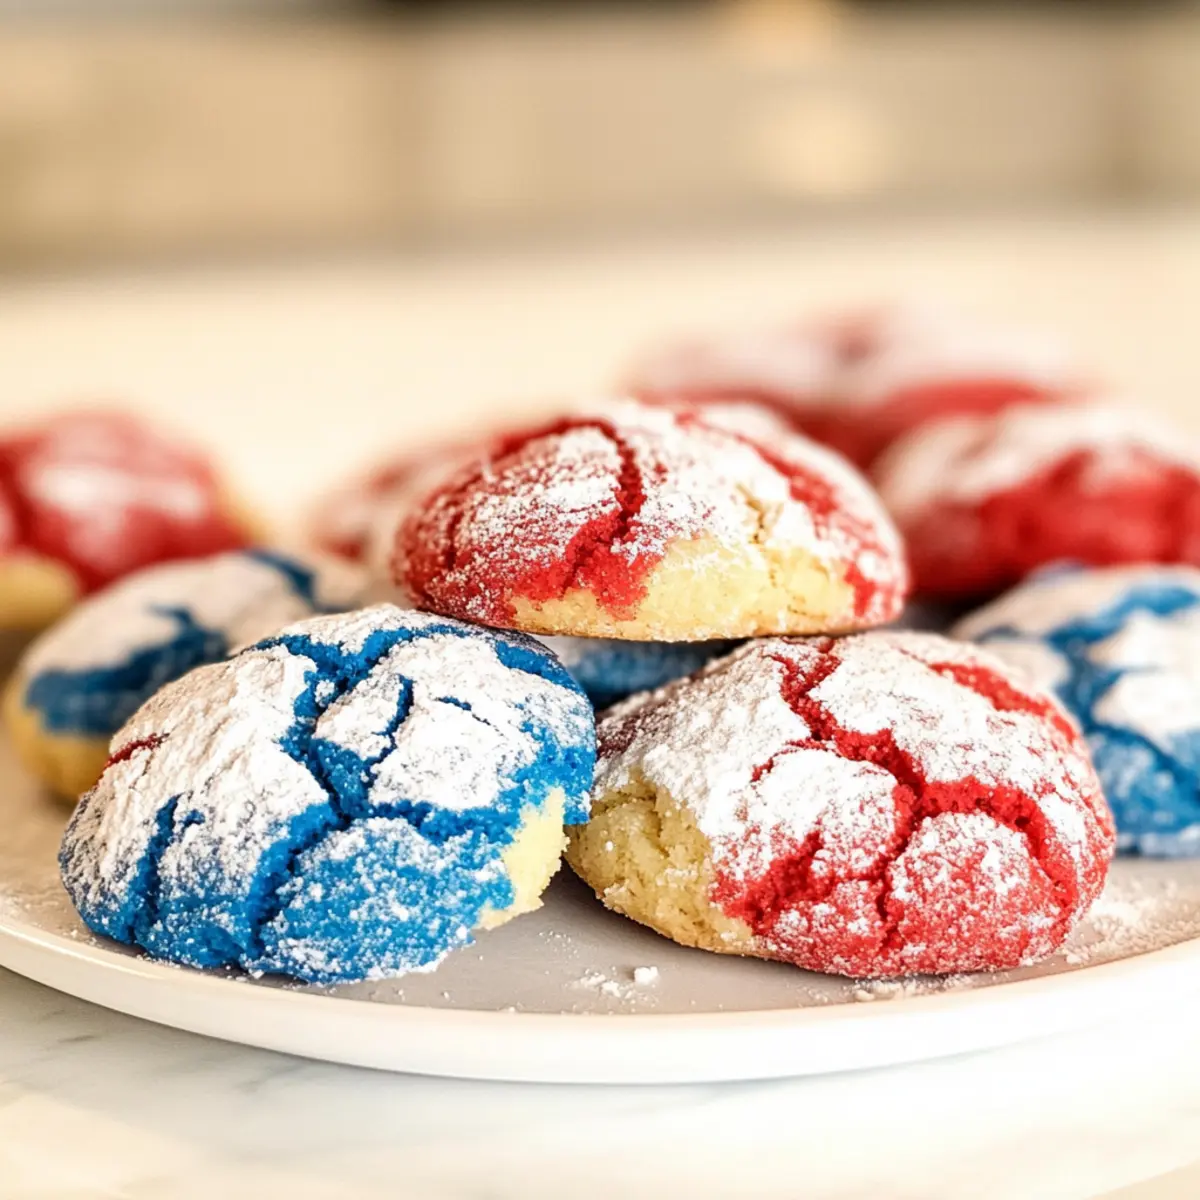
4th of July Crinkle Cookies Recipe FAQs
How do I choose the right butter for my cookies?
Absolutely! For these 4th of July Crinkle Cookies, it’s best to use unsalted butter that’s softened to room temperature. This allows for easier mixing and contributes to the soft, buttery texture you’re aiming for. If you find that your butter is too cold, you can cut it into small cubes and let it sit out for about 15-20 minutes or microwave it for just a few seconds for a slightly softened result without melting it.
How should I store my 4th of July Crinkle Cookies?
Great question! You can keep your cookies in an airtight container at room temperature for up to one week. This method ensures they maintain their delightful softness. If you’re aiming for longer storage, pop them in the refrigerator for up to two weeks but be sure to seal them well. Conversely, if you want to prepare ahead of time, these cookies can be frozen for up to 3 months. Just arrange them in a single layer in a freezer-safe bag or insulated container for best preservation.
Can I freeze the dough?
Certainly! Freezing the dough is a fantastic option. To do this, form the dough balls as you would for baking, then arrange them on a baking sheet and freeze until solid. Once frozen, transfer them to a freezer-safe bag or container. They can be frozen for up to 3 months. When you’re ready to bake, there’s no need to thaw them; simply place them directly in the preheated oven, adding a few extra minutes to the baking time.
What if my cookies are too flat after baking?
Oh no! If your 4th of July Crinkle Cookies turn out flatter than expected, it’s usually because the dough wasn’t chilled enough before baking. Chilling is essential to help the cookies hold their shape and develop that beautiful crinkle top. Next time, make sure to chill your dough for at least an hour, or even overnight if possible. Also, ensure you’re not overmixing after adding the dry ingredients, as overmixing can lead to developing excess gluten, making them spread more.
Are these cookies safe for pets?
It’s best to keep these cookies away from pets. The primary ingredients, such as sugar and butter, can be harmful if ingested in large amounts. Additionally, the colorings used for the festive appearance may not be safe for pets. If you want to give your furry friends a treat, consider baking dog-specific versions using pet-friendly ingredients.
Can I adapt this recipe for different dietary restrictions?
Very! This recipe can certainly be modified. If you want a lower-sugar option, you could substitute half the sugar with a sweetener like erythritol, though this may slightly alter the texture. For gluten-free alternatives, use a 1:1 gluten-free all-purpose flour blend. If you’re dairy-free, try using coconut oil or a dairy-free butter substitute to maintain that rich flavor without the cream.
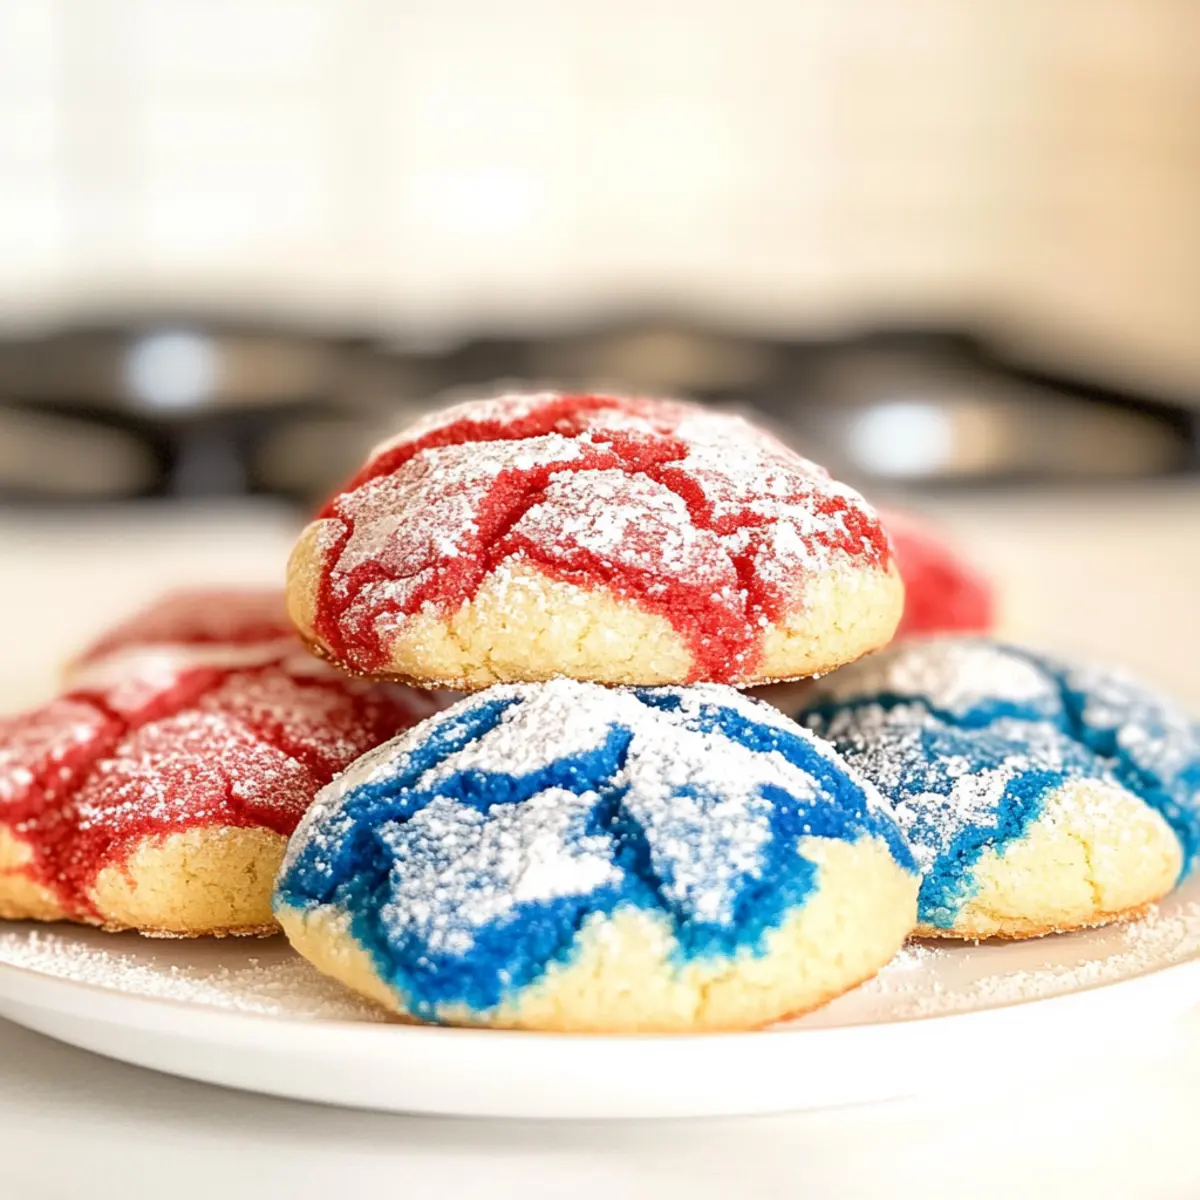
Red, White, and Blue 4th of July Crinkle Cookies Bliss
Ingredients
Equipment
Method
- Cream the Butter and Sugar by beating together soft butter and granulated sugar until light and fluffy.
- Incorporate the Eggs, adding them one at a time until fully mixed.
- Sift and Combine Dry Ingredients, then gradually mix into wet ingredients.
- Chill the Dough for at least 1 hour, covered with plastic wrap.
- Preheat and Prepare Baking Sheets by preheating the oven to 350°F (175°C) and lining baking sheets with parchment paper.
- Color the Dough by dividing it into three portions, keeping one plain and adding food coloring to the others.
- Form the Cookie Balls by rolling dough together and coating with powdered sugar.
- Bake the Cookies for 12-14 minutes until tops are cracked but centers remain soft.
- Cool Down by letting cookies rest for 10 minutes before transferring to a wire rack.
Leave a Reply