
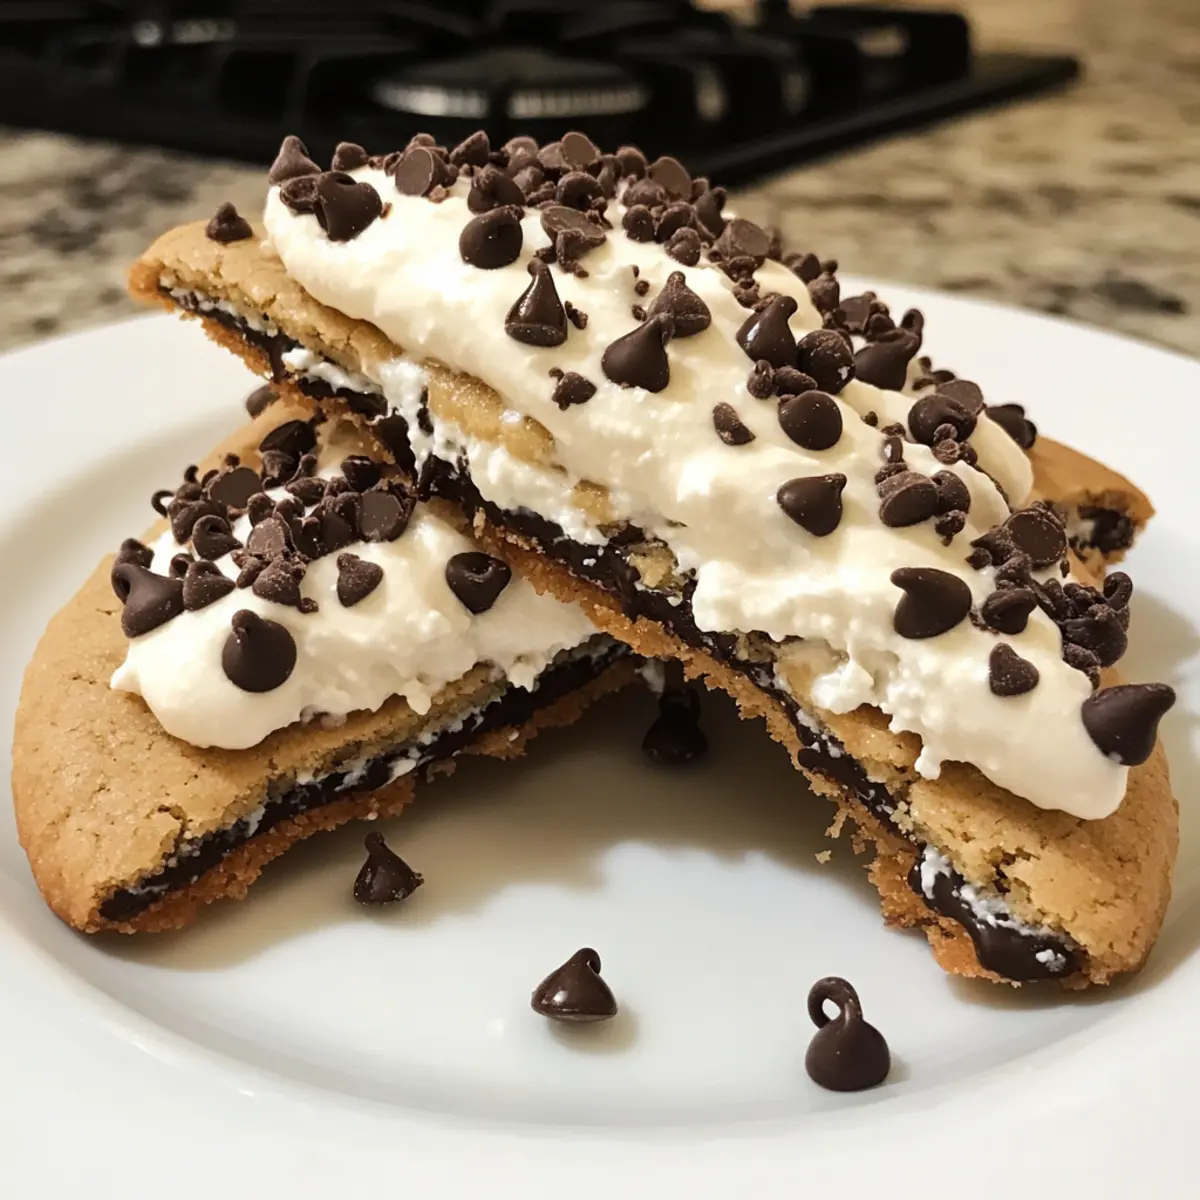
As I sifted through my pantry searching for a sweet escape, I spotted a bag of almond flour, and inspiration struck like a lightning bolt. Enter my Almond Cannoli Cookies – the perfect blend of Italian tradition and modern simplicity. These delightful cookies are a tender taste of heaven that require just about 30 minutes to whip up, transforming everyday ingredients into an impressive treat. With their light, creamy chocolate chip topping and a subtle almond flavor, these Cannoli Cookies are a delightful alternative to fast food and a guaranteed crowd-pleaser. Whether you’re celebrating a special occasion or simply wanting to indulge in a homemade dessert, these cookies deliver all the joy. Curious to discover how to create this irresistible treat? Let’s dive into the recipe!
Why are Cannoli Cookies so special?
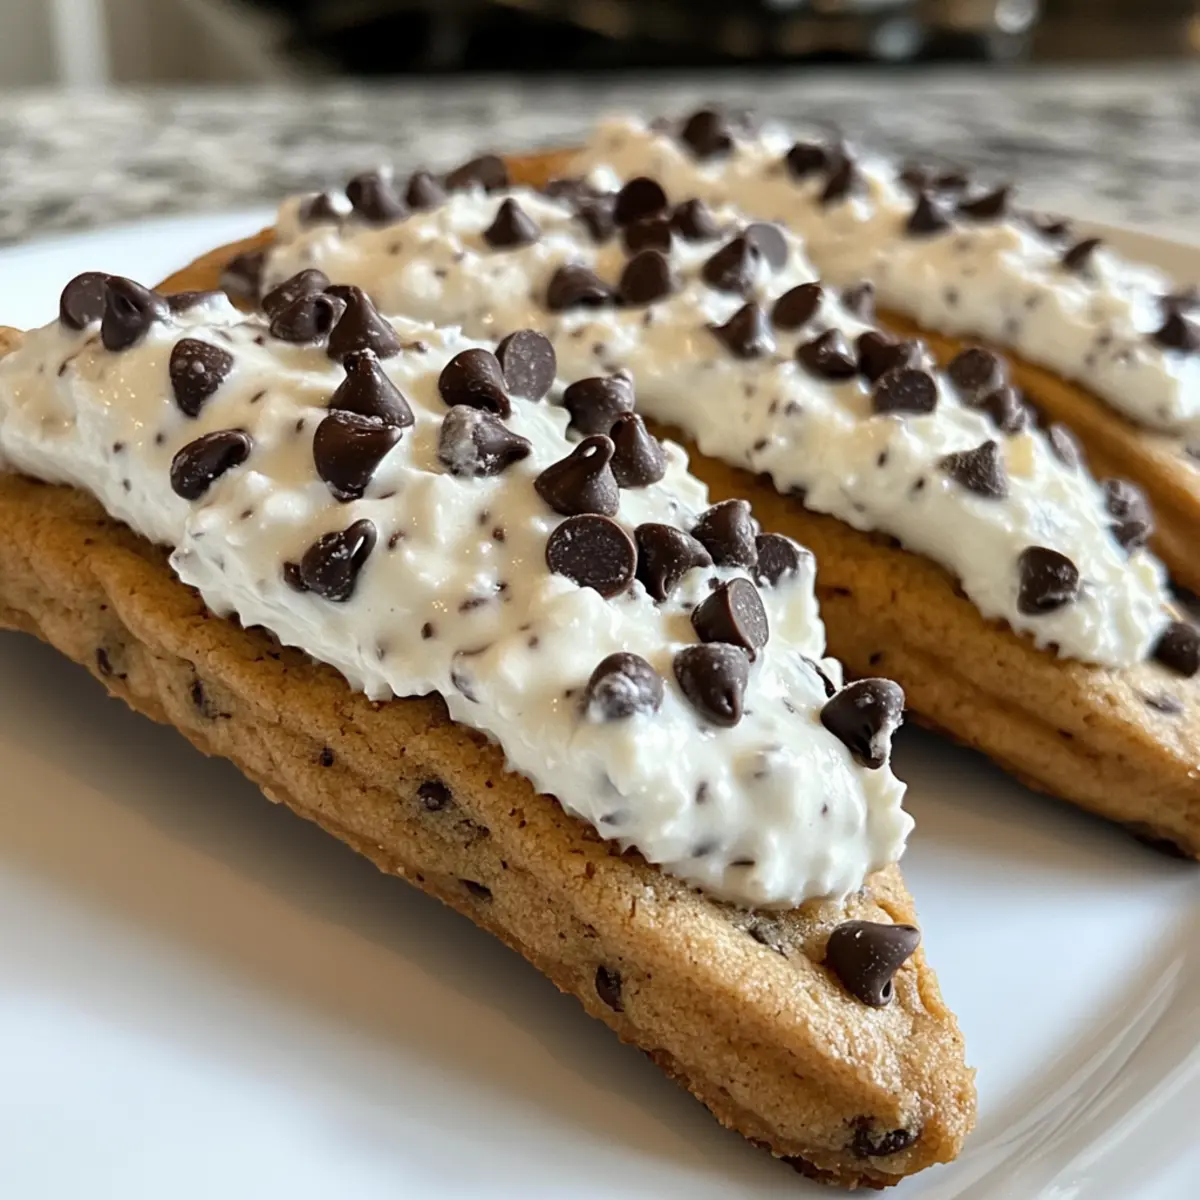
Irresistible Flavor: With their tender almond base and creamy chocolate chip topping, these Cannoli Cookies bring all the delightful flavors of traditional Italian cannoli to your dessert table.
Quick and Easy: Perfect for busy bakers, they come together in just about 30 minutes—ideal for those spontaneous sweet cravings!
Customizable Variations: Want to switch things up? Try adding pistachios or orange zest for a unique twist that will wow your guests.
Crowd-Pleasing Treat: Whether you’re hosting a party or simply looking for a treat to enjoy with your morning coffee, these cookies are sure to impress, much like a batch of Kitchen Sink Cookies.
Perfect for Sharing: They store beautifully, allowing you to share them with friends and family or indulge all by yourself!
Cannoli Cookies Ingredients
For the Cookie Base
- Flour – Provides structure to the cookies and is essential for that perfect texture.
- Baking Powder – Helps the cookies rise, giving them a light and airy quality.
- Salt – Balances the sweetness, elevating the overall flavor of the Cannoli Cookies.
- Butter – Adds rich flavor and moisture; ensure it’s at room temperature for easy blending.
- Granulated Sugar – This sweetener contributes both sweetness and moisture to each cookie.
- Egg – Binds the ingredients together and adds some richness to the cookie dough.
- Vanilla Extract – A key ingredient to enhance the cookie’s flavor profile.
- Almond Extract – Infuses the cookies with a deliciously subtle almond essence—opt for extract, not oil.
For the Creamy Topping
- Heavy Whipping Cream – Whip it to create a light and airy topping that complements the cookie base.
- Ricotta Cheese – Forms the core of the cannoli-style filling; whole-milk ricotta is best for flavor.
- Powdered Sugar – Adds sweetness and helps stabilize the creamy topping.
- Mini Chocolate Chips – Use these for that perfect texture and visual appeal; avoid regular chips as they’re too large.
Step‑by‑Step Instructions for Cannoli Cookies
Step 1: Preheat and Prepare Baking Sheets
Begin by preheating your oven to 350°F (175°C). While the oven warms, line two baking sheets with parchment paper, ensuring a non-stick surface for your Cannoli Cookies. This preparation will help achieve a beautiful golden finish on your cookies, which should bake perfectly in the preheated environment.
Step 2: Mix Dry Ingredients
In a medium mixing bowl, sift together 2 cups of flour, 1 teaspoon of baking powder, and a pinch of salt. Combining these ingredients evenly distributes the leavening agent and balances the flavor of your Cannoli Cookies. Give it a gentle whisk to ensure everything is well integrated, setting the stage for a light and airy cookie.
Step 3: Cream Butter and Sugar
In another large bowl, use an electric mixer to cream together ¾ cup of room-temperature butter and 1 cup of granulated sugar until the mixture is light and fluffy, about 3–5 minutes. This aeration is crucial for achieving a tender texture in your cookies. You’ll know it’s ready when the color has lightened, and the mixture is creamy.
Step 4: Incorporate the Wet Ingredients
Beat in 1 large egg, 1 teaspoon of vanilla extract, and 1 teaspoon of almond extract into the buttery sugar mixture. Continue mixing until all the ingredients are fully incorporated, creating a smooth batter. The almond extract adds a delightful depth to the flavor, making your Cannoli Cookies even more aromatic.
Step 5: Combine Wet and Dry Mixtures
Gradually add the dry flour mixture to the wet ingredients, stirring gently with a spatula until just combined. Avoid overmixing as you want to maintain that light texture in your cookies. The dough should come together nicely—soft, but not sticky—perfect for scooping and shaping.
Step 6: Shape the Dough
Using a cookie scoop, portion out 1.5-tablespoon-sized balls of dough and place them on the prepared baking sheets, leaving about 2 inches between each cookie. With your hands, gently flatten each ball to about ¼ to ½ inch in thickness. This step will help your Cannoli Cookies achieve that nice, uniform shape and even browning during baking.
Step 7: Bake the Cookies
Slide the baking sheets into the preheated oven and bake the Cannoli Cookies for about 10 minutes, or until they are set and just beginning to turn golden around the edges. Keep an eye on them; you want them soft but not too brown. Your kitchen will soon fill with the wonderful aroma of almond and freshly baked cookies!
Step 8: Cool on a Wire Rack
Once baked, remove the cookies from the oven and let them cool on the baking sheets for about 5 minutes. After that, transfer them to a wire rack to cool completely. This cooling step is essential for allowing the cookies to firm up and makes them easier to handle for later filling.
Step 9: Prepare the Creamy Topping
While the cookies are cooling, whip 1 cup of heavy whipping cream until stiff peaks form, which should take about 2–3 minutes. In a separate bowl, combine 1 cup of ricotta cheese with ½ cup of powdered sugar and ½ teaspoon of vanilla extract, mixing until smooth. This creamy topping will make your Cannoli Cookies truly decadent.
Step 10: Mix in Chocolate Chips
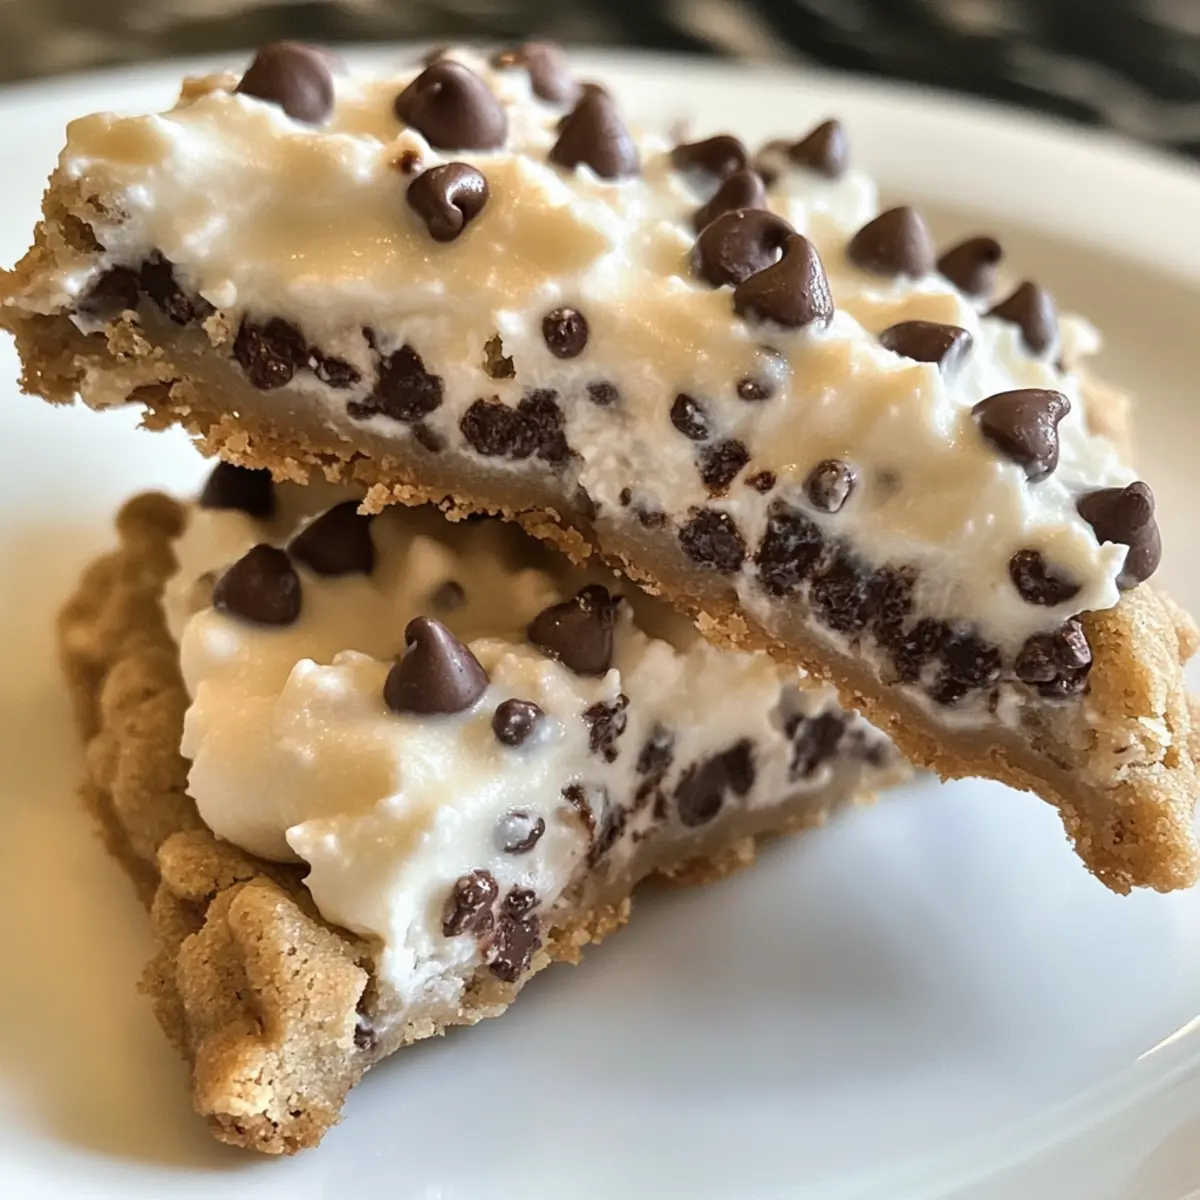
Gently fold the whipped cream into the ricotta mixture until just combined, being careful not to deflate the whipped cream. Next, add ½ cup of mini chocolate chips, stirring to distribute them evenly throughout the creamy filling. This step will enhance the visual appeal and taste of your Cannoli Cookies.
Step 11: Assemble the Cannoli Cookies
Once the cookies are completely cooled, take a generous dollop of the creamy filling and spread it over each cookie. The cream should cling beautifully, creating a luscious topping that mimics the famous cannoli filling. For a decorative touch, consider piping the mixture onto the cookies for a lovely finish.
Step 12: Serve and Store
Your Cannoli Cookies are now ready to be served! Enjoy them immediately or store any leftovers in an airtight container in the refrigerator for up to three days. These cookies are perfect for sharing or savored quietly with a lovely cup of coffee—either way, they’re sure to bring smiles!
Make Ahead Options
These Almond Cannoli Cookies are an ideal choice for busy weeknights and meal prep enthusiasts! You can prepare the cookie dough and refrigerate it for up to 24 hours before baking, ensuring it stays fresh and flavorful. Simply scoop and shape the dough, wrap it tightly, and store it in the fridge. Additionally, the creamy chocolate chip topping can be made in advance and kept in the refrigerator for up to 3 days; just give it a quick whip before spreading it on the cookies. When ready to serve, bake the cookies and let them cool completely before adding the topped filling. This way, you’ll have delightful Cannoli Cookies ready to impress with minimal effort!
Expert Tips for Cannoli Cookies
- Butter Softness: Ensure butter is at room temperature; this is crucial for achieving a light and fluffy texture in your Cannoli Cookies.
- Avoid Overmixing: When combining the wet and dry ingredients, mix just until combined. Overmixing can lead to tough cookies.
- Right Cookie Size: Use a cookie scoop for uniformity; this helps each Cannoli Cookie bake evenly and look delightful.
- Cooling Time: Let the cookies cool completely before adding the creamy topping to prevent it from melting and sliding off.
- Piping Perfection: For an elegant finish, consider using a piping bag to apply the creamy topping, which adds a touch of sophistication.
- Storage Smartly: Keep leftovers in an airtight container in the refrigerator for up to three days to maintain their freshness and flavor.
How to Store and Freeze Cannoli Cookies
Fridge: Store leftover Cannoli Cookies in an airtight container for up to 3 days. This keeps them fresh and prevents them from drying out.
Freezer: For longer storage, freeze unfilled cookies in a single layer on a baking sheet, then transfer to a freezer bag for up to 3 months. Thaw before adding the creamy topping.
Reheating: If you prefer warm cookies, gently reheat them in the microwave for about 10-15 seconds. Be careful not to overheat, as it can melt the filling.
Airtight Storage: Ensure cookies are fully cooled before storing to prevent condensation. Always use an airtight container to maintain their texture and flavor.
What to Serve with Almond Cannoli Cookies?
Indulging in homemade treats opens the door to creating the perfect meal experience.
- Rich Espresso: The deep, bold flavors of espresso are a classic Italian pairing for these cookies, enhancing their sweet almond notes.
- Biscotti: Crunchy and slightly sweet, biscotti provide a delightful textural contrast—perfect for dipping into coffee or tea.
- Vanilla Gelato: Creamy, cold, and decadently smooth, a scoop of vanilla gelato perfectly balances the cookie’s delicate flavors.
- Fresh Berries: Bright, juicy strawberries or raspberries add a fresh burst of flavor that cuts through the sweet creaminess of the cookies.
- Chocolate Sauce Drizzle: A light drizzle of chocolate sauce not only enhances visual appeal but also adds a rich chocolatey goodness that complements the mini chocolate chips.
- Sweet Dessert Wine: A glass of Moscato or Vin Santo allows each bite of the Cannoli Cookies to shine, bringing a celebratory touch to your dessert experience.
Cannoli Cookies Variations
Feel free to stretch your culinary creativity and adjust these delicious Cannoli Cookies to your taste!
-
Pistachio Twist: Add ⅓ cup of finely chopped pistachios to the creamy filling for a nutty crunch. The combination of almond and pistachio creates a delightful Mediterranean flair.
-
Citrus Burst: Incorporate the zest of one orange into the cookie dough or topping for an invigorating citrus zing. The bright notes will perfectly balance the sweetness for a refreshing treat.
-
Chocolate Lovers: Increase the amount of mini chocolate chips to 1 cup for an extra chocolatey bite. This indulgent variation satisfies every chocolate craving and adds a decadent twist.
-
Gluten-Free Option: Substitute all-purpose flour with a gluten-free blend cup-for-cup for delicious gluten-free Cannoli Cookies. With the right mix, you won’t miss a thing, and everyone can indulge!
-
Spiced Delight: Add a dash of cinnamon or nutmeg to the cookie dough for a warm spiced flavor. This brings an inviting warmth reminiscent of homemade holiday treats.
-
Nutty Flair: Swirl in some almond meal into the cookie batter for a more pronounced nutty flavor and enhanced texture. This addition can turn each bite into a deliciously rich experience.
-
Cookie Sandwiches: Create decadent cookie sandwiches with an extra dollop of filling between two cookies and roll the edges in mini chocolate chips. Who can resist a delightful bite of extra creaminess?
These variations are sure to inspire your own creations and elevate the flavor experience. And don’t forget, if you want to explore other delightful treats, check out my Kitchen Sink Cookies or indulge in the rich flavors of Velvet Crinkle Cookies. Each option offers a unique taste adventure to satisfy any sweet tooth!
Cannoli Cookies Recipe FAQs
What type of flour should I use for Cannoli Cookies?
I recommend using all-purpose flour, as it provides the best structure for these cookies. It’s crucial for achieving that perfect texture, so avoid using any flavored or gluten-free alternatives unless you’re confident in your modifications.
How should I store leftover Cannoli Cookies?
Store any uneaten Cannoli Cookies in an airtight container in the refrigerator for up to 3 days. This keeps them fresh and prevents them from drying out. Just make sure they are completely cooled before storing to avoid any condensation.
Can I freeze Cannoli Cookies?
Absolutely! For longer storage, freeze the unfilled cookies in a single layer on a baking sheet. Once frozen, transfer them to a freezer bag or airtight container and store for up to 3 months. When you’re ready to enjoy, simply thaw before adding the creamy topping.
What if my Cannoli Cookies are too dry or crumbly?
If your cookies turn out too dry, it’s possible that the butter wasn’t fully incorporated or that they were overbaked. Ensure your butter is soft and creamed well with the sugar to create a light, fluffy mix. Also, keep an eye on them while they bake—10 minutes should be perfect!
Can I make substitutions for dietary restrictions?
Of course! If you’re looking to make these Cannoli Cookies dairy-free, you can use a plant-based butter and a dairy-free cream cheese in place of ricotta. Always check your ingredient labels if allergens are a concern, especially with the chocolate chips.
Do Cannoli Cookies need to be served immediately?
Not at all! While they are best enjoyed fresh, you can prepare them in advance. Just store the unfilled cookies and fill them just before serving for the best texture and taste. This way, they’ll stay moist and delicious, ready to impress your guests!
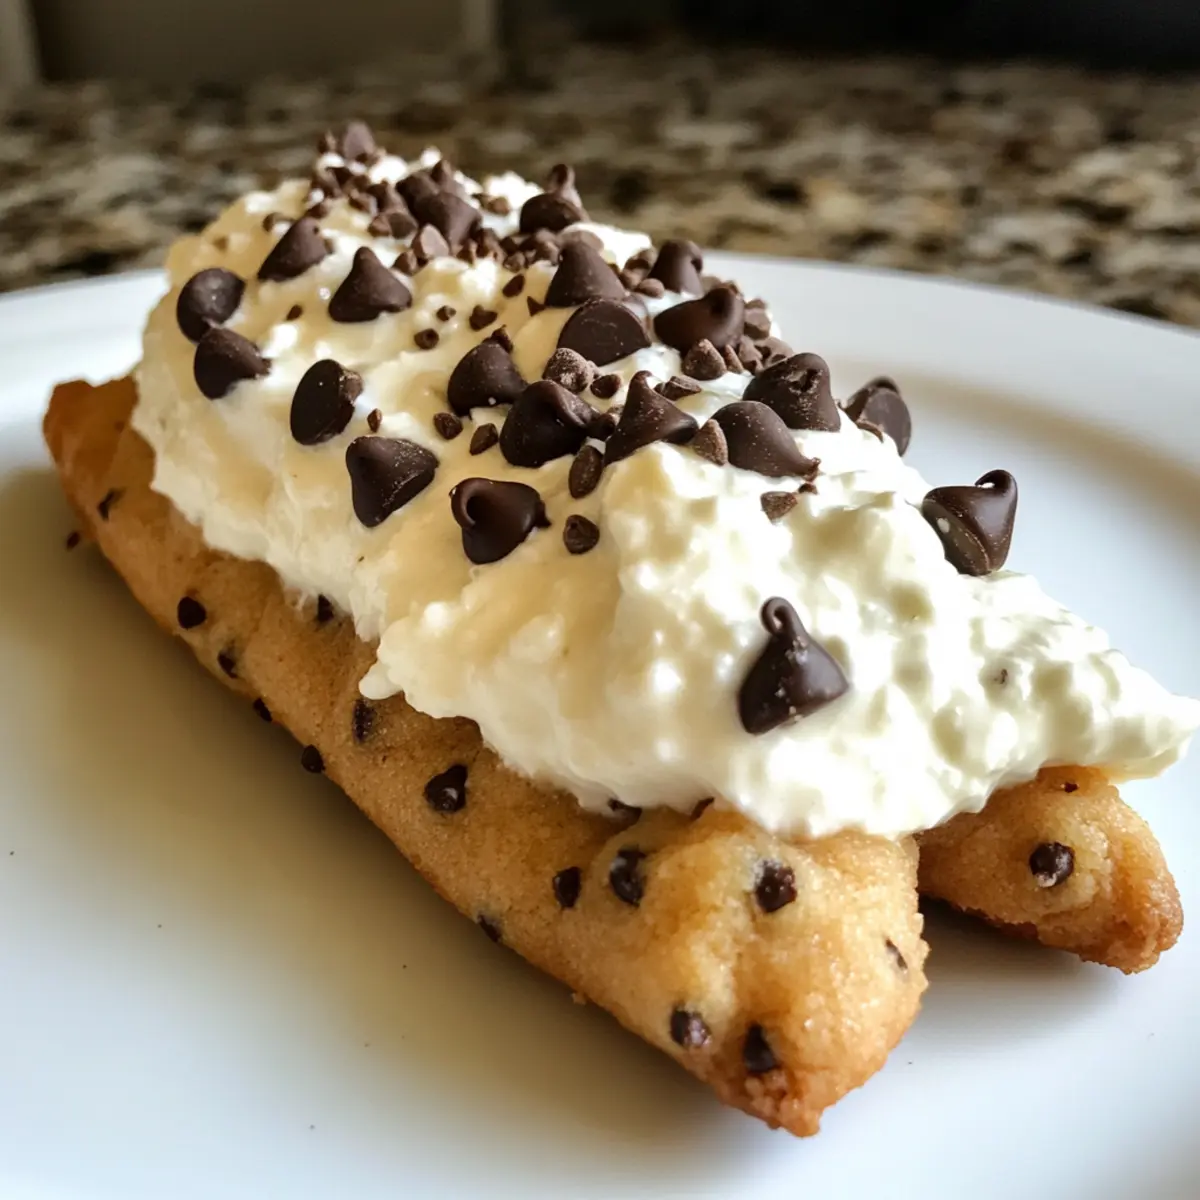
Delicious Cannoli Cookies with Creamy Chocolate Filling
Ingredients
Equipment
Method
- Preheat your oven to 350°F (175°C) and prepare baking sheets with parchment paper.
- Sift together flour, baking powder, and salt in a mixing bowl.
- Cream together butter and sugar until light and fluffy.
- Beat in the egg, vanilla extract, and almond extract until combined.
- Gradually add the dry ingredients into the wet mixture, stirring gently.
- Scoop the dough onto baking sheets and flatten slightly before baking.
- Bake for about 10 minutes or until cookies are set and edges are golden.
- Cool cookies on a wire rack for about 5 minutes before transferring.
- Whip the heavy cream until stiff peaks form. In a separate bowl, mix ricotta cheese, powdered sugar, and vanilla until smooth.
- Fold the whipped cream into the ricotta mixture and add mini chocolate chips.
- Spread the creamy topping on cooled cookies and serve.
- Store any leftovers in an airtight container in the refrigerator.
Leave a Reply