
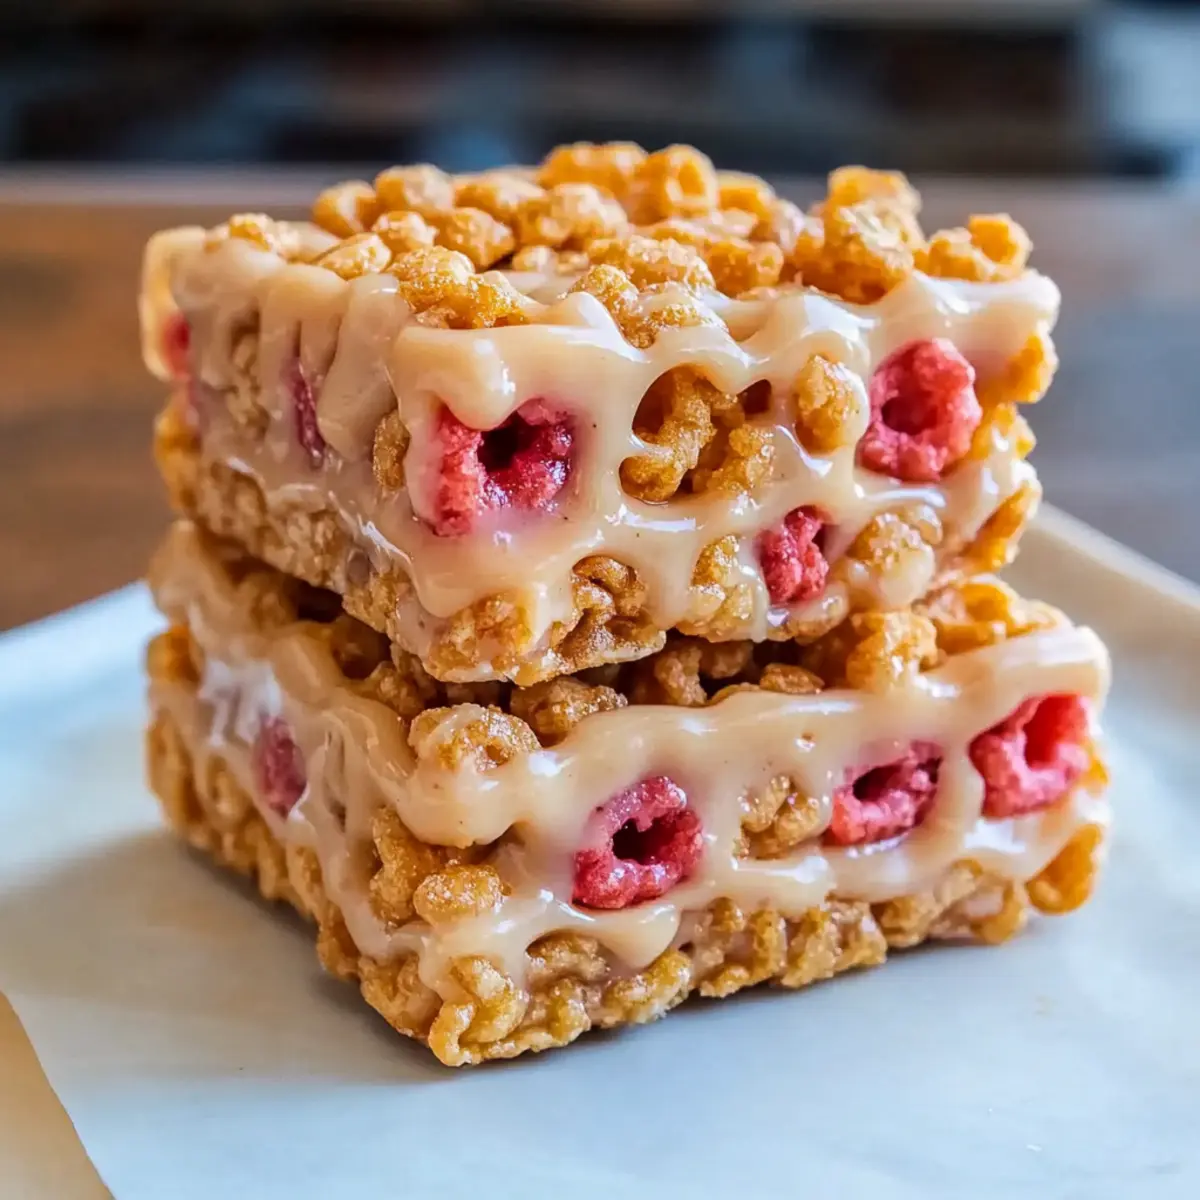
“Stand back, world! I’m about to unveil the secret weapon for busy mornings and snack-time cravings: Homemade Easy Cereal Bars. These little wonders are made with just three ingredients, making them a breeze to whip up whenever you need a quick, healthy snack. Imagine indulging in something that not only satisfies your sweet tooth but is also customizable to cater to every family member’s taste—whether they crave chocolate, peanut butter, or a fruity twist. Perfect for those hectic days when time slips away from us and a homemade treat feels just out of reach. Why settle for store-bought snacks when you can create your own, packed with wholesome goodness? Ready to roll up your sleeves and make something delicious? Let’s dive into these cereal bars together!”
What makes these cereal bars special?
Three simple ingredients: You won’t believe how easy these bars are to make, with just cereal, nut butter, and a sweetener. Customizable flavors: Choose from chocolate, cookie dough, or even fruity variations to satisfy all taste buds. Perfect for families: These treats are not only delicious, but they’re also a hit with kids and adults alike. Quick and portable: Ideal for busy mornings or on-the-go snacks. Plus, they make a great healthier alternative to store-bought options. Don’t forget to explore the Chocolate Bars for an extra indulgence!
Cereal Bars Ingredients
• Get ready to create delicious, chewy treats!
For the Base
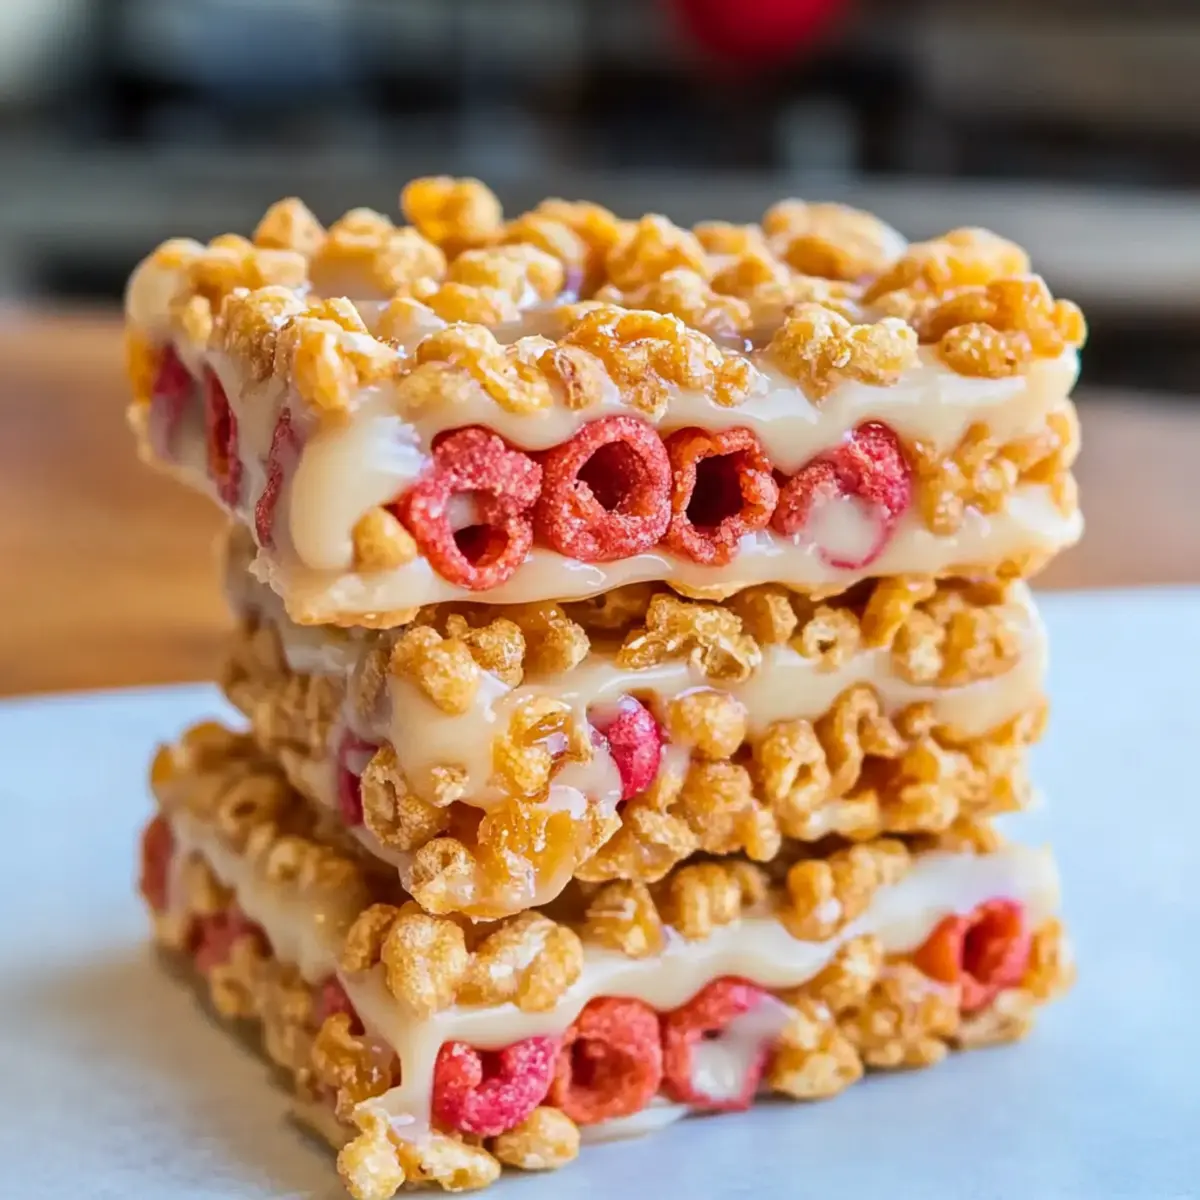
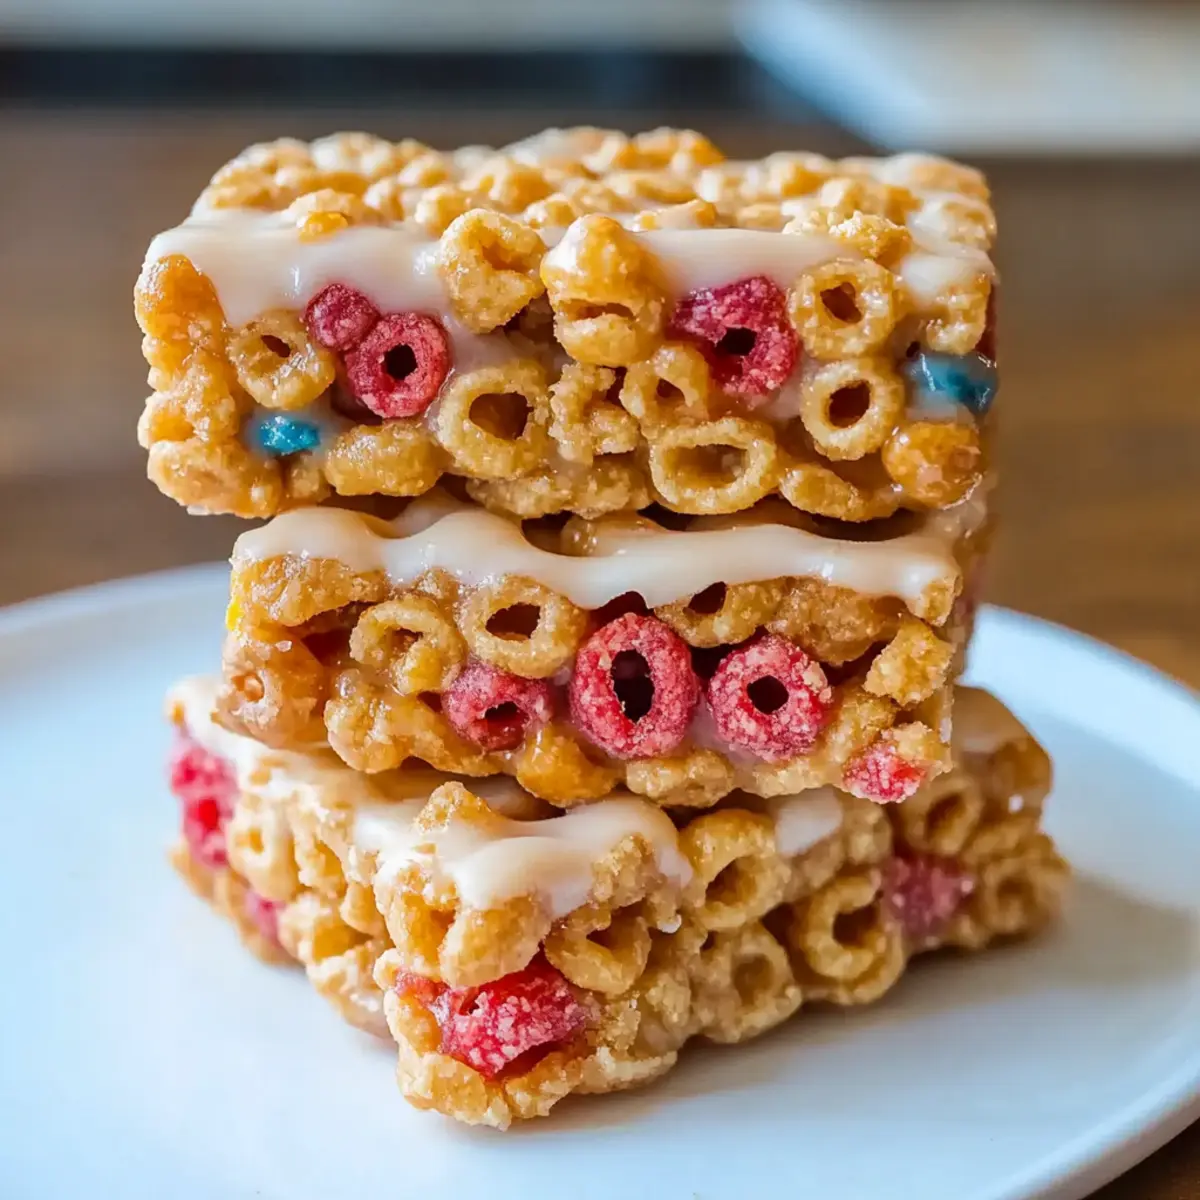
- Cereal of choice – choose small flakes or shapes like Cheerios or Rice Krispies for that perfect crunch.
For the Binding
- Peanut butter or nut butter – provides creaminess and helps bind the bars together; go smooth or crunchy based on your preference.
For Sweetness
- Agave, honey, or brown rice syrup – adds that delightful sweetness while holding the mixture together; use agave or brown rice syrup for vegan-friendly options.
Optional Ingredients
- Salt – enhances the flavor balance, giving a little extra oomph to your bars.
- Protein powder – for those looking to boost nutrition, just adjust the other ingredients for thickness.
These delectable cereal bars are simple to whip up and perfect for any occasion!
Step‑by‑Step Instructions for Customizable 3-Ingredient Homemade Cereal Bars
Step 1: Prepare the Pan
Start by lining an 8-inch square pan with wax or parchment paper, allowing some overhang for easy removal later. This step is essential for ensuring your homemade cereal bars come out intact and easy to slice. Set the prepared pan aside, as you’ll use it once the mixture is ready.
Step 2: Soften the Nut Butter
If your chosen nut butter is too thick to stir, gently warm it in the microwave for about 15-20 seconds until it reaches a creamy consistency. This will help it blend smoothly with the other ingredients. Watch closely to prevent overheating, as you want it warm, not hot when you mix it into your cereal bars.
Step 3: Mix the Ingredients
In a large mixing bowl, combine your cereal of choice, softened nut butter, and your sweetener—agave, honey, or brown rice syrup. Stir vigorously for about 1-2 minutes until everything is well incorporated and you see all cereal pieces coated evenly. The mixture should be sticky and cohesive, ready to press into the pan.
Step 4: Press into the Pan
Transfer the sticky mixture into the prepared pan, spreading it evenly across the bottom. Use a second piece of parchment paper to cover the mixture and press down firmly with your hands or a flat object, ensuring it’s tightly packed to avoid crumbling later. The top should be smooth and uniform; this is key to perfect homemade cereal bars.
Step 5: Chill the Mixture
Place the pan in the freezer for about 30 minutes to set. This will help the bars firm up, making it easier to slice them cleanly. Keep an eye on them; you want them just firm enough to hold their shape but not frozen solid.
Step 6: Slice and Store
Once chilled, remove the cereal bar mixture from the pan using the parchment overhang. Carefully slice into bars, making pieces as large or small as you like. Store your homemade cereal bars in an airtight container—either in the refrigerator for a week or at room temperature for a couple of days, perfect for snacking anytime!
Expert Tips for Homemade Cereal Bars
-
Press Firmly: Ensure to press the mixture down vigorously into the pan. This prevents your cereal bars from falling apart and keeps them well-formed.
-
Experiment Freely: Don’t hesitate to try different cereals and flavors. Your homemade cereal bars can be a unique creation that suits each family member’s taste—get creative!
-
Melted Sweetness: For added flavor, consider drizzling melted coconut butter or a light Greek yogurt mixture over the top before slicing. It’s a delightful touch!
-
Monitor Your Ingredients: If adding protein powder, adjust the nut butter and sweetener to maintain the right consistency. This will help your cereal bars hold together beautifully.
-
Vegan Substitutes: Use agave or brown rice syrup for sweetness to keep your cereal bars vegan-friendly, making them a delightful treat for everyone.
What to Serve with Customizable 3-Ingredient Homemade Cereal Bars
These delightful treats are perfect when paired with complementing flavors and textures for a well-rounded meal or snack experience.
-
Fresh Fruit: Sliced bananas or berries brighten your snack with natural sweetness and added nutrition. It’s like biting into a little burst of sunshine!
-
Yogurt Parfait: Layer these bars with creamy Greek yogurt and fresh fruits for a satisfying breakfast or post-workout treat. The creaminess balances the chewiness beautifully.
-
Nut Butter Dip: Pair the cereal bars with a small bowl of almond or cashew butter for an extra protein boost and a touch of indulgence. Dipping adds an interactive twist to every bite.
-
Smoothie: A refreshing fruit smoothie offers a cool contrast, making it an excellent grab-and-go option. Blend in some spinach for added nutrients!
-
Milk: Enjoy these bars with a glass of milk—whether almond, soy, or dairy—for a classic pairing that’s both satisfying and hydrating.
-
Trail Mix: Serve alongside a bowl of nutty trail mix for heightened crunch and flavor. This duo is perfect for those who crave a variety of textures.
-
Cheese Cubes: Include sharp cheddar or creamy brie for a savory twist—perfect for a mid-afternoon pick-me-up or snack time.
-
Tea or Coffee: Sipping on a warm cup of your favorite tea or coffee complements the sweetness of these bars. Think cozy afternoons at home!
How to Store and Freeze Cereal Bars
Fridge: Keep your homemade cereal bars in an airtight container in the refrigerator for up to 1 week. This helps maintain their chewiness and prevents them from becoming stale.
Room Temperature: If you plan to enjoy them within a couple of days, store the cereal bars at room temperature in a cool, dry place. Just be sure they are sealed well to avoid crumbling.
Freezer: For extended storage, you can freeze the bars for up to 3 months. Individually wrap each bar in plastic wrap and place them in a freezer-safe bag, so you can grab a quick snack anytime!
Reheating: If you’d like to enjoy warm cereal bars, heat them briefly in the microwave for 10-15 seconds. This brings back their lovely chewiness.
Make Ahead Options
These customizable 3-ingredient homemade cereal bars are perfect for meal prep! You can mix all the ingredients and press the mixture into the pan up to 24 hours in advance, then refrigerate it to maintain freshness. If you’re super busy, consider preparing your cereal bars up to three days ahead; simply store them in an airtight container to keep them from getting stale. When you’re ready to serve, just slice the bars and enjoy them chilled or at room temperature. To prevent browning or loss of flavor, make sure to keep any cut bars tightly wrapped or in a sealed container. With this prep method, you’ll have delicious homemade snacks ready in no time!
Cereal Bars Variations & Substitutions
Get ready to make your homemade cereal bars as unique as your taste buds!
-
Chocolate Delight: Mix in unsweetened cocoa powder and a dash of vanilla for a decadent twist. Who doesn’t love the richness of chocolate?
-
Nutty Nutella: Replace traditional nut butter with Nutella to turn your bars into a hazelnut dream. This version is sure to delight both kids and adults alike!
-
Cookie Dough Bars: Substitute cashew butter and add mini chocolate chips for a cookie dough flavor that will have everyone asking for seconds. Imagine the joy of biting into a cookie in a bar form!
-
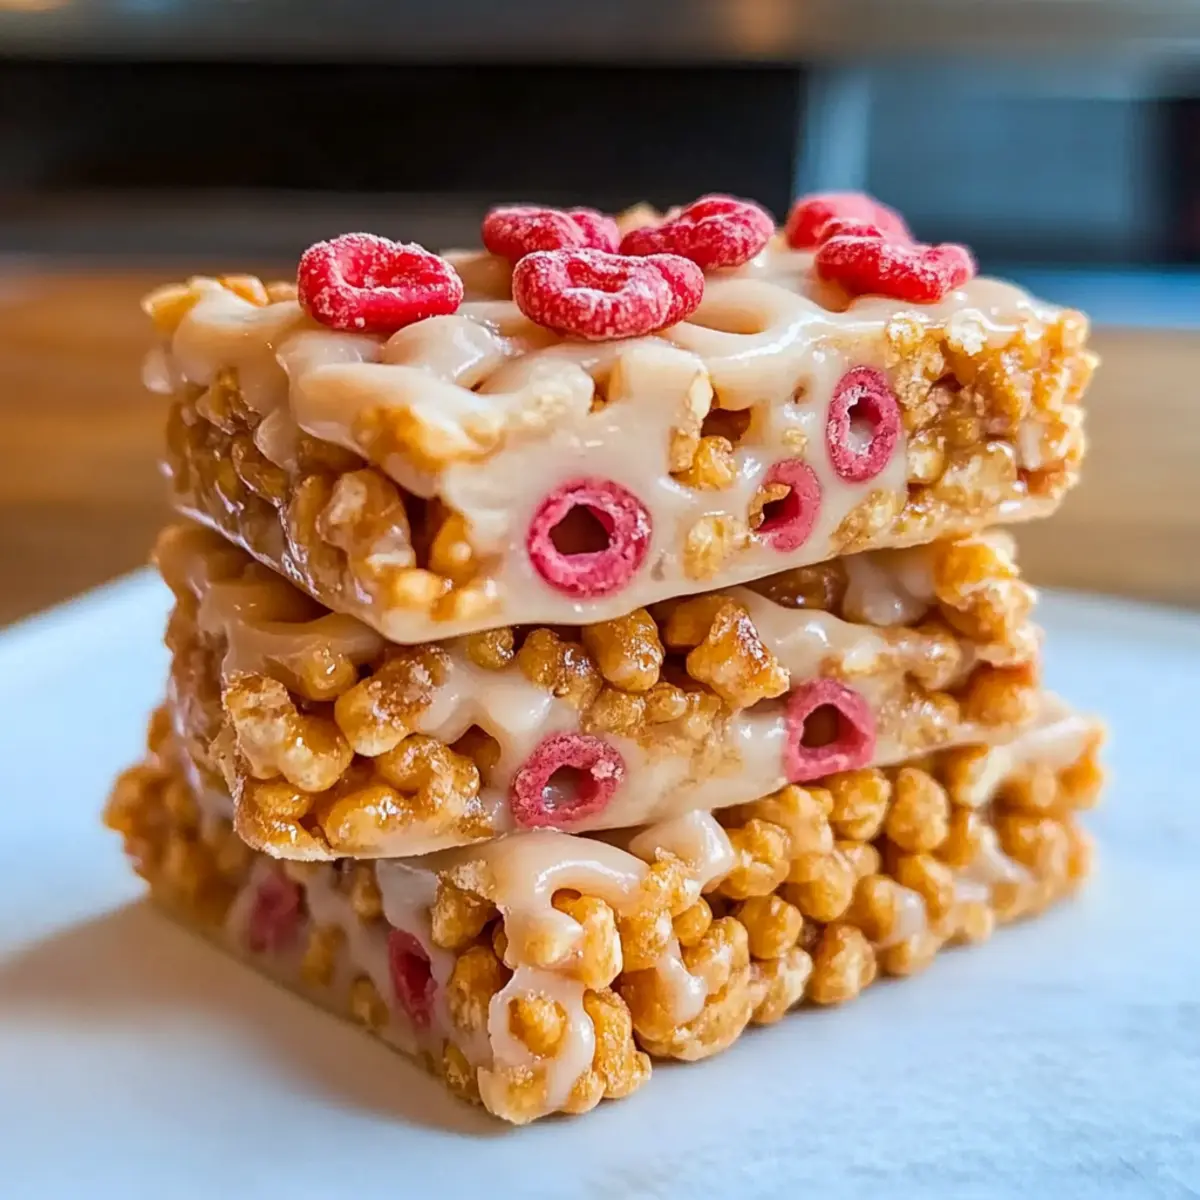
Berry Blast: Fold in freeze-dried strawberries or raspberries for a fruity explosion. This will add both flavor and a delightful natural sweetness to your bars!
-
Peanut Butter Crunch: Use your favorite nut or seed butter, and for added texture, sprinkle in some crushed peanuts or pecans. The crunchiness makes every bite an adventure.
-
Marshmallow Magic: Toss in mini marshmallows to the mixture before pressing it into the pan for a gooey, chewy treat. It’s like having a s’more in bar form!
-
Vegan Swaps: Opt for maple syrup instead of honey for a plant-based sweetener that’s just as delightful. You won’t miss the honey at all!
-
Protein-Packed: Add a scoop of your favorite protein powder for an extra nutrition boost. This makes for a perfect pre-workout snack to keep energy levels high!
Why not explore more delightful creations? Check out the Chocolate Bars for an indulgent experience! Taste each variation and find your family’s new favorite!
Homemade Easy Cereal Bars Recipe FAQs
What kind of cereal should I use?
Absolutely! The best choice for your cereal bars is small, crunchy cereals like Cheerios, Rice Krispies, or even granola. Look for options that have a light and airy texture, as they blend well with nut butter and sweeteners, creating that delightful chewiness you’re after.
How should I store my homemade cereal bars?
Very! To keep your homemade cereal bars fresh and chewy, store them in an airtight container in the refrigerator for up to 1 week. If you prefer room temperature, just make sure they’re kept in a cool, dry spot, and they should stay tasty for a couple of days.
Can I freeze cereal bars for later?
Absolutely! Freezing your cereal bars is a great way to extend their shelf life. Wrap each bar in plastic wrap, then place them in a freezer-safe bag or container. They can be frozen for up to 3 months. When you’re ready to enjoy one, simply thaw it in the fridge or heat it in the microwave for about 10-15 seconds for that fresh-out-of-the-kitchen experience.
What if my cereal bars are too crumbly?
No worries! This can happen if the mixture wasn’t pressed down firmly enough or if there wasn’t enough nut butter or sweetener. To fix it in future batches, ensure you press the mixture down firmly into the pan, making it compact. If they still seem too crumbly, consider adding a bit more nut butter or a splash of sweetener to help bind everything together.
Are these cereal bars safe for kids with nut allergies?
It’s a great question! If you’re making these for children with nut allergies, simply substitute the nut butter with a seed butter like sunflower seed butter. This will keep the bars safe for those with nut sensitivities while maintaining that delicious creamy texture you’re looking for in your homemade cereal bars.
How versatile are these cereal bars regarding dietary preferences?
Very! These cereal bars can easily adapt to different dietary requirements. By opting for agave or brown rice syrup as a sweetener, you keep them vegan-friendly. You can even add ingredients like protein powder for an extra boost, ensuring they fit into various lifestyles and preferences. Don’t hesitate to experiment with flavors and textures!
Deliciously Chewy Cereal Bars You Can Customize at Home
Ingredients
Equipment
Method
- Prepare the Pan: Line an 8-inch square pan with wax or parchment paper and set aside.
- Soften the Nut Butter: Warm the nut butter in the microwave for 15-20 seconds until creamy.
- Mix the Ingredients: In a bowl, combine cereal, softened nut butter, and sweetener. Stir for 1-2 minutes.
- Press into the Pan: Transfer the mixture into the pan, press down tightly for a smooth top.
- Chill the Mixture: Place in the freezer for about 30 minutes to set.
- Slice and Store: Remove from the pan and slice into bars. Store in an airtight container.
Leave a Reply