
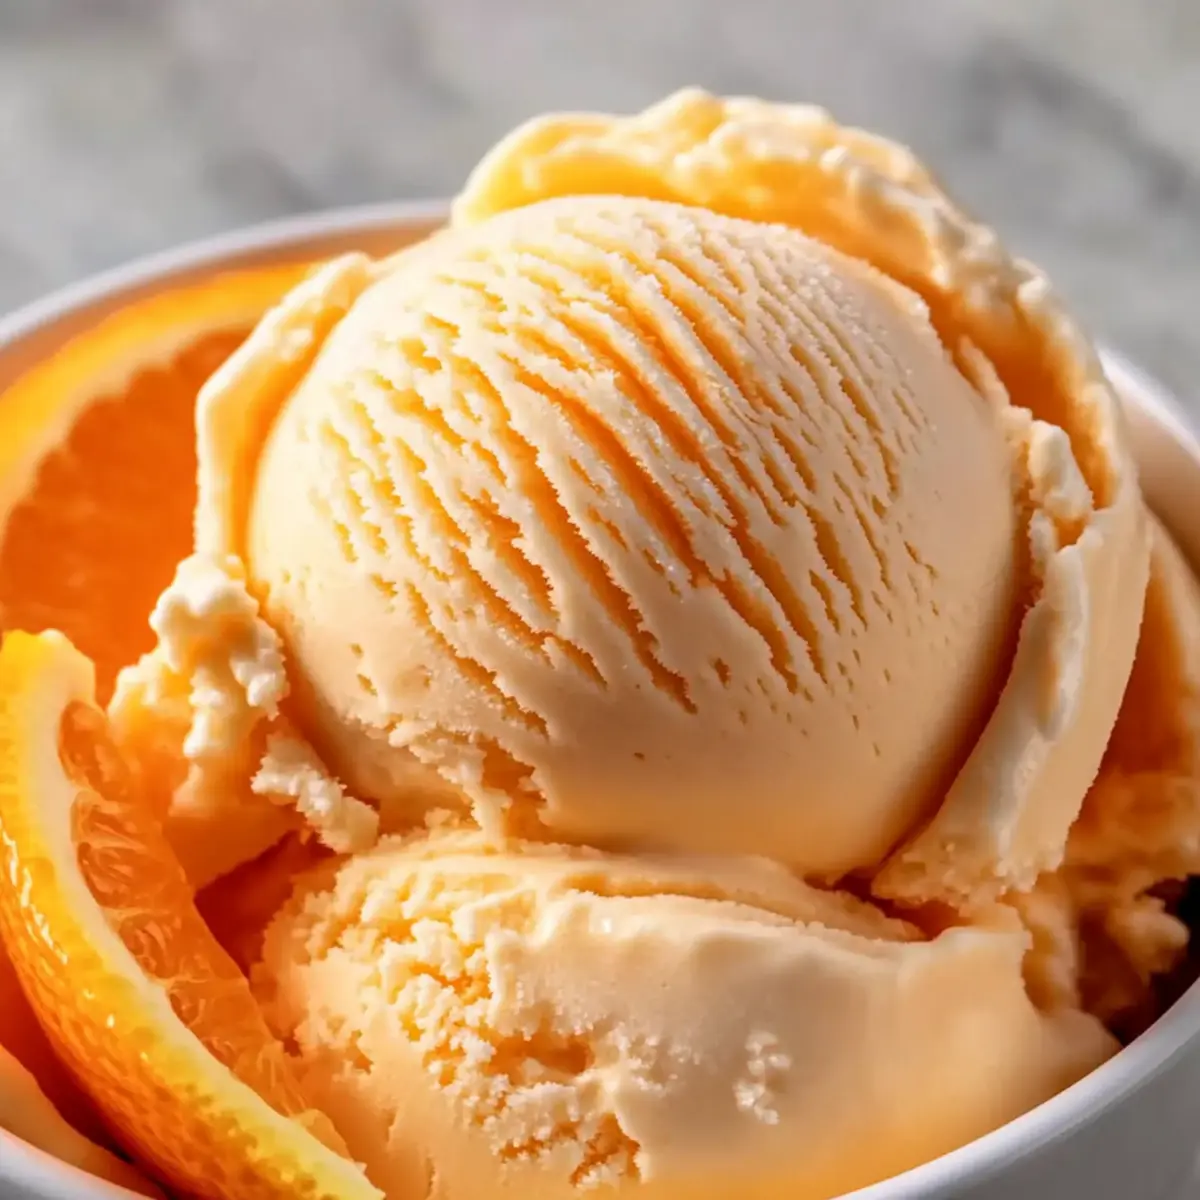
As I craved a taste of summer nostalgia, the thought of creamy homemade Orange Ice Cream swept over me like a refreshing sea breeze. This delightful treat captures the essence of childhood orange creamsicles, combining luscious fresh orange juice with a hint of real vanilla for a vibrant explosion of flavor. The best part? This recipe is incredibly easy to make, involving minimal ingredients and just a few simple steps. Not only is it a fantastic way to cool off during those scorching summer days, but it also offers a dairy-free option for those looking to indulge without the guilt. So, are you ready to bring a scoop of sunshine into your kitchen? Let’s dive into this refreshing homemade Orange Ice Cream!
Why is homemade ice cream better?
Freshness: The vibrant flavors of freshly squeezed orange juice make this ice cream truly special.
Customizable: You can use alternatives like coconut cream or almond milk for a dairy-free twist without sacrificing taste.
Simplicity: With just a few ingredients, this recipe is perfect for both seasoned chefs and kitchen novices alike.
Crowd-Pleaser: Ideal for summer gatherings, everyone will appreciate a scoop of this nostalgic treat that reminds us of childhood.
Make-Ahead: Prepare it in advance and enjoy a quick dessert after a busy day—no last-minute stress!
Bring out that scoop and try this delightful homemade Orange Ice Cream; it’s just as sensational as our Street Corn Pasta or Avocado Cream Sauce for your next gathering!
Orange Ice Cream Ingredients
• Let’s gather our essentials for the most delicious homemade treat!
For the Ice Cream Base
- Heavy Cream – Provides richness and creaminess; substitute with coconut cream for a delightful dairy-free version.
- Whole Milk – Adds smooth texture; ideal to use almond milk or any plant-based milk for a dairy-free alternative.
- Sugar – Sweetens the ice cream; opt for agave syrup or honey for a healthier option.
- Fresh Orange Juice – Delivers vibrant orange flavor; freshly squeezed is best to enhance the taste.
- Vanilla Extract – Enhances the flavor profile; pure vanilla is preferable for the best result.
- Orange Extract (optional) – Intensifies the orange flavor; can be omitted if unavailable.
- Food Coloring (optional) – Adds vibrancy to the ice cream; purely for visual appeal, not required for flavor.
Let the dreamy flavors come alive in your homemade Orange Ice Cream, perfect for all occasions!
Step‑by‑Step Instructions for Orange Ice Cream
Step 1: Whisk the Base
In a large mixing bowl, combine 2 cups of heavy cream, 1 cup of whole milk, 3/4 cup of sugar, 1 cup of freshly squeezed orange juice, 1 teaspoon of pure vanilla extract, and optional orange extract if desired. Whisk the mixture vigorously for about 2-3 minutes until the sugar is fully dissolved, and the ingredients are thoroughly combined, creating a creamy, orange-hued base.
Step 2: Add Color
If you desire a more vibrant look for your homemade Orange Ice Cream, add a few drops of food coloring. Gently mix until the coloring is evenly distributed, achieving the preferred shade of orange. This step is optional, but it can enhance the presentation of your delightful treat, making it even more enticing.
Step 3: Churn the Ice Cream
Pour the orange mixture into your ice cream maker and churn according to the manufacturer’s instructions, usually for about 20–30 minutes. Watch for a soft-serve consistency; the mixture will thicken and double in volume as it chills. This step is vital for achieving that creamy texture typical of delicious Orange Ice Cream.
Step 4: Freeze to Firm Up
Once the ice cream has reached a soft-serve consistency, transfer it into an airtight container. Smooth the top with a spatula, cover with plastic wrap, and place in the freezer for 4-6 hours, or overnight for best results. This chilling process allows your Orange Ice Cream to firm up, creating the perfect scoopable texture.
Step 5: Serve and Enjoy
Before serving, take the ice cream out of the freezer and let it sit for 5-10 minutes at room temperature. This will soften the Orange Ice Cream slightly, making it easier to scoop. Dish out generous servings in bowls or cones, and relish the refreshing flavor that captures the essence of summer!
What to Serve with Homemade Orange Ice Cream
Elevate your homemade dessert experience by pairing it with delightful accompaniments that sing in harmony with each zesty scoop.
-
Warm Brownies: The fudgy richness of warm brownies complements the refreshing citrus ice cream perfectly, creating a delicious contrast that will leave you craving more.
-
Fruit Salad: A colorful mix of seasonal fruits provides a bright and refreshing counterpoint, enhancing the ice cream’s vibrant flavor while adding texture and nutrition to the meal.
-
Chocolate Sauce: Drizzling warm chocolate sauce over your ice cream creates a delightful fusion of sweet and tangy, turning every bite into a decadent delight.
-
Shortcake Biscuits: Serve your orange ice cream atop fluffy shortcake biscuits for a whimsical twist that balances the creamy softness and adds a comforting, buttery note.
-
Whipped Coconut Cream: For a dairy-free option, pair the ice cream with whipped coconut cream. Its lightness and subtle sweetness will perfectly compliment the zesty flavor.
-
Sparkling Lemonade: A bubbly glass of sparkling lemonade acts as a refreshing palate cleanser while enhancing the citrus theme of your homemade orange ice cream.
-
Lemon Bars: For those with a sweet tooth, the tanginess of lemon bars beautifully complements the bright citrus notes in orange ice cream, creating a delightful treat that will impress guests.
-
Meringue Cookies: Crisp and airy meringue cookies not only add a delightful crunch but also a touch of elegance when served alongside the icy treat.
-
Fresh Mint Leaves: Garnish your ice cream with fresh mint leaves for a pop of color and invigorating flavor, making every scoop feel a bit more sophisticated.
-
Minty Iced Tea: Pair with a refreshing minty iced tea to create a light and harmonious dessert experience, perfect for any warm day.
Orange Ice Cream Variations
Feel free to elevate your homemade Orange Ice Cream experience by playing with these delightful twists and swaps!
-
Zesty Citrus: Blend in some lemon or lime juice for a refreshing tangy twist that brightens every scoop. Each bite introduces a new layer of flavor that pairs beautifully with the sweetness.
-
Chocolate Delight: Add mini chocolate chips or chunks into the mixture for a delightful contrast. The rich chocolate will bring an indulgent surprise in each creamy bite!
-
Fruity Mix-ins: Toss in fresh fruit pieces like raspberries or strawberries for color and added freshness. This variation brings texture and surprising bursts of sweetness, making each scoop even more vibrant.
-
Dairy-Free Dream: Replace heavy cream and whole milk with coconut cream and almond milk for a scrumptious vegan option. The coconut adds a tropical note that complements the orange exquisitely!
-
Nuts for Crunch: Fold in chopped almonds or pistachios to add a delightful crunch. Their nutty flavor pairs beautifully with the creamy ice cream, creating a satisfying contrast on your palate.
-
Frosty Fusion: Drizzle in some mint extract for a refreshing herbal note. This addition creates a refreshing ice cream flavor that feels like a cool breeze on a hot day!
-
Savory Surprise: Consider mixing in a pinch of sea salt to enhance the sweetness. This unexpected touch brings depth to the flavors, resulting in a gourmet-like experience.
-
Coffee Infusion: Add brewed coffee or espresso for a unique mocha flavor. The subtle bitterness of coffee will beautifully balance with the sweetness of orange, offering a delightful after-dinner treat.
Explore these ideas to turn your homemade Orange Ice Cream into a sensational treat that complements your summer gatherings, just like how our Chicken Ramen Garlic perfectly satisfies a craving! Enjoy the creative journey!
Expert Tips for Orange Ice Cream
-
Use Fresh Juice: Always opt for freshly squeezed orange juice to enhance flavor. Bottled juices can taste bland and lack the zesty kick you desire.
-
Chill the Base: For the best texture, chill the mixture before churning. This helps the ice cream firm up faster and results in a creamier Orange Ice Cream.
-
Don’t Over-Churn: Watch the churning process closely. If over-churned, ice crystals form and the creamy texture you’re aiming for can be ruined.
-
Seal It Well: To maintain freshness and prevent freezer burn, store your Orange Ice Cream in an airtight container. Cover the surface with plastic wrap before sealing.
-
Let It Soften: Allow the ice cream to sit at room temperature for a few minutes before serving. This makes scooping easier and enhances the overall experience.
Make Ahead Options
These Homemade Orange Ice Cream delights are perfect for meal prep, allowing you to enjoy a creamy, refreshing treat with minimal last-minute effort! You can prepare the ice cream base (combining heavy cream, milk, sugar, fresh orange juice, and vanilla extract) up to 24 hours in advance, refrigerating it to enhance the flavors. This way, all you need to do on a busy day is churn it and freeze it for a few hours. When you’re ready to serve, simply let it sit at room temperature for about 5-10 minutes to soften, making it easier to scoop. This is a fantastic strategy to keep your homemade Orange Ice Cream just as delicious and ready to impress whenever the craving—or those summer gatherings—strike!
How to Store and Freeze Orange Ice Cream
Fridge: Keep leftover Orange Ice Cream in an airtight container for up to 3 days if you’re consuming it quickly.
Freezer: For long-term storage, place your Orange Ice Cream in an airtight container, ensuring it’s tightly covered. It can be frozen for up to 2 months for optimal freshness.
Reheating: When ready to enjoy, let the Orange Ice Cream sit at room temperature for 5-10 minutes to soften slightly before scooping for the best texture.
Avoid Freezer Burn: Always cover the surface of the ice cream with plastic wrap before sealing the container to prevent freezer burn and preserve that delightful flavor.
Homemade Orange Ice Cream Recipe FAQs
How do I select the best oranges for this ice cream?
Absolutely! Look for oranges that are firm, smooth, and heavy for their size, indicating juiciness. Avoid any with dark spots or blemishes, as these can indicate overripeness. Valencia or navel oranges are ideal for their sweet and juicy flavor, perfect for your homemade Orange Ice Cream.
How long can I store homemade Orange Ice Cream?
For the best results, store your homemade Orange Ice Cream in an airtight container in the freezer for up to 2 months. Just make sure to cover the surface with plastic wrap before sealing to avoid freezer burn.
Can I freeze this ice cream for longer than 2 months?
While you can technically freeze it longer, I recommend consuming it within 2 months for the best flavor and texture. If you need to keep it longer, try to ensure it’s sealed well, but after a while, the quality may decrease.
What should I do if my ice cream is icy instead of creamy?
Very! This issue usually stems from over-churning the mixture or not chilling it beforehand. If you notice ice crystals forming, make sure to churn just until it reaches soft-serve consistency, and remember to chill your base before freezing. For a smoother texture, you can also try re-mixing the ice cream after it softens slightly and re-freezing it.
Is this recipe suitable for people with dairy allergies?
Certainly! Simply substitute the heavy cream and whole milk with equal amounts of coconut cream and almond milk. This creates a delightful dairy-free version of your homemade Orange Ice Cream that everyone can enjoy. Just make sure to check any other ingredients for potential allergens if necessary.
Can I add mix-ins to the ice cream?
The more the merrier! Feel free to fold in chocolate chips, crushed nuts, or pieces of fresh fruit right after churning, before you freeze it. This adds both texture and fun surprises in each scoop of your homemade Orange Ice Cream.
Creamy Orange Ice Cream: A Refreshing Slice of Summer Bliss
Ingredients
Equipment
Method
- In a large mixing bowl, combine heavy cream, whole milk, sugar, fresh orange juice, vanilla extract, and optional orange extract. Whisk until the mixture is creamy and sugar is dissolved.
- If desired, add food coloring and mix gently until evenly distributed.
- Pour the mixture into your ice cream maker and churn according to the manufacturer's instructions for 20-30 minutes.
- Transfer the soft-serve ice cream into an airtight container and freeze for 4-6 hours until firm.
- Before serving, let the ice cream sit for 5-10 minutes at room temperature to soften.
Leave a Reply