
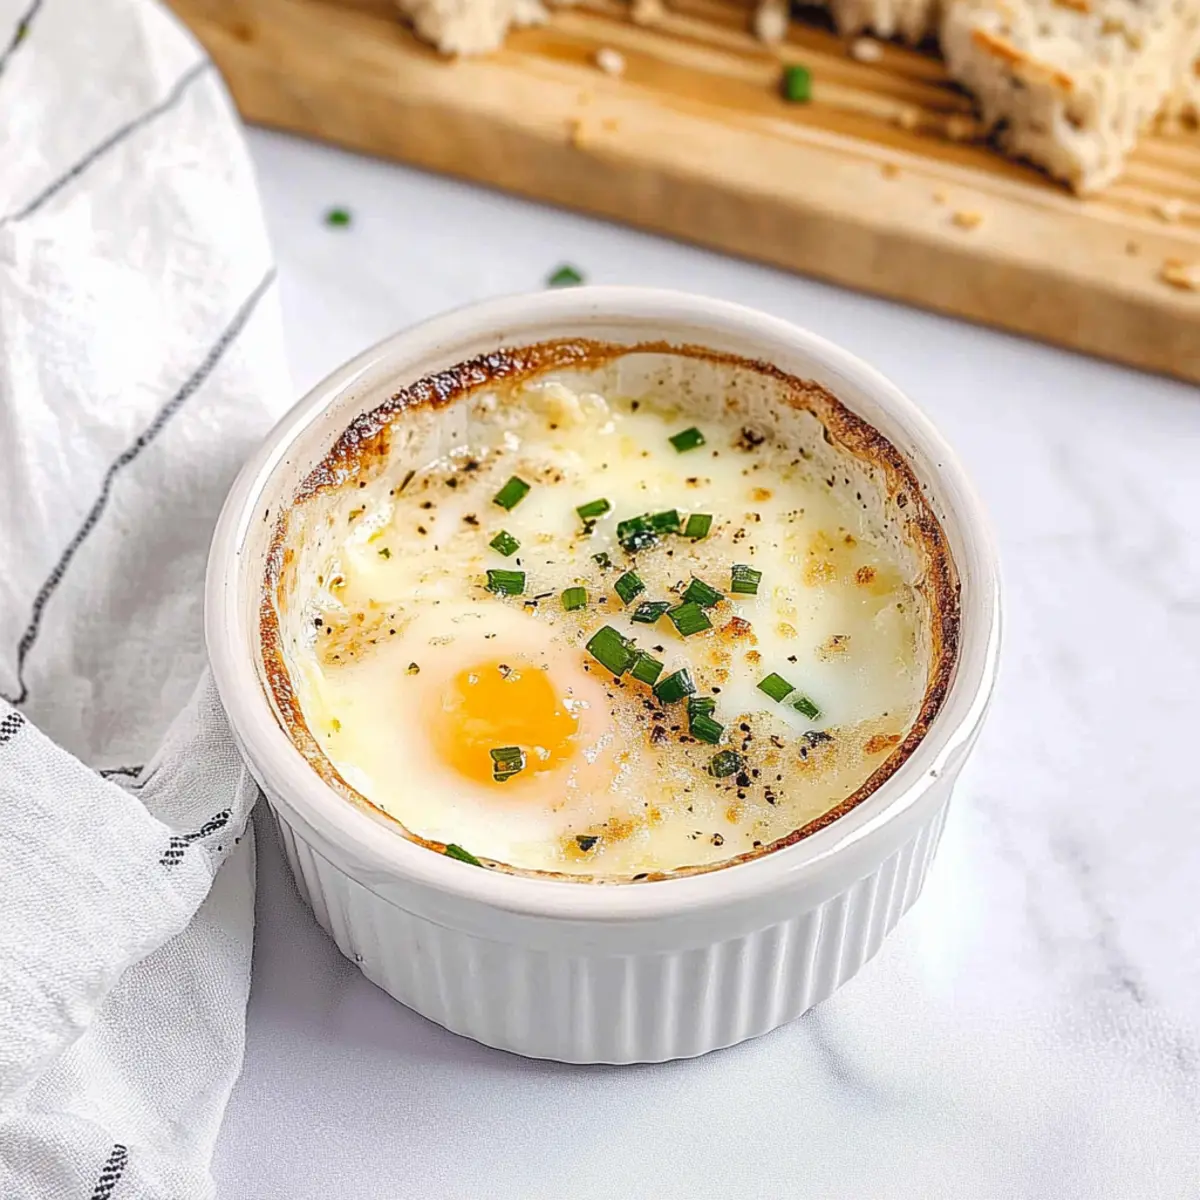
The aroma of eggs lightly kissed by the oven wafts through my kitchen, instantly making my brunch dreams come alive. These simple yet elegant Shirred Eggs with Parmesan and Chives transform a humble egg dish into a culinary delight. In just 20 minutes, you can present a high-protein, low-calorie masterpiece that’s not only delicious but adaptable for dairy-free diets, too. Imagine impressing family and friends with perfectly runny yolks and creamy textures, all while keeping things fuss-free. This dish is a true triumph for those craving a nutritious start to the day without sacrificing style. What flavor twists are you thinking of adding to elevate your own version of Shirred Eggs?
Why are Shirred Eggs so irresistible?
Simplicity, these Shirred Eggs come together in just 20 minutes, making them a quick yet elegant brunch option for any occasion. Rich, Creamy Texture: The combination of heavy cream and eggs creates a luscious base that’s hard to resist. Flavorful Additions: With Parmesan and fresh chives, every bite bursts with savory goodness. Adaptable: This recipe easily accommodates dairy-free diets, ensuring everyone can enjoy it. Serve it alongside some Air-Fryer Breakfast Potatoes or add a splash of creativity with different herbs; it’s sure to impress! For more delightful breakfast ideas, check out these Chick Fil Eggs.
Shirred Eggs Ingredients
For the Base
• Unsalted Butter – Greases the ramekin; for a dairy-free version, substitute with vegan butter.
• Heavy Cream – Adds richness and creaminess; high-fat oat milk or vegan cream can be used for a dairy-free option.
• Large Eggs – The star of the dish; for best flavor, opt for local farm-fresh eggs.
For Seasoning
• Salt – Enhances flavor; adjust to your taste preference.
• Freshly Ground Black Pepper – Adds depth and a touch of heat.
For Topping
• Minced Fresh Chives – Introduces a mild onion flavor and a pop of freshness; scallions can be substituted or omitted.
• Grated Parmesan Cheese – Provides a savory finish; for a dairy-free option, consider using nutritional yeast or omit entirely.
Step‑by‑Step Instructions for Shirred Eggs
Step 1: Preheat the Oven
Begin by preheating your oven to 375°F (190°C). This temperature is key to achieving perfectly cooked Shirred Eggs. Allow your oven to fully reach the desired warmth as you prepare the other ingredients. A hot oven ensures that your eggs bake evenly, creating that luxurious, creamy texture we all love.
Step 2: Prepare the Ramekin
While the oven heats, take a 6-ounce ramekin and generously grease it with unsalted butter, making sure to coat the bottom and sides thoroughly. The butter not only prevents sticking but also enhances the flavor of your Shirred Eggs. A well-prepared ramekin creates a beautiful presentation and an enjoyable eating experience.
Step 3: Add Heavy Cream
Pour a layer of heavy cream into the greased ramekin, filling it to about halfway. The cream provides richness and a velvety texture that compliments the eggs beautifully. This step is essential to making your Shirred Eggs irresistibly creamy, so take care to spread it evenly across the bottom of the ramekin.
Step 4: Crack the Eggs
Gently crack two large eggs on top of the cream, being careful not to break the yolks. The eggs should be placed right in the center of the ramekin to allow for even cooking. Observe as the bright yolks rest comfortably atop the cream, setting the foundation for your dish’s delightful presentation.
Step 5: Season and Garnish
Sprinkle the eggs with a pinch of salt and freshly ground black pepper to elevate their natural flavors. Then, add minced chives and a generous sprinkling of grated Parmesan cheese on top. These finishing touches introduce savory notes and enhance the overall flavor profile of your Shirred Eggs.
Step 6: Bake to Perfection
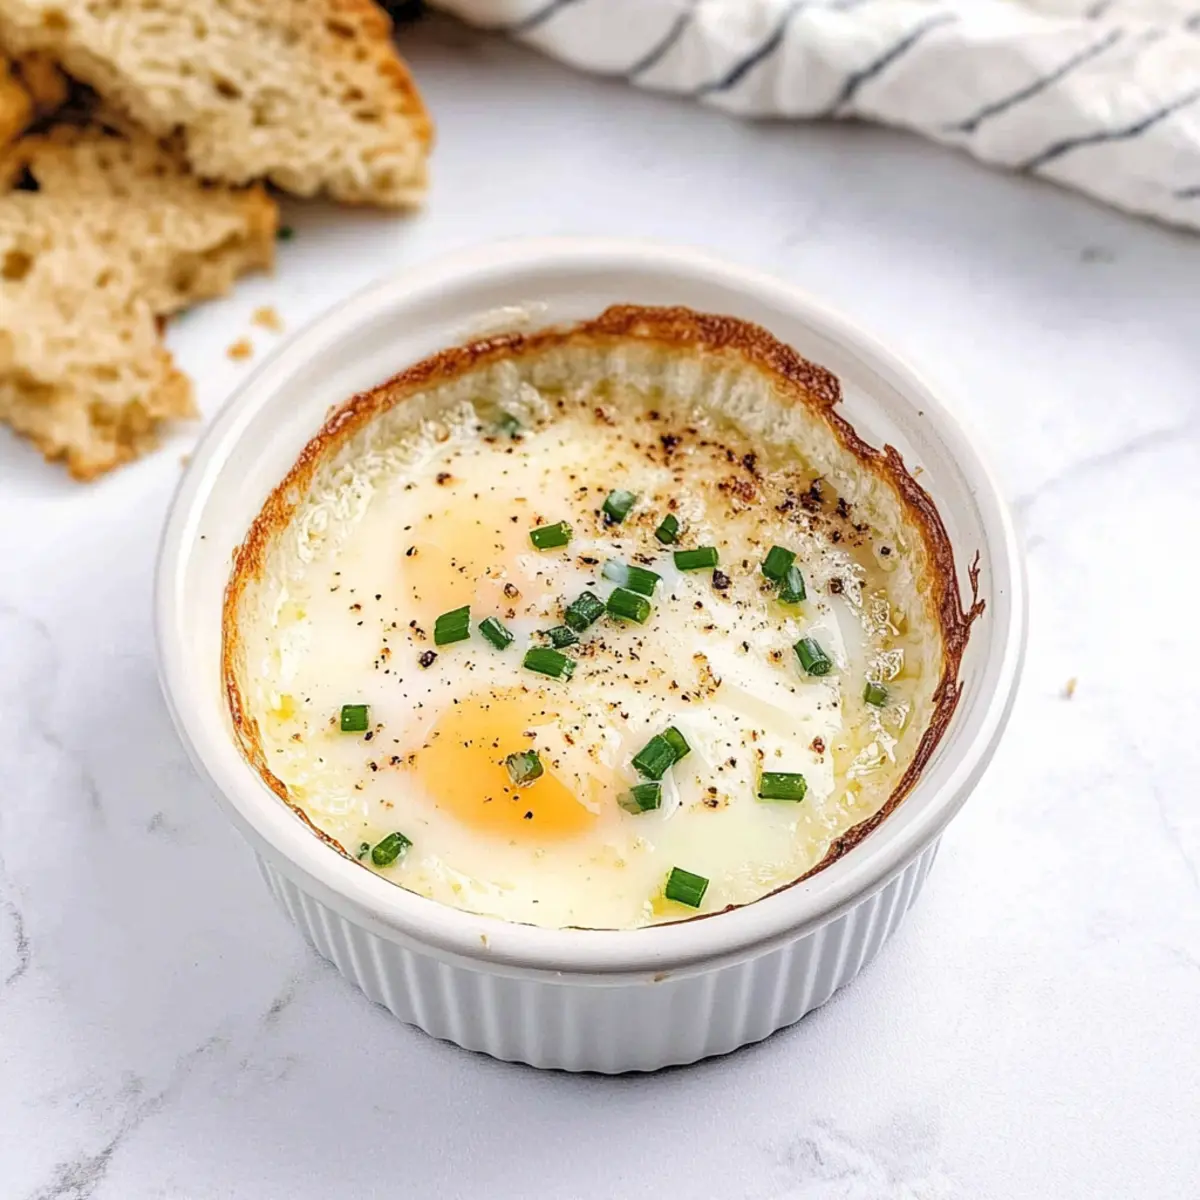
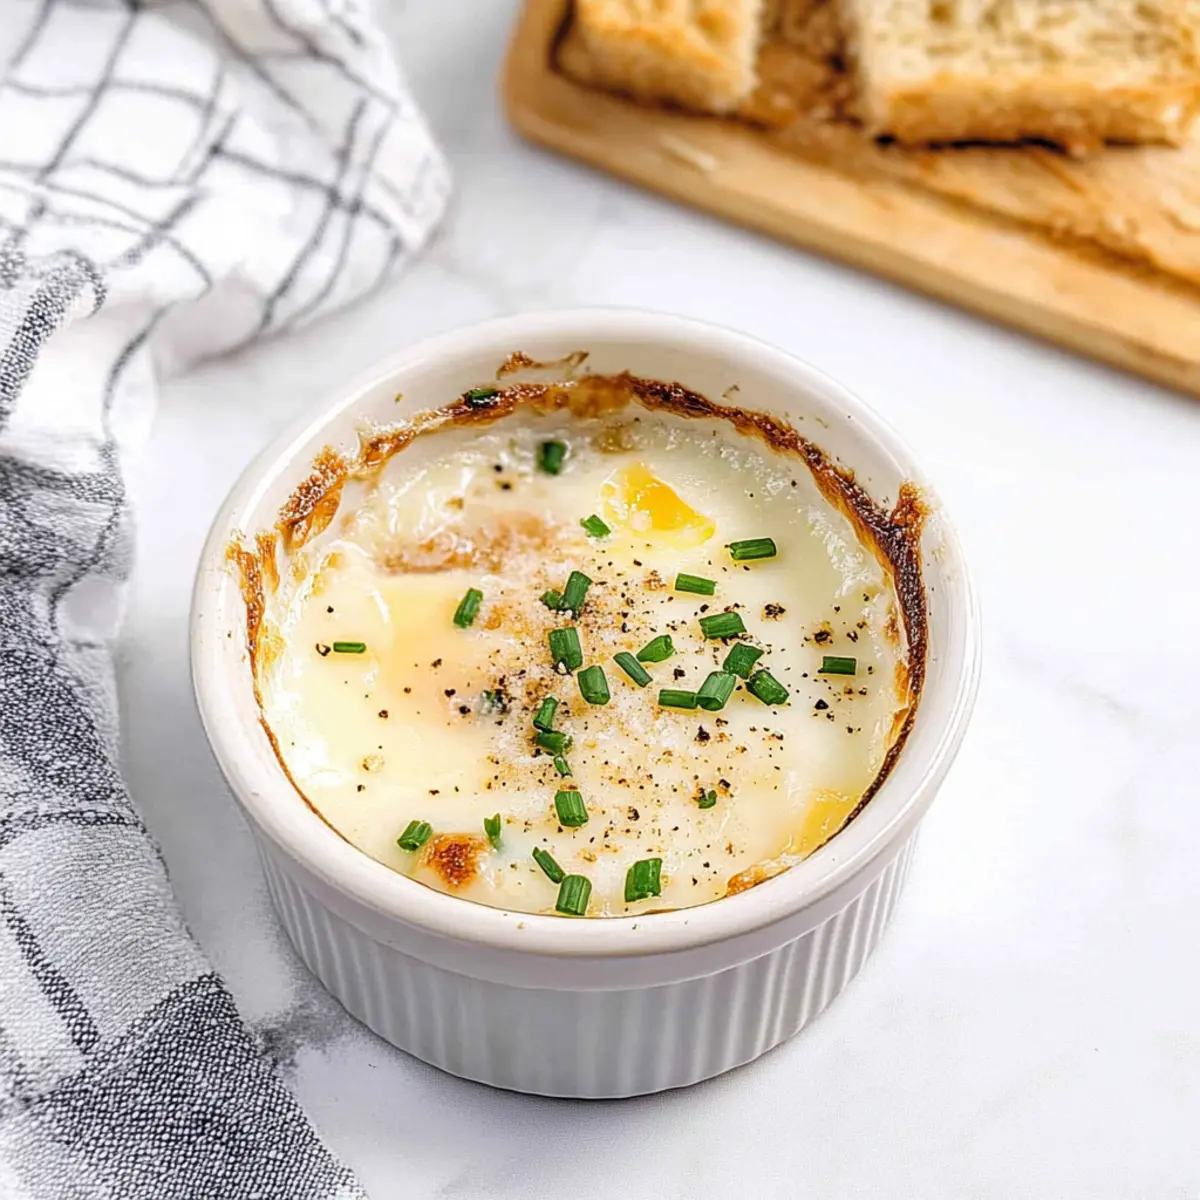
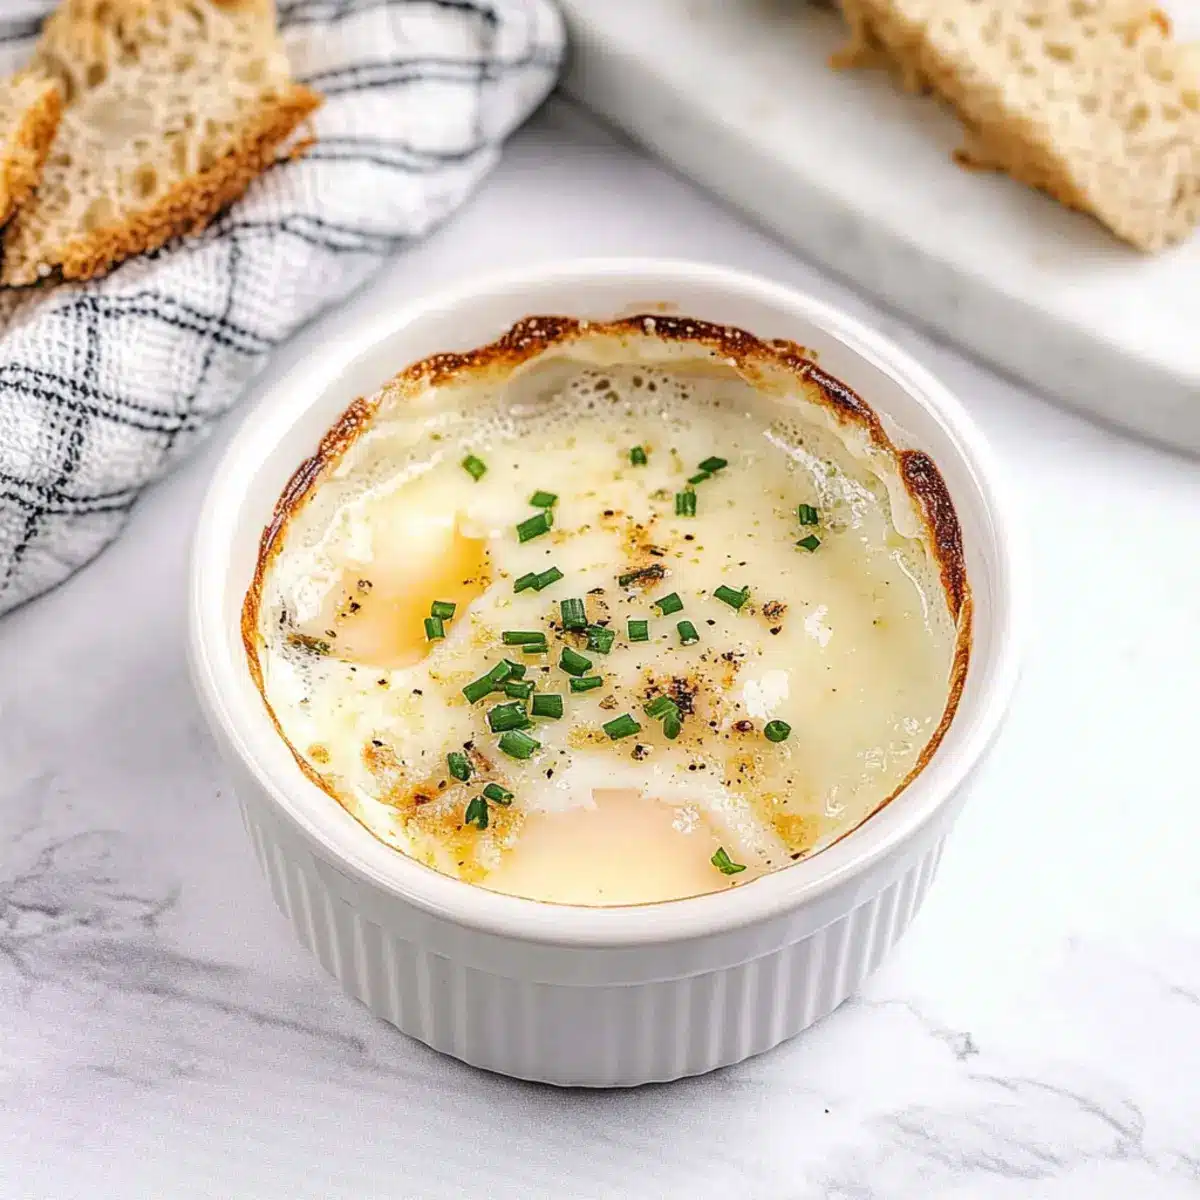
Carefully place the ramekin on a baking sheet to catch any spills, then transfer it to the oven. Bake for 12-15 minutes, keeping an eye on the progress. The whites should set while the yolks remain gloriously runny—just the way Shirred Eggs are meant to be!
Step 7: Rest Before Serving
Once baked to perfection, take the ramekin out of the oven and let it rest for a couple of minutes. This brief pause allows the eggs to settle slightly, making it easier to enjoy them without burning your fingers. Serve immediately for a delightful, warm experience that highlights the luscious textures of your Shirred Eggs.
Make Ahead Options
These Shirred Eggs are perfect for meal prep enthusiasts! You can prepare the ramekins with butter, cream, and seasonings up to 24 hours in advance. Simply cover them tightly with plastic wrap and refrigerate to maintain freshness. On the day of serving, crack the eggs on top, season again, and bake as directed for about 12-15 minutes. This method keeps your brunch experience stress-free while ensuring you still enjoy those beautifully runny yolks and creamy textures. Just remember, for the best quality, add the eggs right before baking so they remain fresh and flavorful—making your Shirred Eggs just as delicious as if made from scratch!
Expert Tips for Shirred Eggs
• Choose the Right Ramekin: Opt for 6-ounce ramekins for even cooking and appealing presentation; other oven-safe dishes may alter baking time.
• Monitor Cooking Time: Keep an eye on your Shirred Eggs as they bake; overcooking leads to dry yolks, which can ruin the dish.
• Serve Fresh: Shirred Eggs are best enjoyed right out of the oven; they don’t reheat well and lose their delightful texture.
• Experiment with Seasonings: Feel free to add spices like smoked paprika or different herbs to personalize the flavor profile without overwhelming the eggs.
• Use Fresh Ingredients: For a richer taste, use farm-fresh eggs and quality Parmesan; freshness makes a remarkable difference in flavor.
What to Serve with Shirred Eggs?
Elevate your brunch spread by pairing these delightful Shirred Eggs with delicious sides and drinks that bring out their creamy goodness.
- Crusty Bread: A slice of your favorite artisanal bread is perfect for dipping into those runny yolks, adding a satisfying crunch and hearty texture. Pairing bread with eggs always brings a delightful contrast that’s hard to resist.
- Air-Fryer Breakfast Potatoes: Crispy on the outside, fluffy on the inside, these seasoned potatoes provide a warm, comforting element that complements the richness of Shirred Eggs beautifully.
- Fresh Arugula Salad: A light, peppery arugula salad adds a refreshing note to your meal, balancing the rich flavors with its bright, crisp greens. Top it with a citrus vinaigrette to enhance the experience!
- Smoky Bacon: The savory, smoky flavor of crispy bacon perfectly contrasts the creaminess of the Shirred Eggs, making every bite a savory delight. Don’t forget to let the bacon render its fat for maximum flavor!
- Chilled Mimosa: This refreshing cocktail, with its bubbly sparkle and citrusy brightness, complements the richness of the eggs and makes for a festive brunch drink. A toast to the perfect weekend gathering!
- Avocado Toast: Creamy avocado on toasted bread adds a luscious texture while providing healthy fats that enhance the overall nourishment of your brunch. Plus, it’s a trendy and vibrant addition to the table.
- Tomato Slices: Juicy, fresh tomato slices provide a refreshing contrast, bringing a burst of color and flavor to your plate while complementing the savory notes of the eggs.
- Peach Crisp: End on a sweet note with a warm peach crisp; the sweetness complements the savory Shirred Eggs and provides a delightful ending to your brunch spread.
Shirred Eggs Variations & Substitutions
Feel free to explore and personalize your Shirred Eggs with these delightful twists and substitutions!
- Dairy-Free: Substitute butter with vegan butter and heavy cream with high-fat oat milk for a creamy alternative.
- Herb Infusion: Add a dash of smoked paprika or fresh dill for an aromatic twist that enhances the flavor.
- Cheese Swap: Experiment with goat cheese or feta in place of Parmesan for a unique and tangy finish.
- Seasoned Spinach: Incorporate fresh spinach into the ramekin before adding eggs for an added nutrient boost and vibrant color.
- Savory Mushrooms: Top with sautéed mushrooms before baking for an earthy flavor that perfectly complements the dish.
- Spicy Kick: Sprinkle red pepper flakes for a hint of heat, elevating the dish’s flavor profile remarkably.
- Tomato Burst: Add sliced cherry tomatoes for a splash of sweetness and vibrant color that brightens up your meal.
- Nutty Flavors: Finish with a sprinkle of toasted nuts like pine nuts or walnuts for a crunchy texture that contrasts beautifully with the creaminess.
Whether you’re dressing up your Shirred Eggs with seasonal ingredients or enjoy them as is, for more delicious ideas check out our tasty Chick Fil Eggs recipe! Embrace the creativity in the kitchen by giving these variations a try—I can’t wait to see what you come up with!
How to Store and Freeze Shirred Eggs
Room Temperature: Shirred Eggs are best enjoyed right after cooking. Avoid leaving them out for more than 2 hours to maintain safety and quality.
Fridge: If you have leftovers (though it’s not ideal), store them in an airtight container in the fridge for up to 1 day. The texture may change upon reheating.
Freezer: Freezing is not recommended for Shirred Eggs, as they don’t hold their lovely creamy texture after thawing and reheating. It’s best to prepare them fresh.
Reheating: If you must reheat, place leftovers in a microwave-safe dish and warm on low power for short intervals, checking frequently to avoid overcooking the eggs.
Shirred Eggs Recipe FAQs
How do I choose the right eggs for Shirred Eggs?
Absolutely! For the best flavor, I recommend using local farm-fresh eggs. Look for eggs with firm shells that are free from cracks and have a bright, vibrant yolk when you crack them open. The freshness of the eggs makes a noticeable difference in taste and texture!
How should I store leftovers of Shirred Eggs?
While Shirred Eggs are best eaten fresh, you can refrigerate leftovers in an airtight container for up to 1 day. However, keep in mind that the creamy texture may change upon reheating. Always consume them within this timeframe to ensure the best experience!
Can I freeze Shirred Eggs?
Very! Unfortunately, freezing Shirred Eggs is not recommended. The unique creamy texture doesn’t hold up well after thawing, and the yolks become rubbery. For the best results, I suggest preparing them fresh each time.
What can I do if my Shirred Eggs are overcooked?
If you find that your Shirred Eggs are overcooked, it can be disappointing. To avoid dry yolks, keep a close watch on them while they bake. But if it happens, consider pairing them with a generous dollop of creamy avocado or a sauce like hollandaise to add moisture back to the dish. Remember, practice makes perfect in the kitchen!
Are Shirred Eggs suitable for people with dairy allergies?
Absolutely! To make Shirred Eggs dairy-free, use vegan butter in place of unsalted butter and substitute heavy cream with high-fat oat milk or a vegan cream. This way, even those with dairy allergies can enjoy a delicious and creamy brunch dish.
What other herbs can I use in my Shirred Eggs?
You’ve got options! While fresh chives are delightful, feel free to mix things up with herbs like parsley, dill, or even a sprinkle of smoked paprika for added flavor. The more the merrier—get creative and let your taste buds guide you!
Irresistibly Creamy Shirred Eggs for a Perfect Brunch
Ingredients
Equipment
Method
- Preheat your oven to 375°F (190°C).
- Grease a 6-ounce ramekin with unsalted butter.
- Pour a layer of heavy cream into the greased ramekin, filling it halfway.
- Gently crack two large eggs on top of the cream.
- Season with salt and black pepper, then add chives and Parmesan on top.
- Place the ramekin on a baking sheet and bake for 12-15 minutes.
- Let it rest for a couple of minutes before serving.
Leave a Reply